 WriterMorph

How to plot a mystery or thriller: the crime, the clues and a fair-play solution
Plan a mystery backwards from the crime, give every suspect a motive and a secret, plant clues and red herrings fairly, and land the reveal. Then plot it with the Mystery / Thriller template in WriterMorph.
A mystery tells two stories. The first is the crime: what the culprit did, why, and how they covered it up. The second is the investigation: the order in which the detective, and the reader, find it out. The reader only sees the second story, but you can't write it until you know the first.
Plan backwards from the crime
Write the culprit's version of events first: who did what, when, where and why. Then write the cover-up: what they moved, what they said, which alibi they built. Work minute by minute around the crime itself. A vague crime gives vague clues.
You now have two timelines:
- The crime timeline runs in story time and is complete, including the parts nobody saw.
- The investigation timeline is the order of your scenes. It reveals the crime out of order, piece by piece, and some pieces are false.
Every clue is a place where the two touch: something the culprit did, or failed to do, that left a trace the detective can find later.
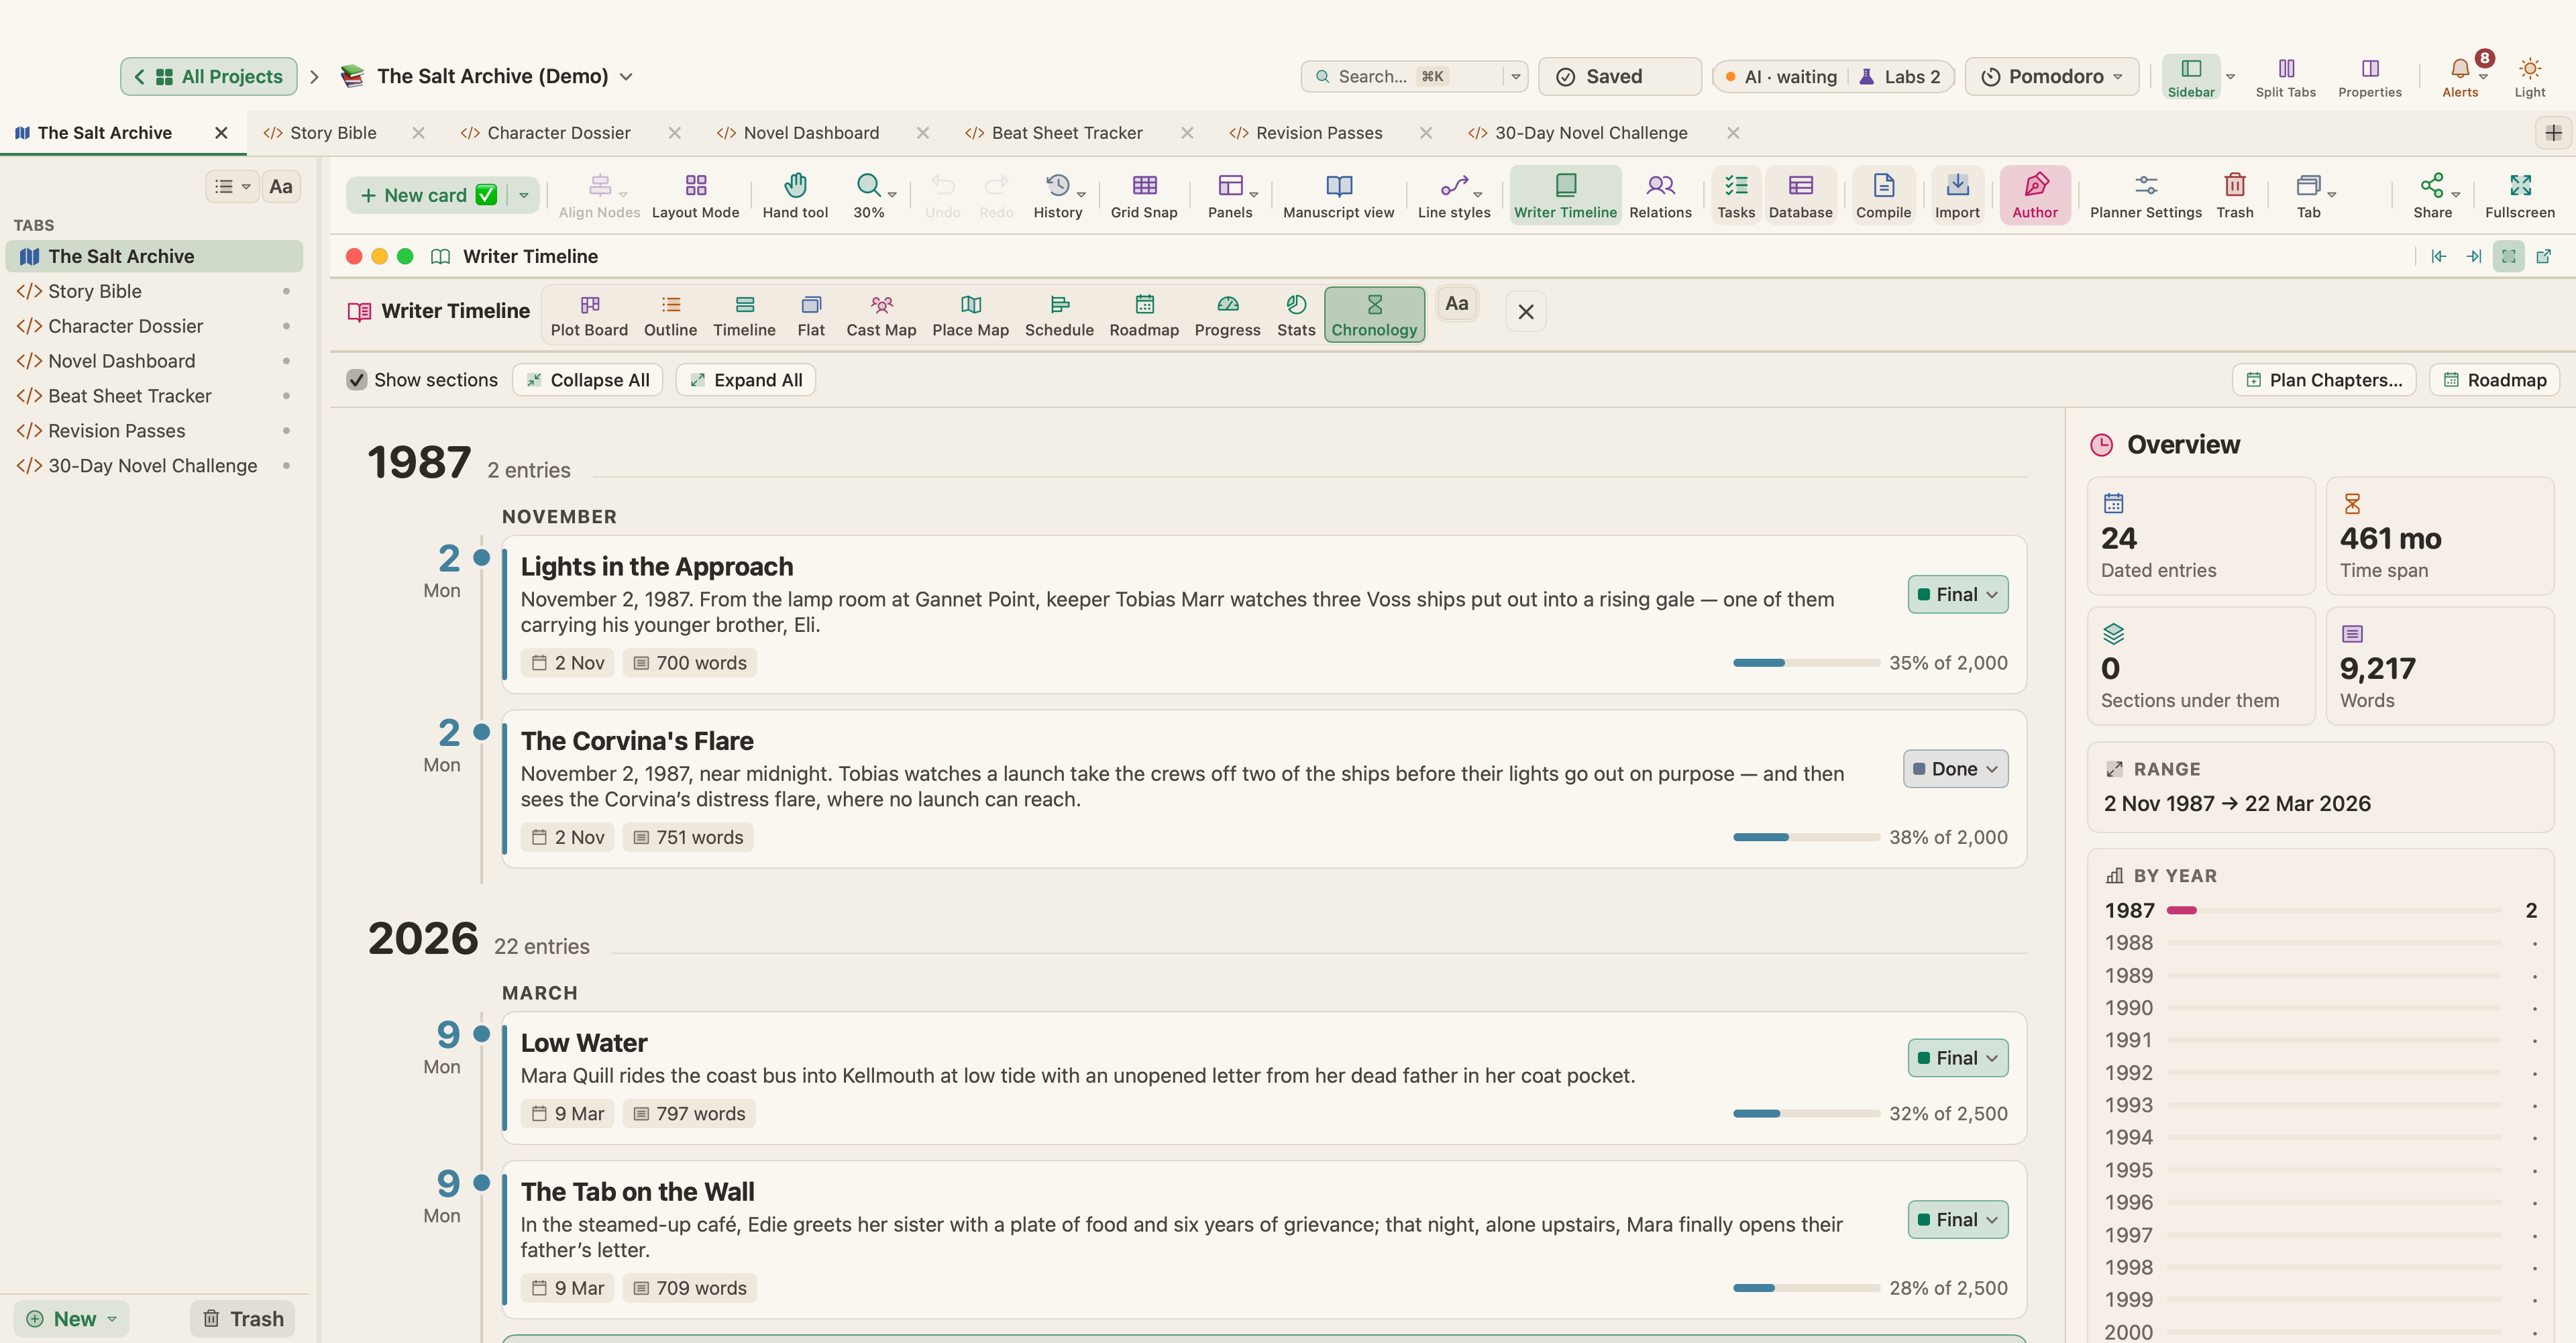
The crime can also lie far in the past. In The Salt Archive, a sample mystery, an archivist returns to her North Sea harbor town after her father drowns and finds a salt-stained ledger proving that the ships lost in the great storm of 1987 were sunk on purpose. The investigation covers two weeks in March; the storm night reaches the reader in two flashbacks.
Suspects: motive, means and opportunity
For each suspect, write down a motive (a reason to want it done), the means (the skill, tool or strength to do it) and the opportunity (the chance to be there). The culprit needs all three; each innocent suspect should seem to have them for a while.
Give every suspect a secret that isn't the crime: a debt, an affair, a lie about where they were. The secret explains why an innocent person acts guilty, and clearing it up is part of the solution.
Plant clues and red herrings fairly
Detective fiction has a long fair-play tradition: the reader gets the same evidence as the detective and a real chance to solve the case first. In 1929 Ronald Knox set out ten "commandments" for detective fiction. Two of them still hold: mention the culprit early, and never let the detective act on a clue the reader isn't shown.
Fair doesn't mean obvious. Ways to hide a clue in plain sight:
- Put it in a list of ordinary details.
- Show it, but explain it wrongly, so the reader files it under the wrong heading.
- Plant it just before something louder: an argument, a discovery, a second crime.
- Split it in two, half early and half late, so it only makes sense when both halves are on the table.
A red herring is a false lead that points firmly in the wrong direction. To be fair, it needs an innocent explanation that you reveal later; one that is never explained feels like a cheat. As you plan, list every clue and red herring: where it is planted, what it really means and where it is explained.
The middle: a reversal and rising stakes
Around the middle, overturn the working theory. The obvious suspect is cleared, an alibi breaks or the victim turns out to be someone else, and the detective has to start again.
After that the pressure grows. The culprit strikes again or pushes back; the detective is warned off, discredited or put in danger. The lowest point is often a dead end, or an accusation of the wrong person.
A thriller turns the question around: not who did it, but whether the hero can stop it in time, and the reader may know the villain from the start. Thrillers run on a ticking clock, such as a deadline or a countdown. Give the clock a concrete time, shorten it at each turn and remind the reader of it. There is more on building tension in the pacing article.
The reveal and the explanation
The solution should turn on a clue the reader has already seen, ideally one that seemed unimportant. Let the detective remember it, put it together with the others and act.
Show the solution rather than lecture it: stage the confrontation so that the culprit's reaction, a test or a trap confirms what the detective says. Then tie off the rest briefly: explain each red herring, answer each suspect's secret and close the detective's own story.
A good test: a reader who goes back to the start should find every clue on the page.
A checklist before you draft
- You can tell the crime minute by minute, from the culprit's side.
- Every suspect has a motive, means, opportunity and a secret.
- The culprit appears early.
- Every clue the detective uses is shown to the reader first.
- Every red herring has an innocent explanation, and it is paid off.
- The midpoint overturns the working theory, and the stakes rise after it.
- The detective solves the case by reasoning, not by luck or a sudden confession.
Plotting a mystery in WriterMorph
Start from the Mystery / Thriller template
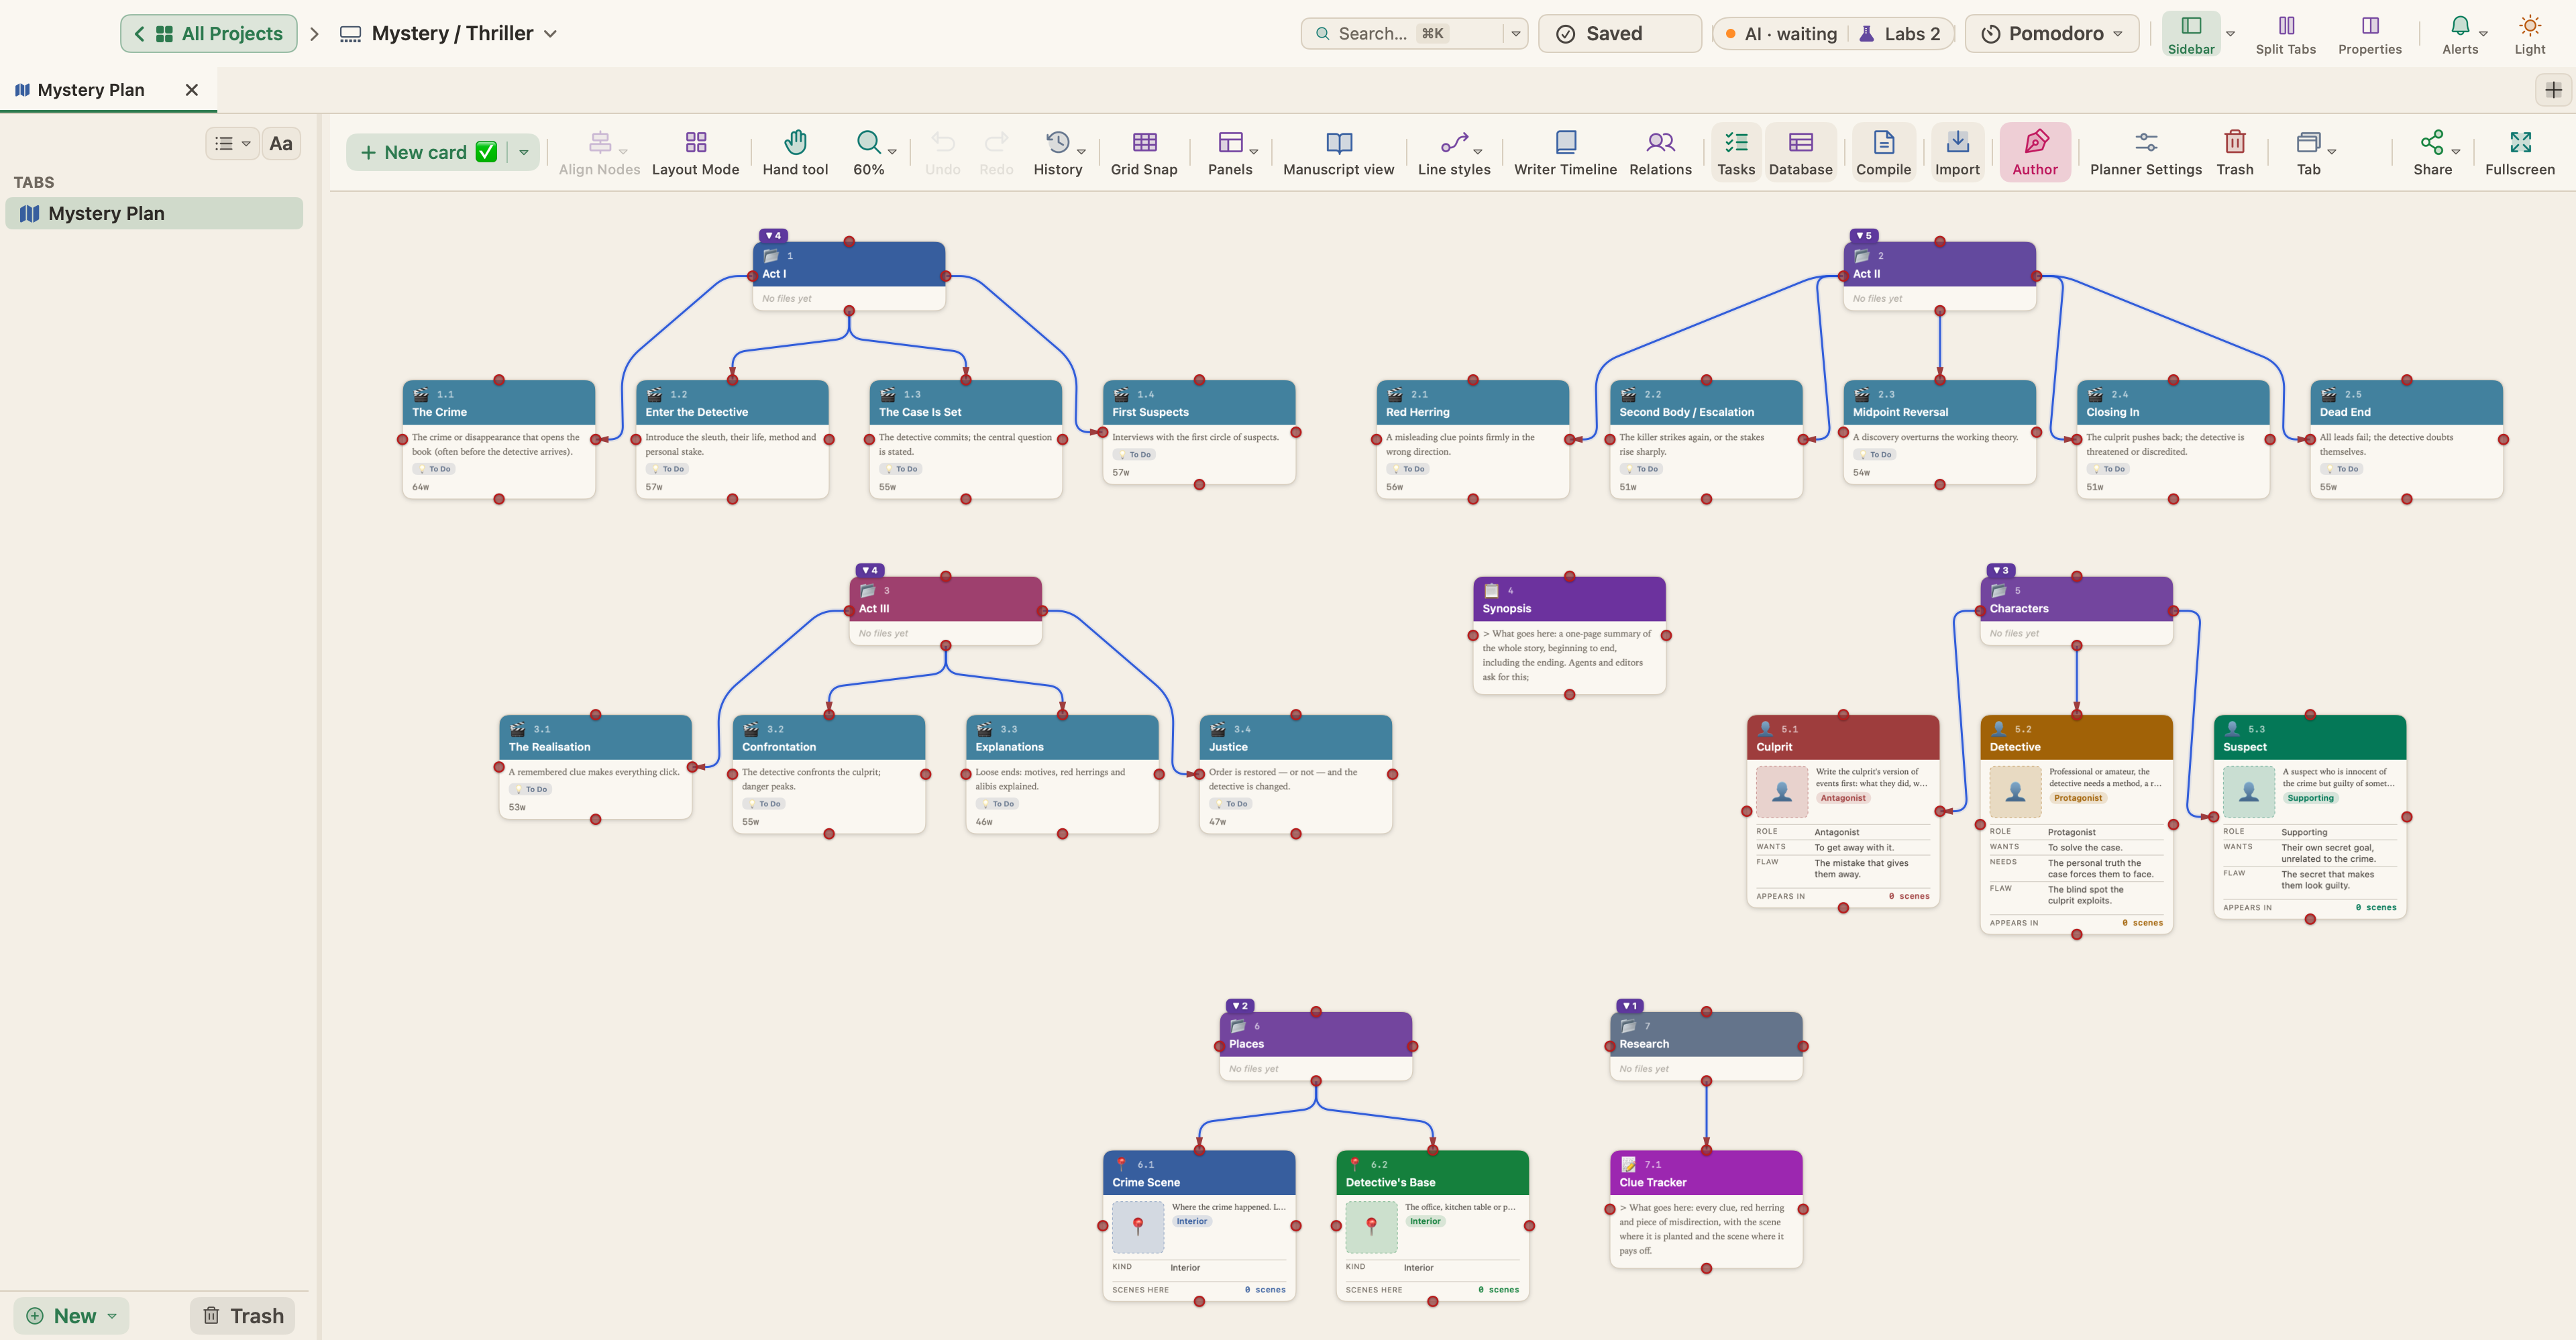
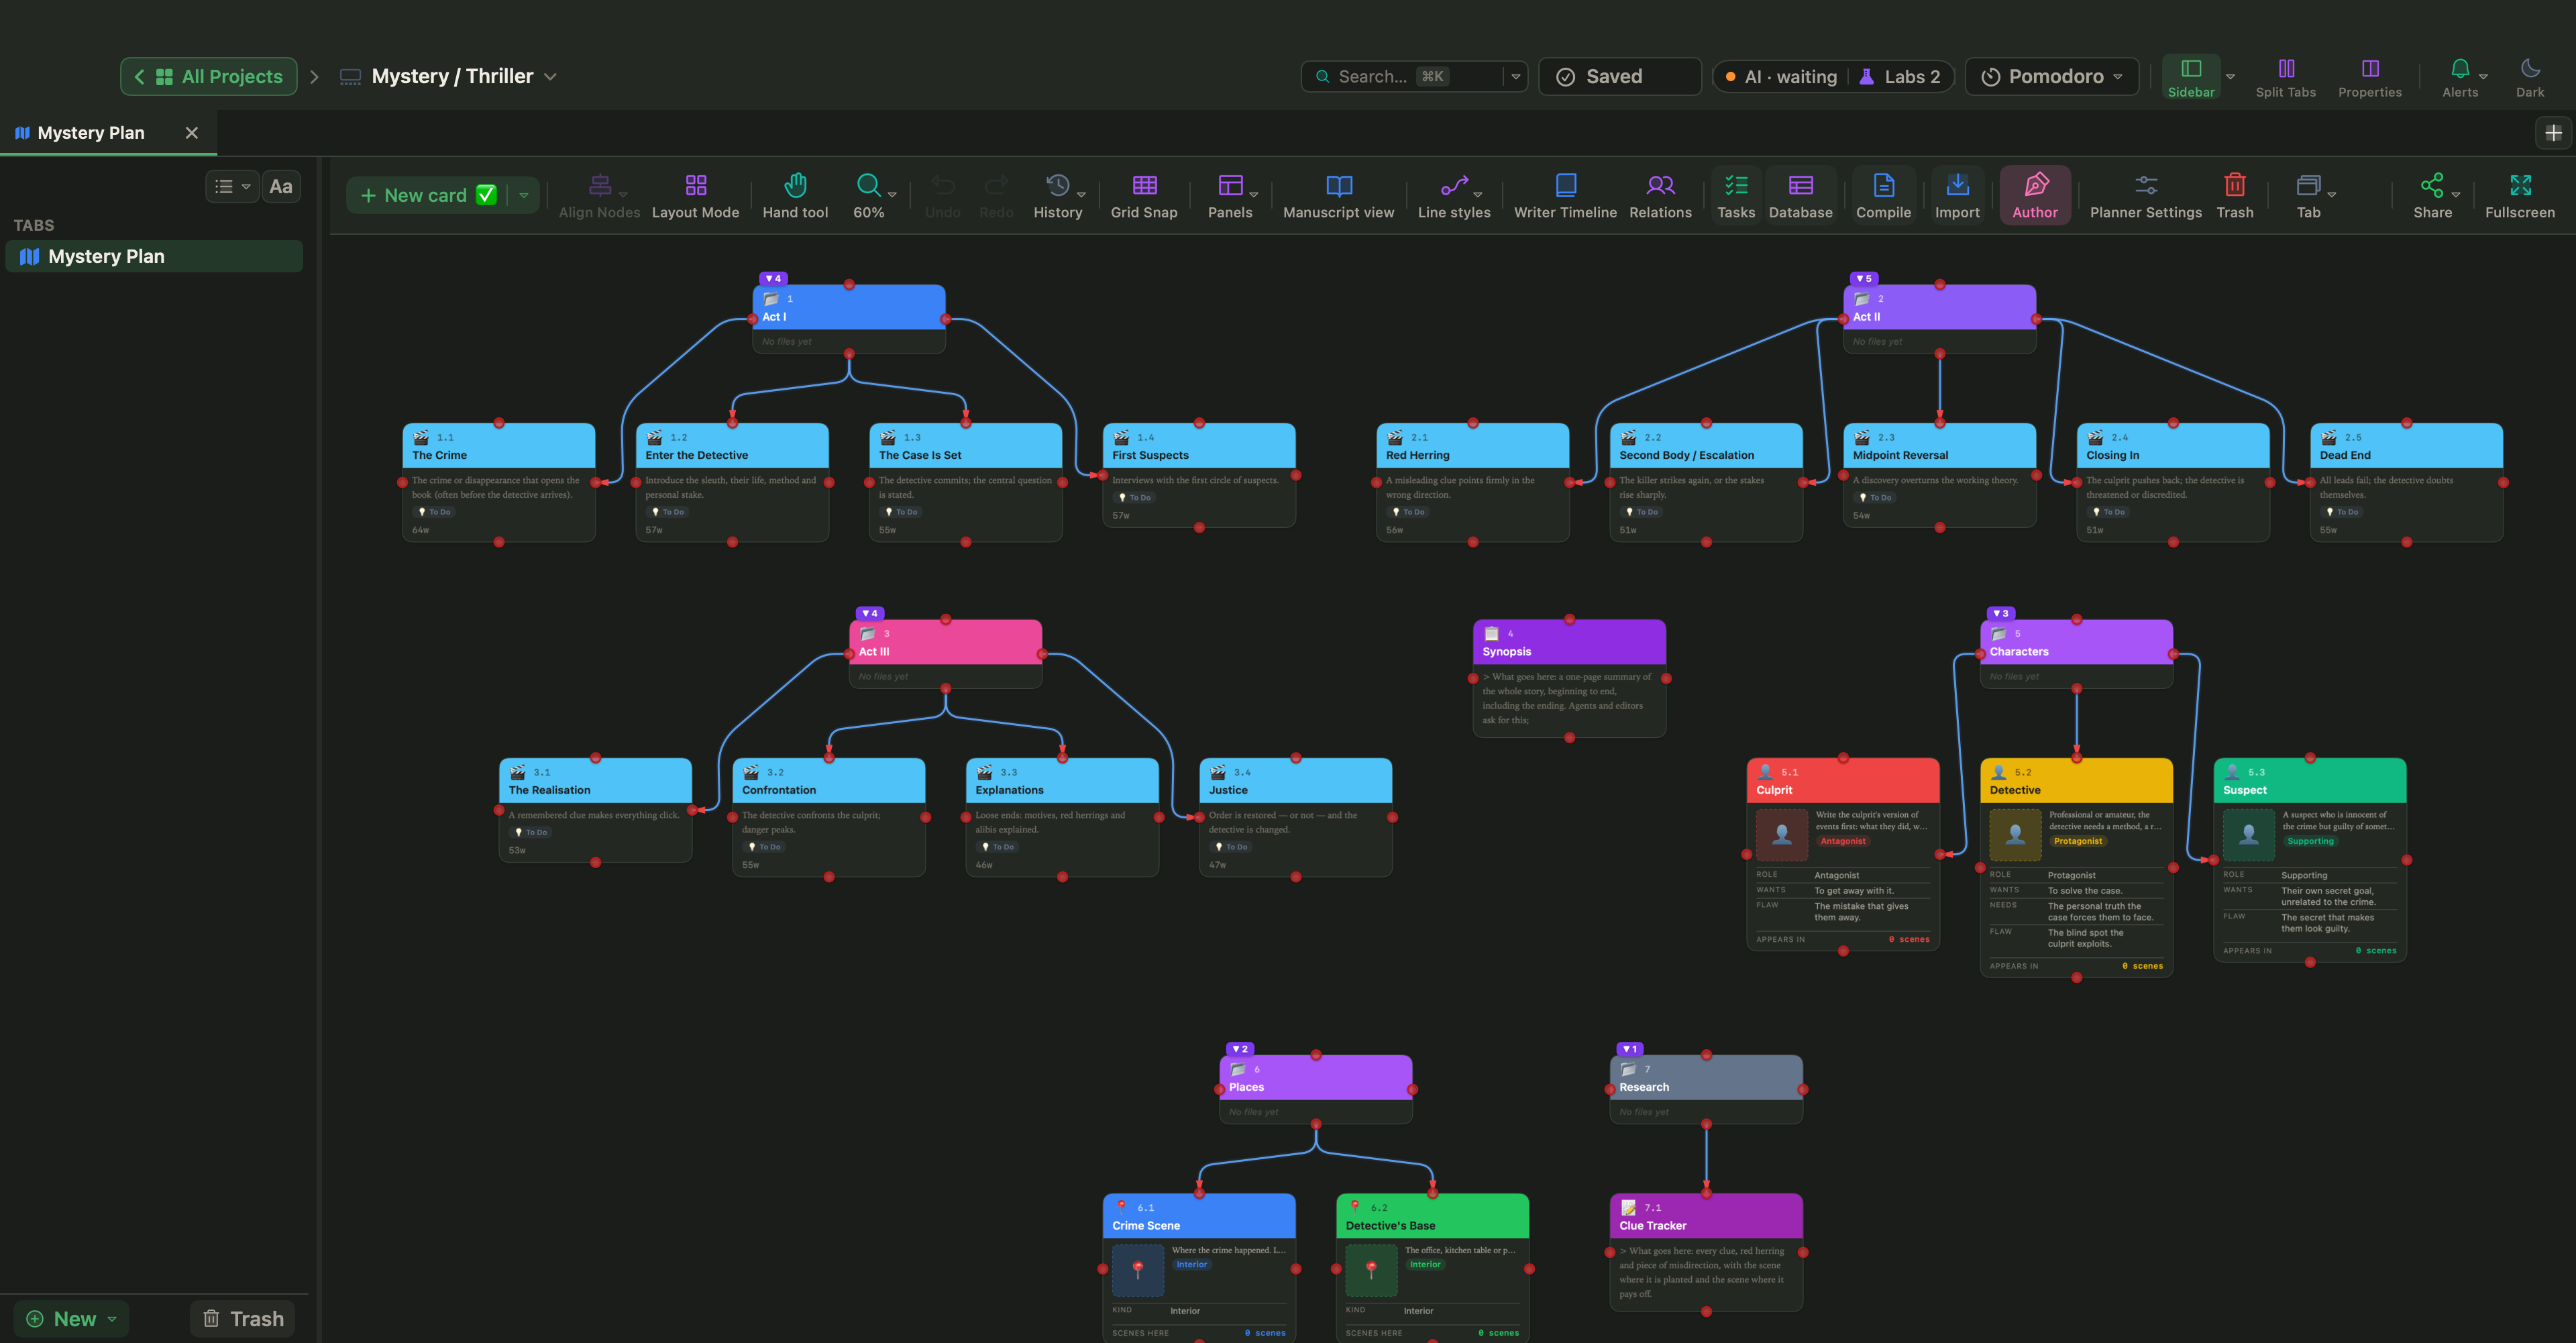
Choose File › New Project… (⇧⌘N), pick the Fiction category, select Mystery / Thriller and click Create…. You get thirteen scene cards in three acts, each with a beat from the Three Act Structure, a target tension and notes on what goes there:
| Act | Scenes, with their beats |
|---|---|
| Act I | The Crime (Setup), Enter the Detective (Setup), The Case Is Set (Inciting Incident), First Suspects (Rising Action) |
| Act II | Red Herring (First Pinch Point), Second Body / Escalation (First Pinch Point), Midpoint Reversal (Midpoint), Closing In (Second Pinch Point), Dead End (Crisis) |
| Act III | The Realisation (Climax), Confrontation (Climax), Explanations (Falling Action), Justice (Resolution) |
Outside the manuscript, and never compiled, are a Synopsis, profile cards for the Detective, the Culprit and a Suspect, two places (Crime Scene and Detective's Base) and a Clue Tracker note. The Culprit card asks you to write their version of events first, then hide it. Duplicate the Suspect card for each suspect (select it on the canvas and press ⌘D). Together these cards are a small story bible for the case.
Track every clue
The Clue Tracker holds a table of clues (Clue, Planted in, Real meaning, Revealed in), a table of red herrings (Red herring, Points to, Innocent explanation, Explained in) and a reminder to write the timeline of the real crime before you plot the investigation.
To link a clue to its payoff on the canvas, drag from the connection port of the scene that plants it to the scene that explains it. Right-click the line and choose Narrative Relation › Foreshadowing, or Edit Label… to note what the clue means. In the Writer Timeline (View › Writer Timeline, ⌥⌘T), the Timeline view's Links button shows these arrows.
Keep the two timelines apart
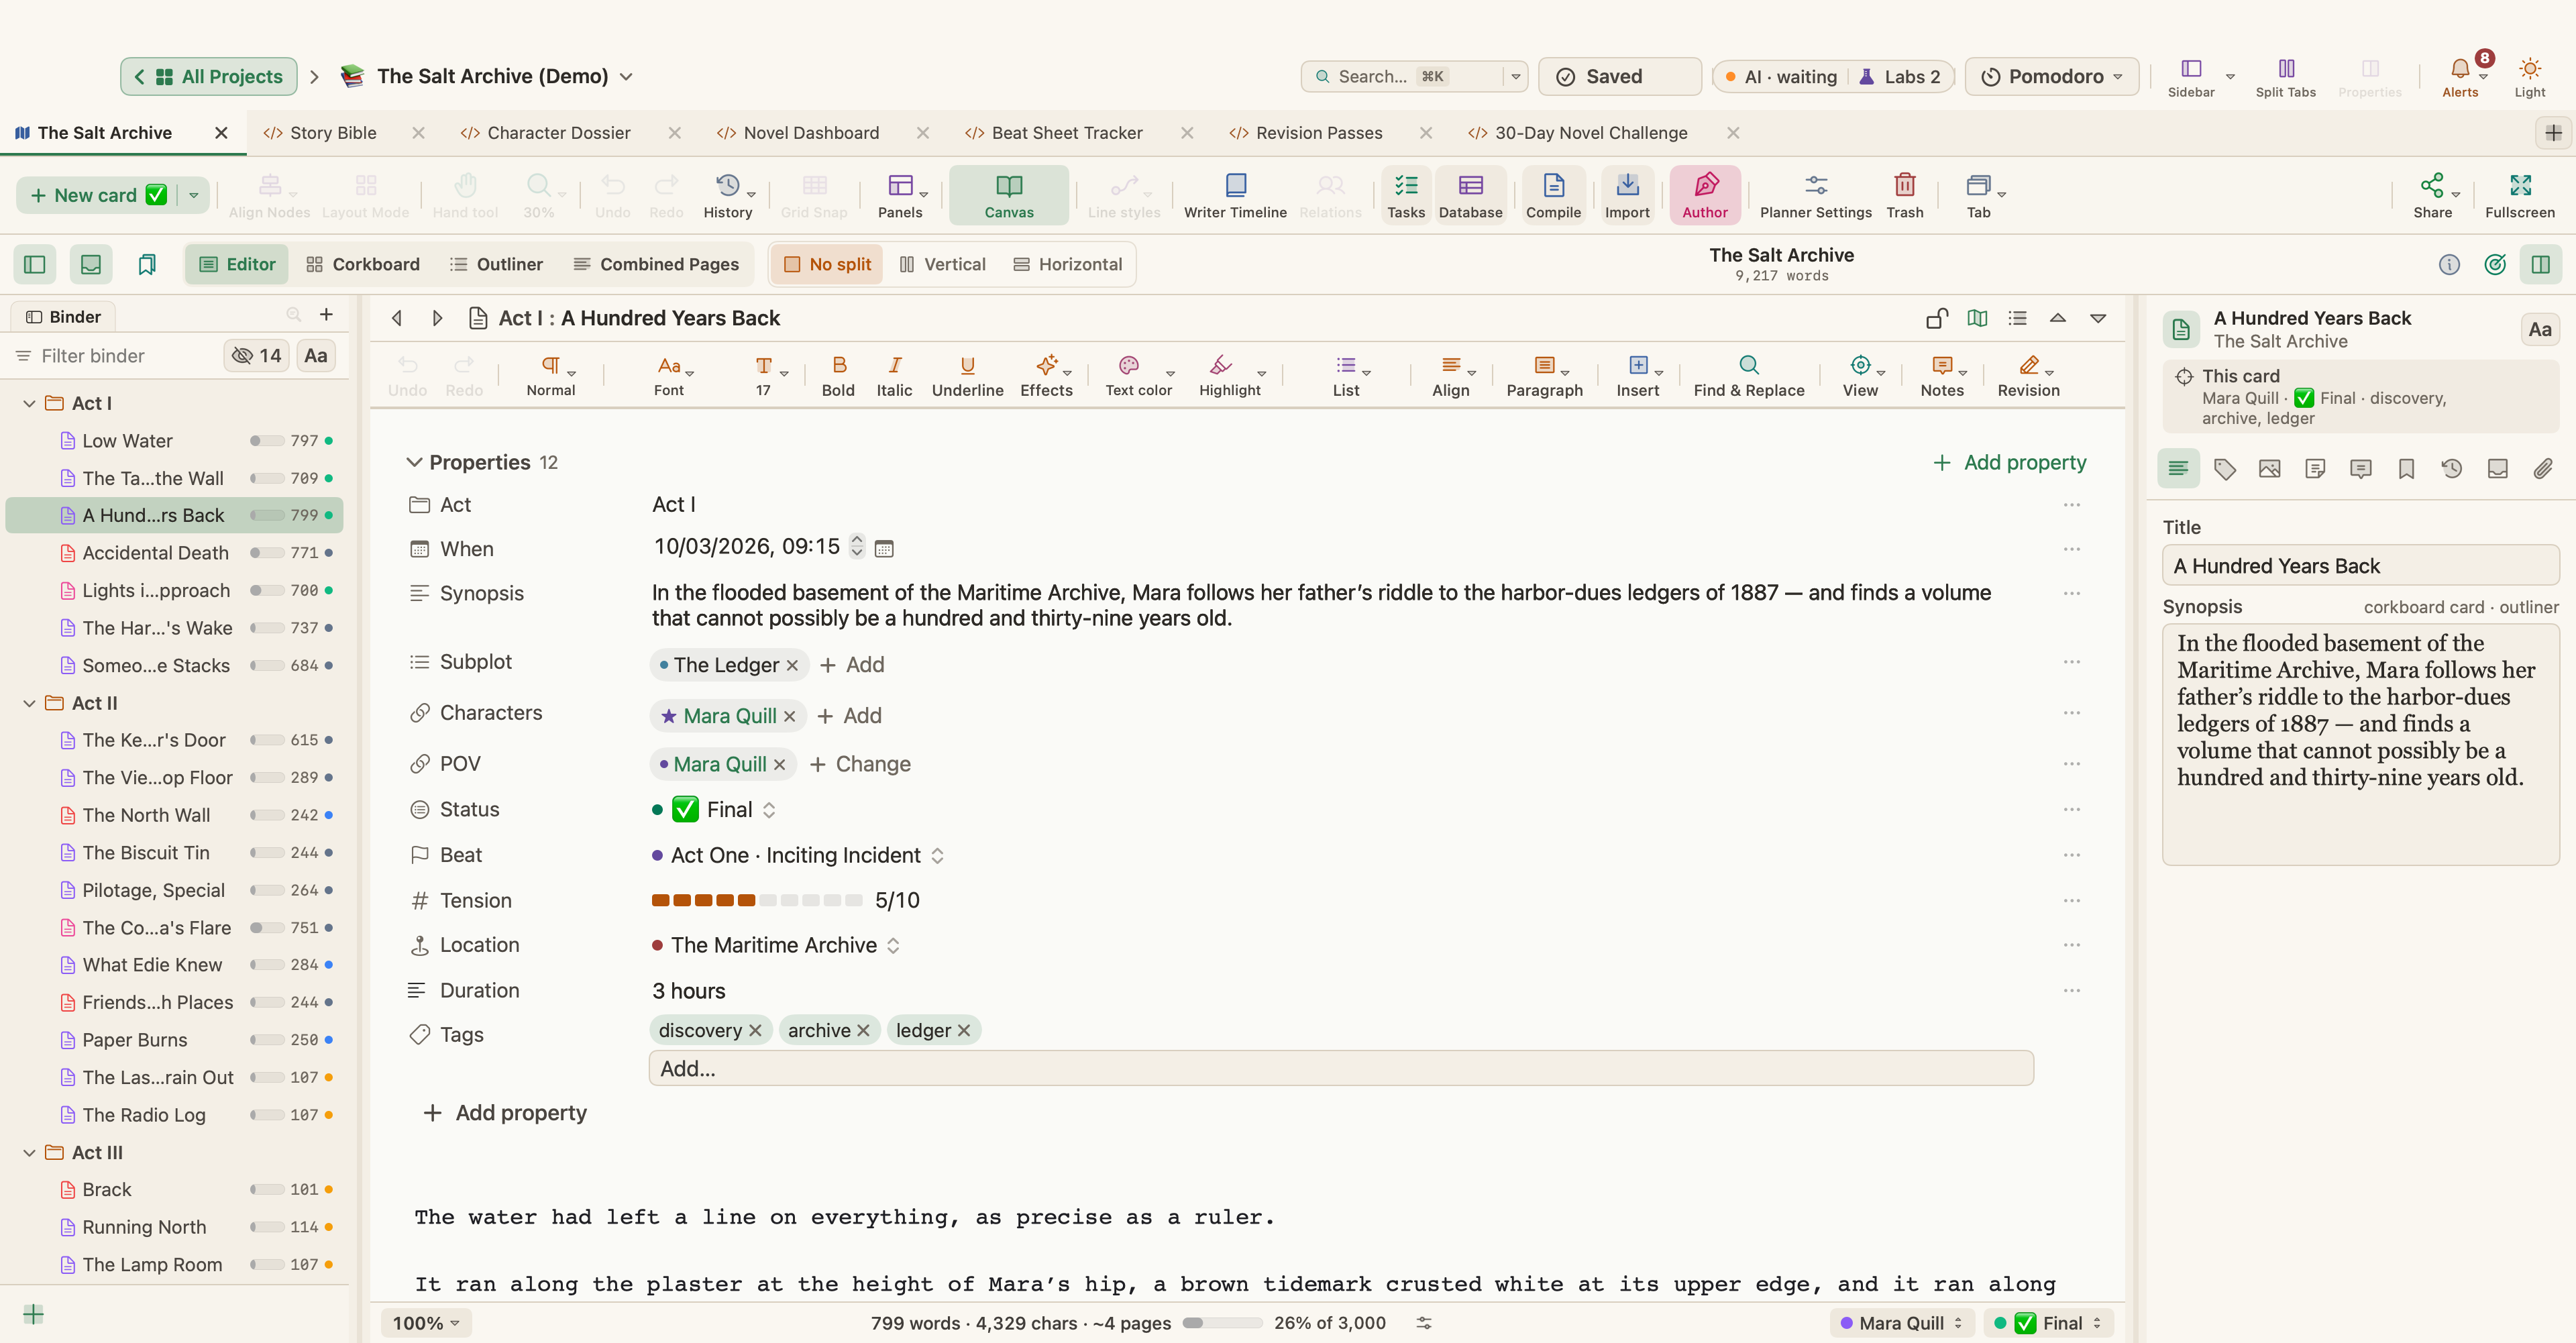
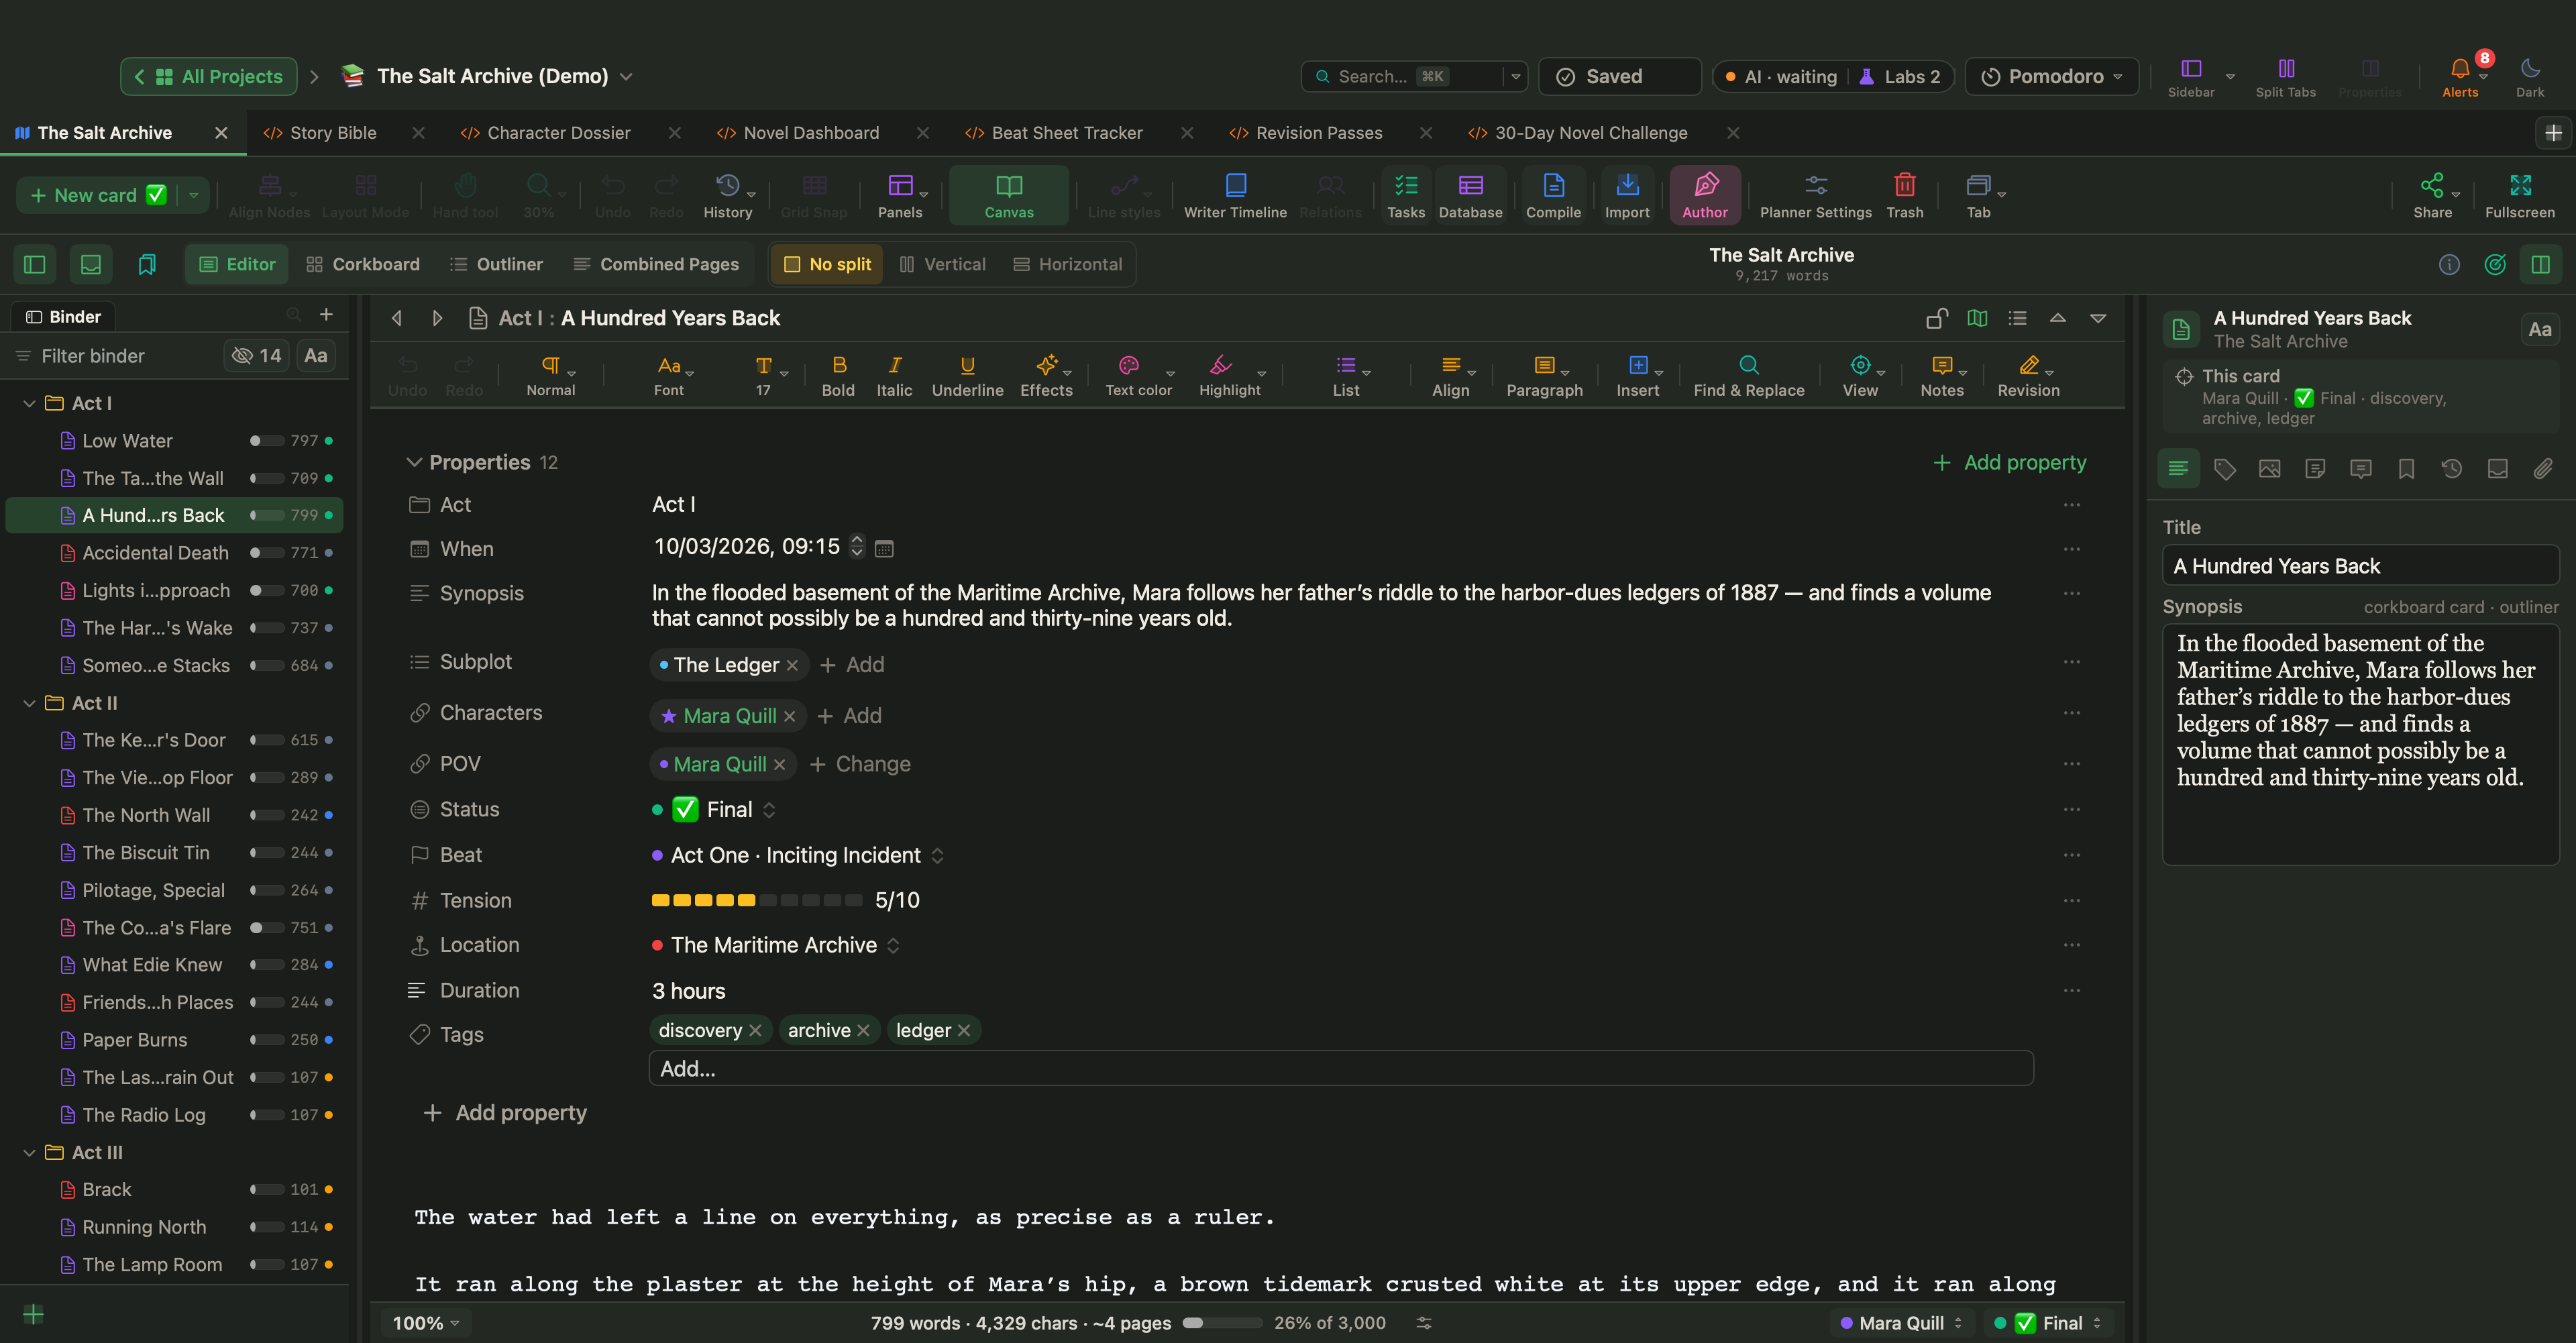
Give every scene a story time in View › Properties Panel (⌥⌘P): its Writer Timeline section holds Story time (start), Scene Type (with Flashback among the choices) and Era. In the editor the same facts sit above the text, with the story time under When.
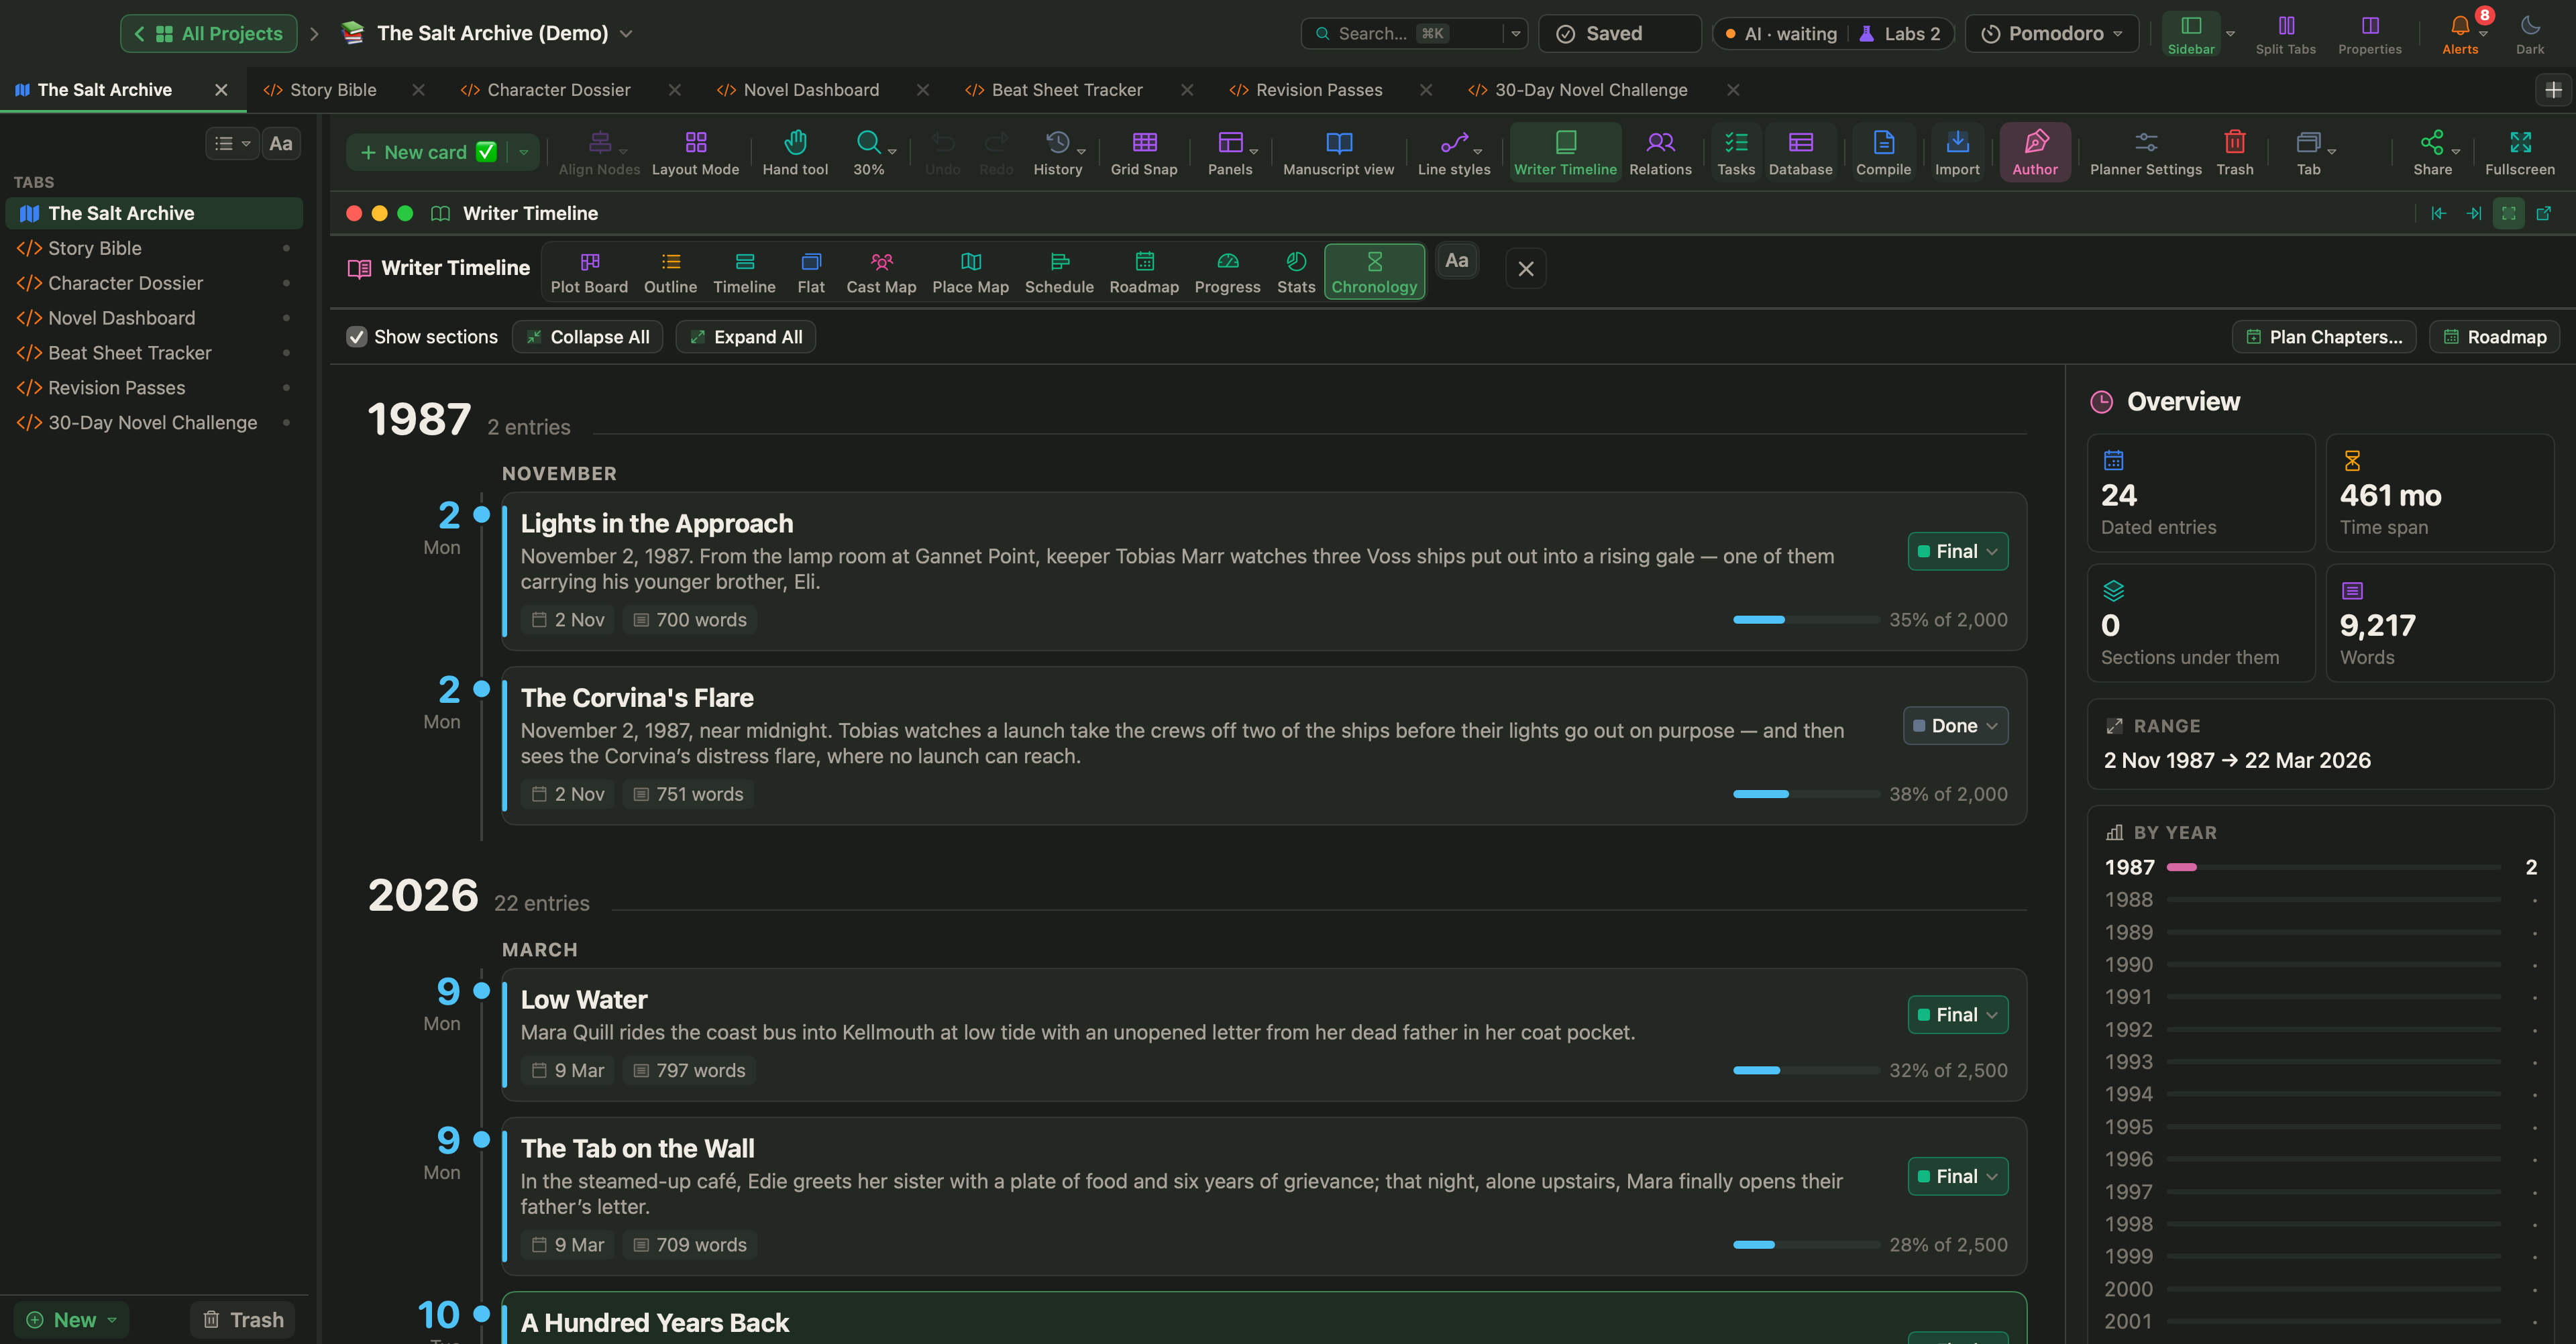
In the Writer Timeline, Sort the Timeline view by Story time for the order of the crime, or by Narrative order for the reader's. The Chronology view lists dated cards in date order, grouped by year and month. More in the novel timeline article.
Check continuity (Labs)
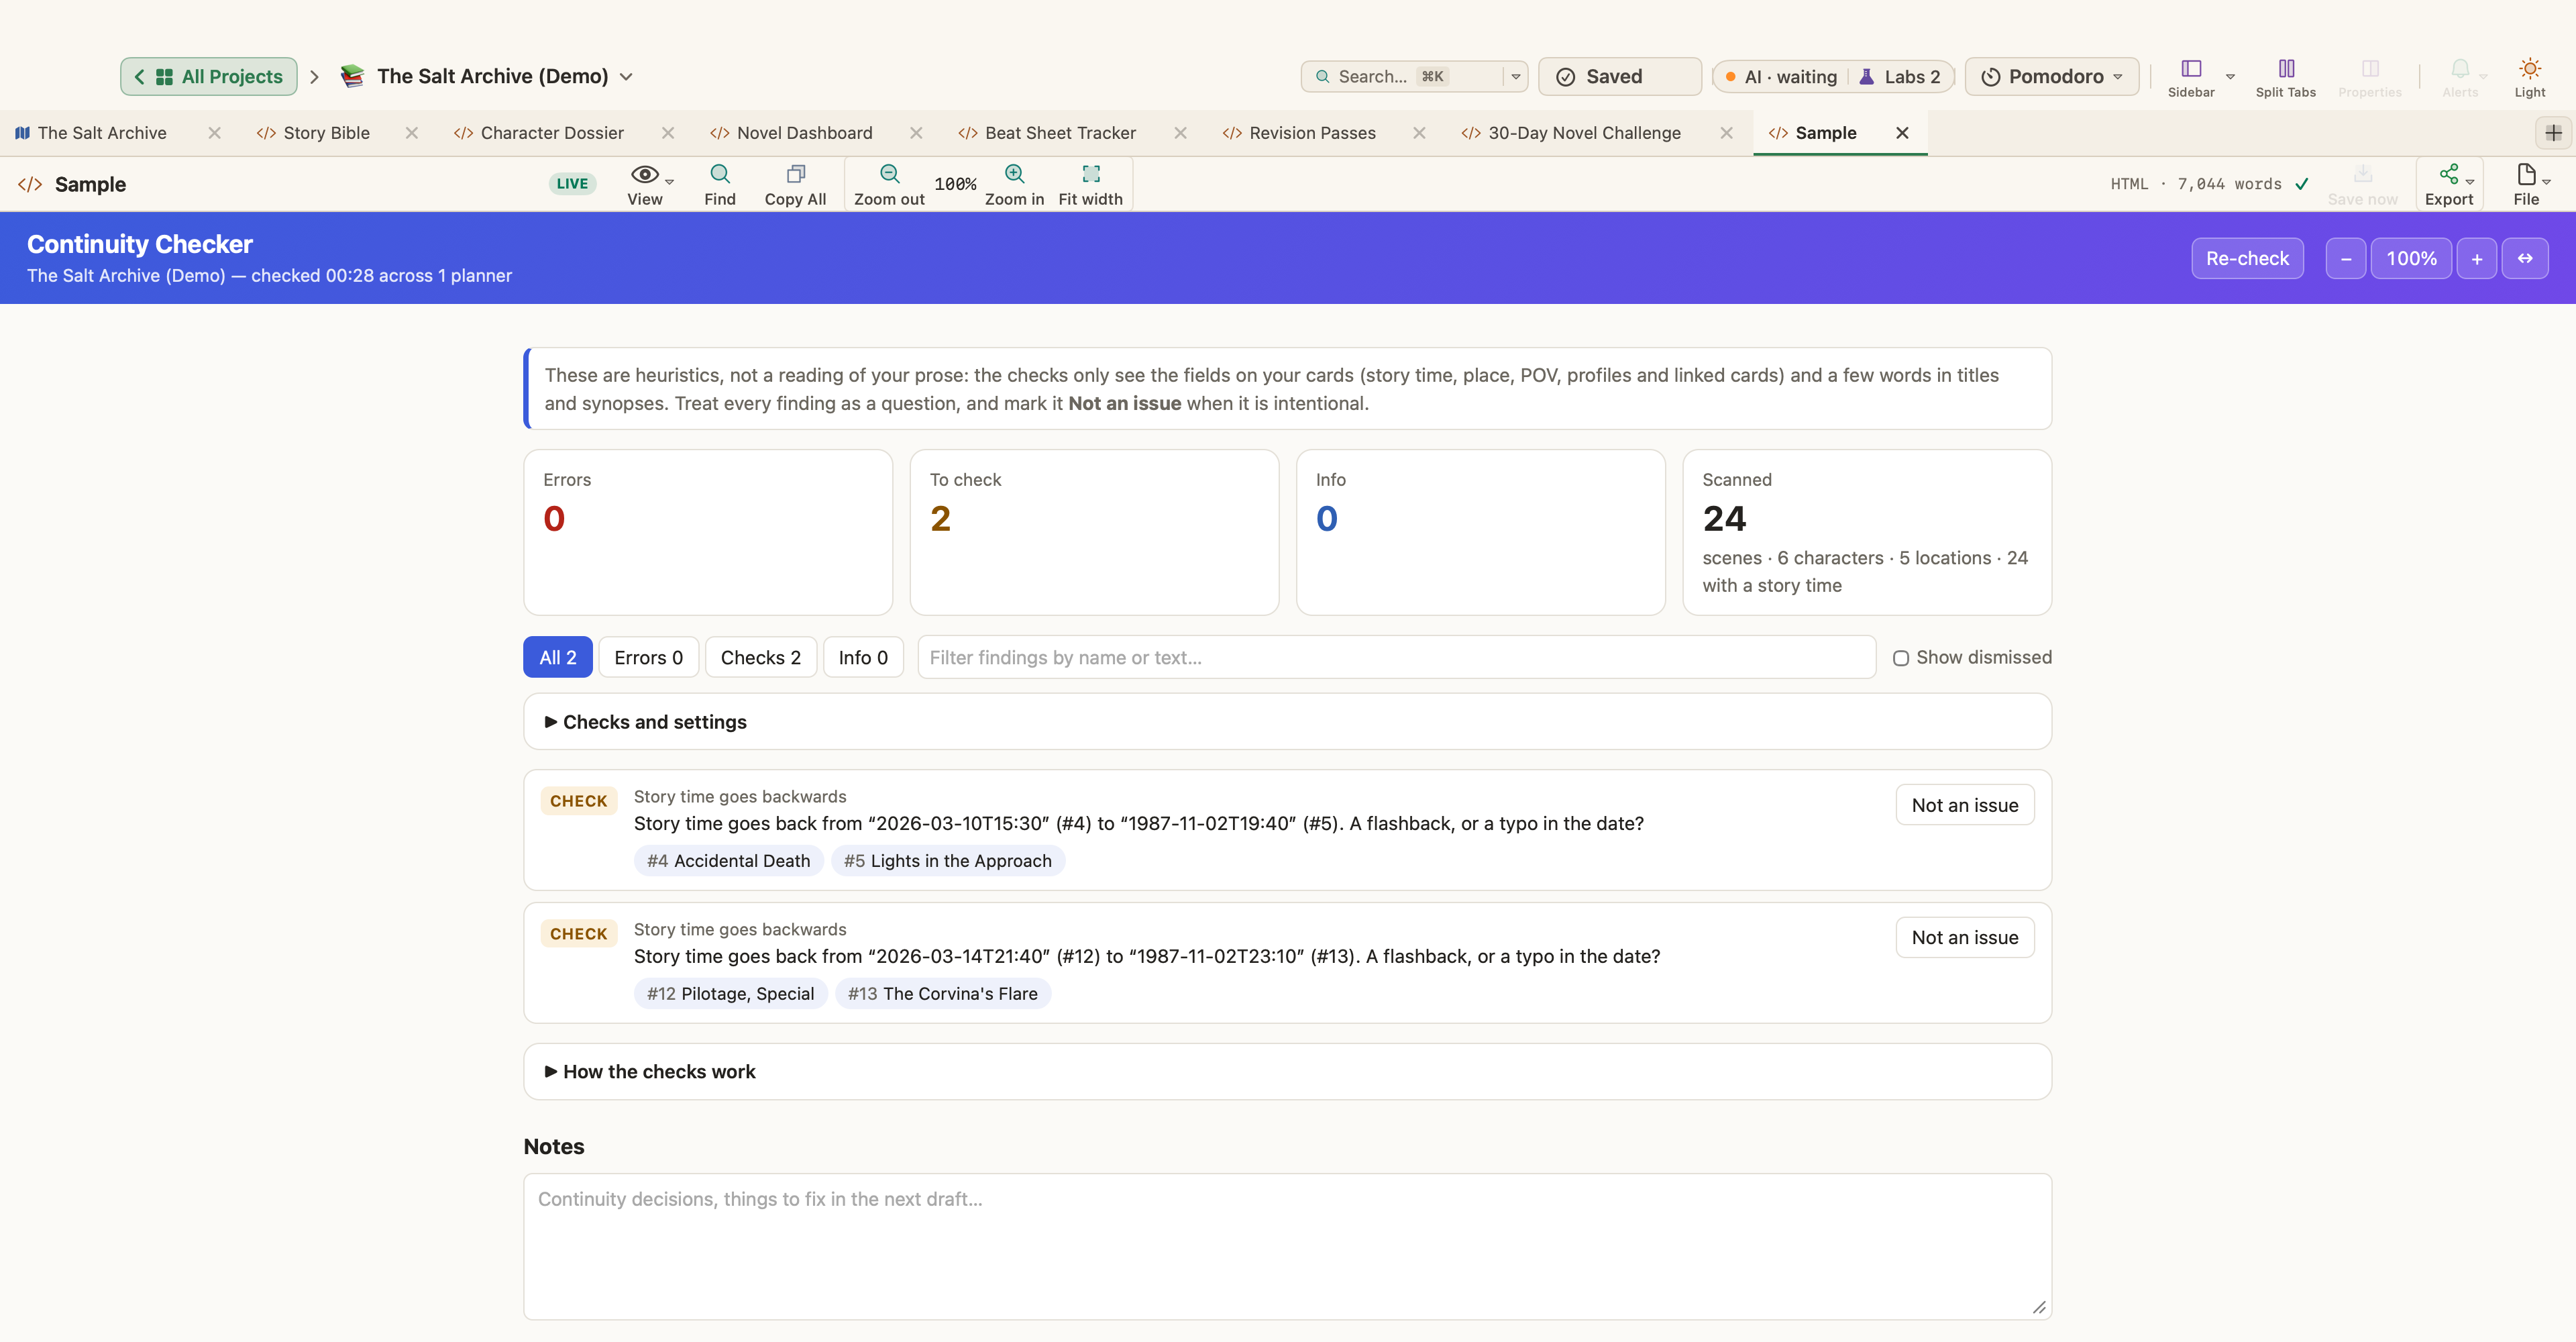
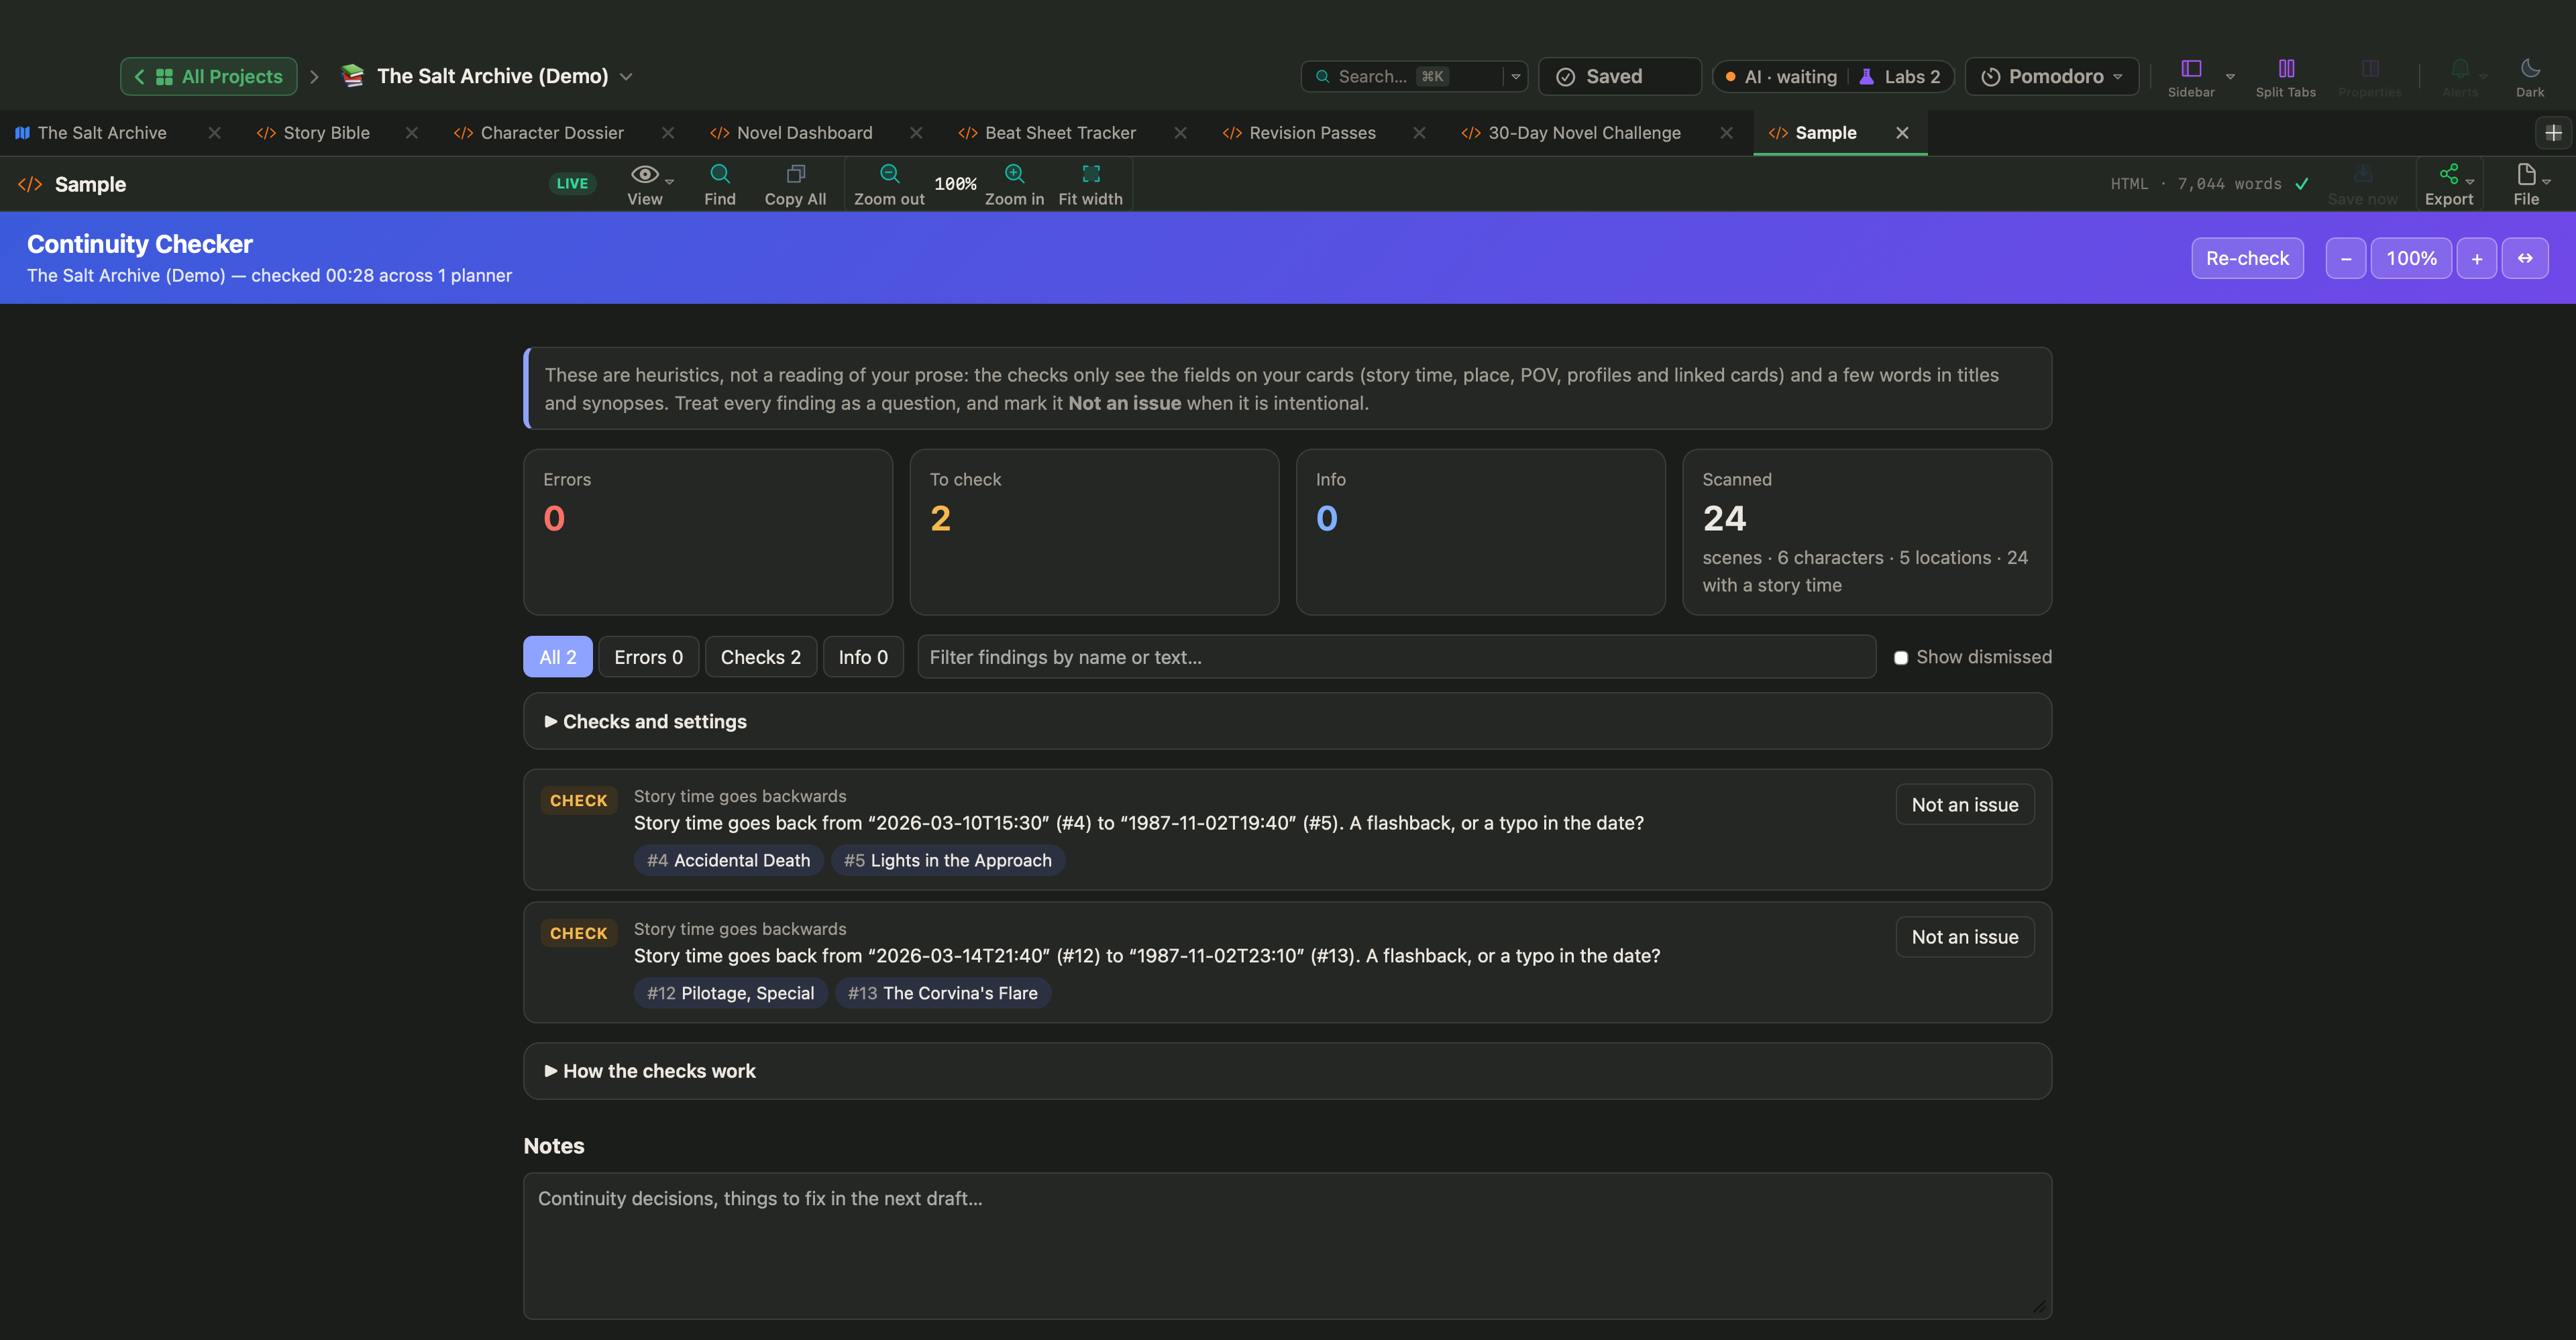
Live Pages are a Labs feature. Turn on Turn HTML pages into small apps (Live Pages) in Settings › Labs, then choose New ▾ › Live Page ▸ › Examples ▸ in the sidebar and pick Continuity Checker from the Fiction submenu. It checks your scenes for timeline order, a character in two places at once, characters who appear after their death, POV gaps, and scenes without a place or cast. Click a finding to open the card, or mark it Not an issue. See Live Pages.
Write the crime first and keep the Clue Tracker current as you outline. When the draft is done, read it once as a suspicious reader, checking each clue against its row. To place your midpoint and climax, see three-act structure.