 WriterMorph

How to import a Word manuscript and split it into parts and chapters
Bring a whole book from Word into WriterMorph in one step, with every part as a folder and every chapter as a document. With a video, a picture of each step and what to do when the split isn't right.
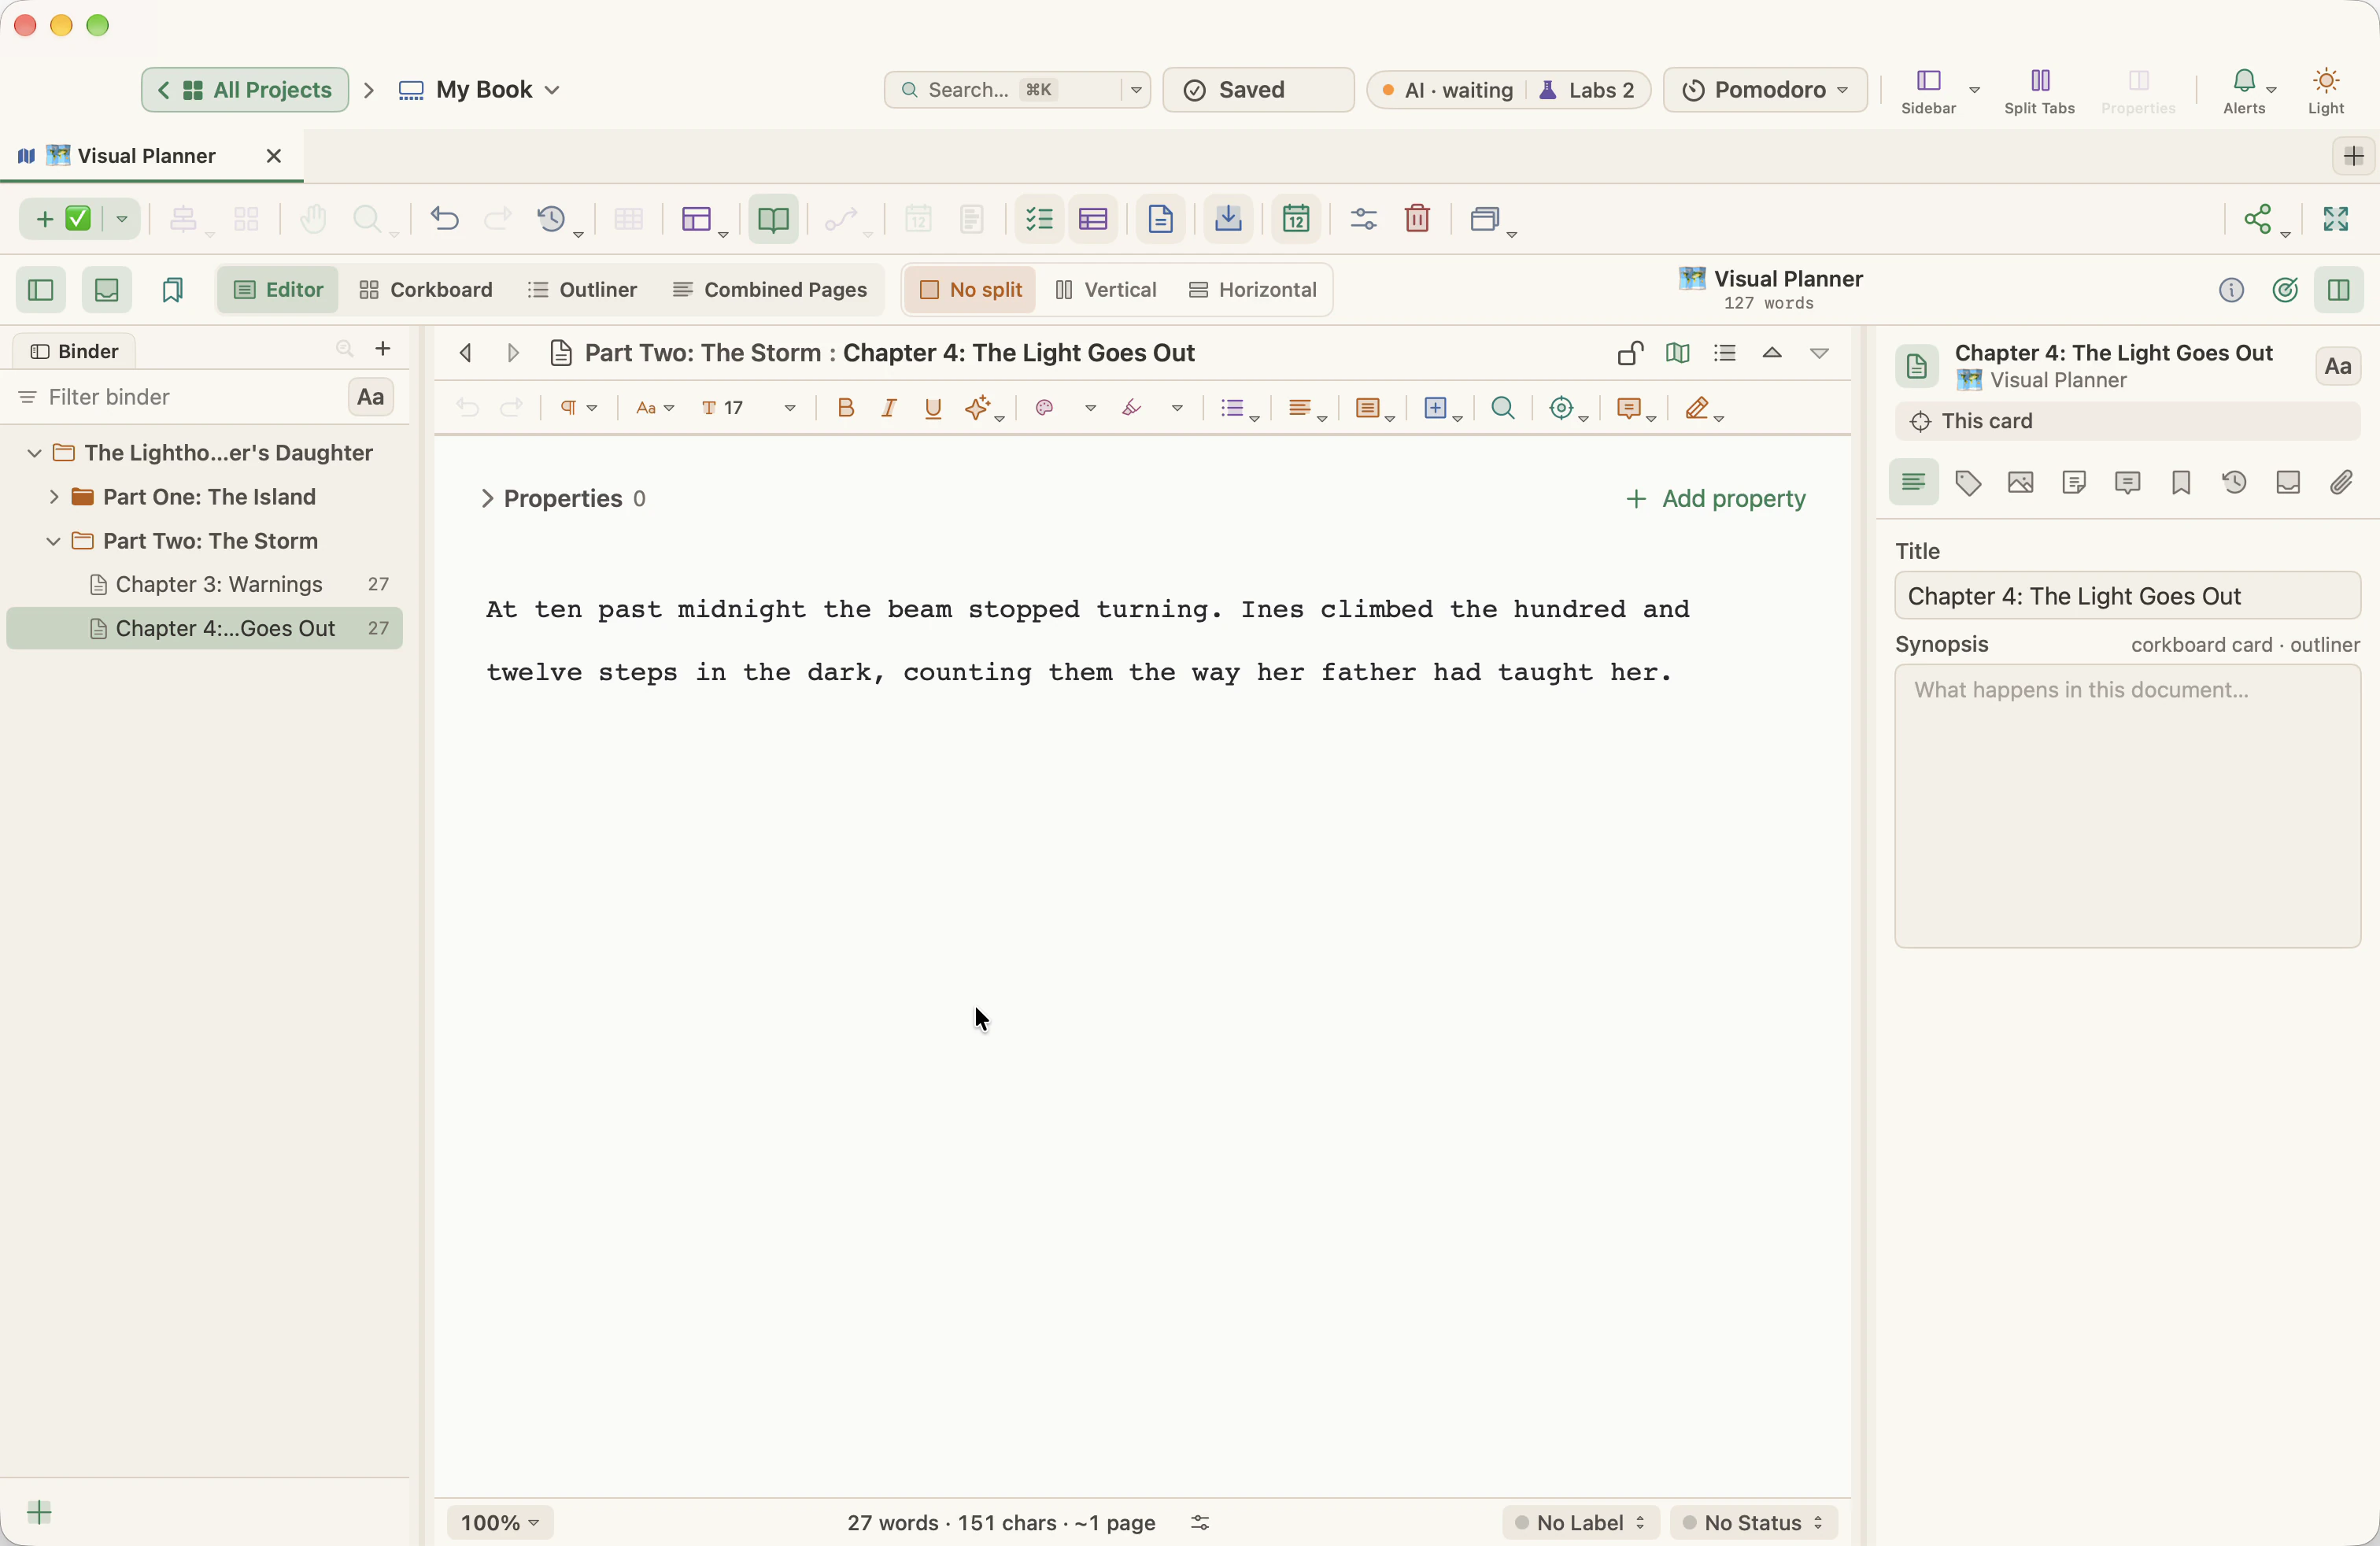
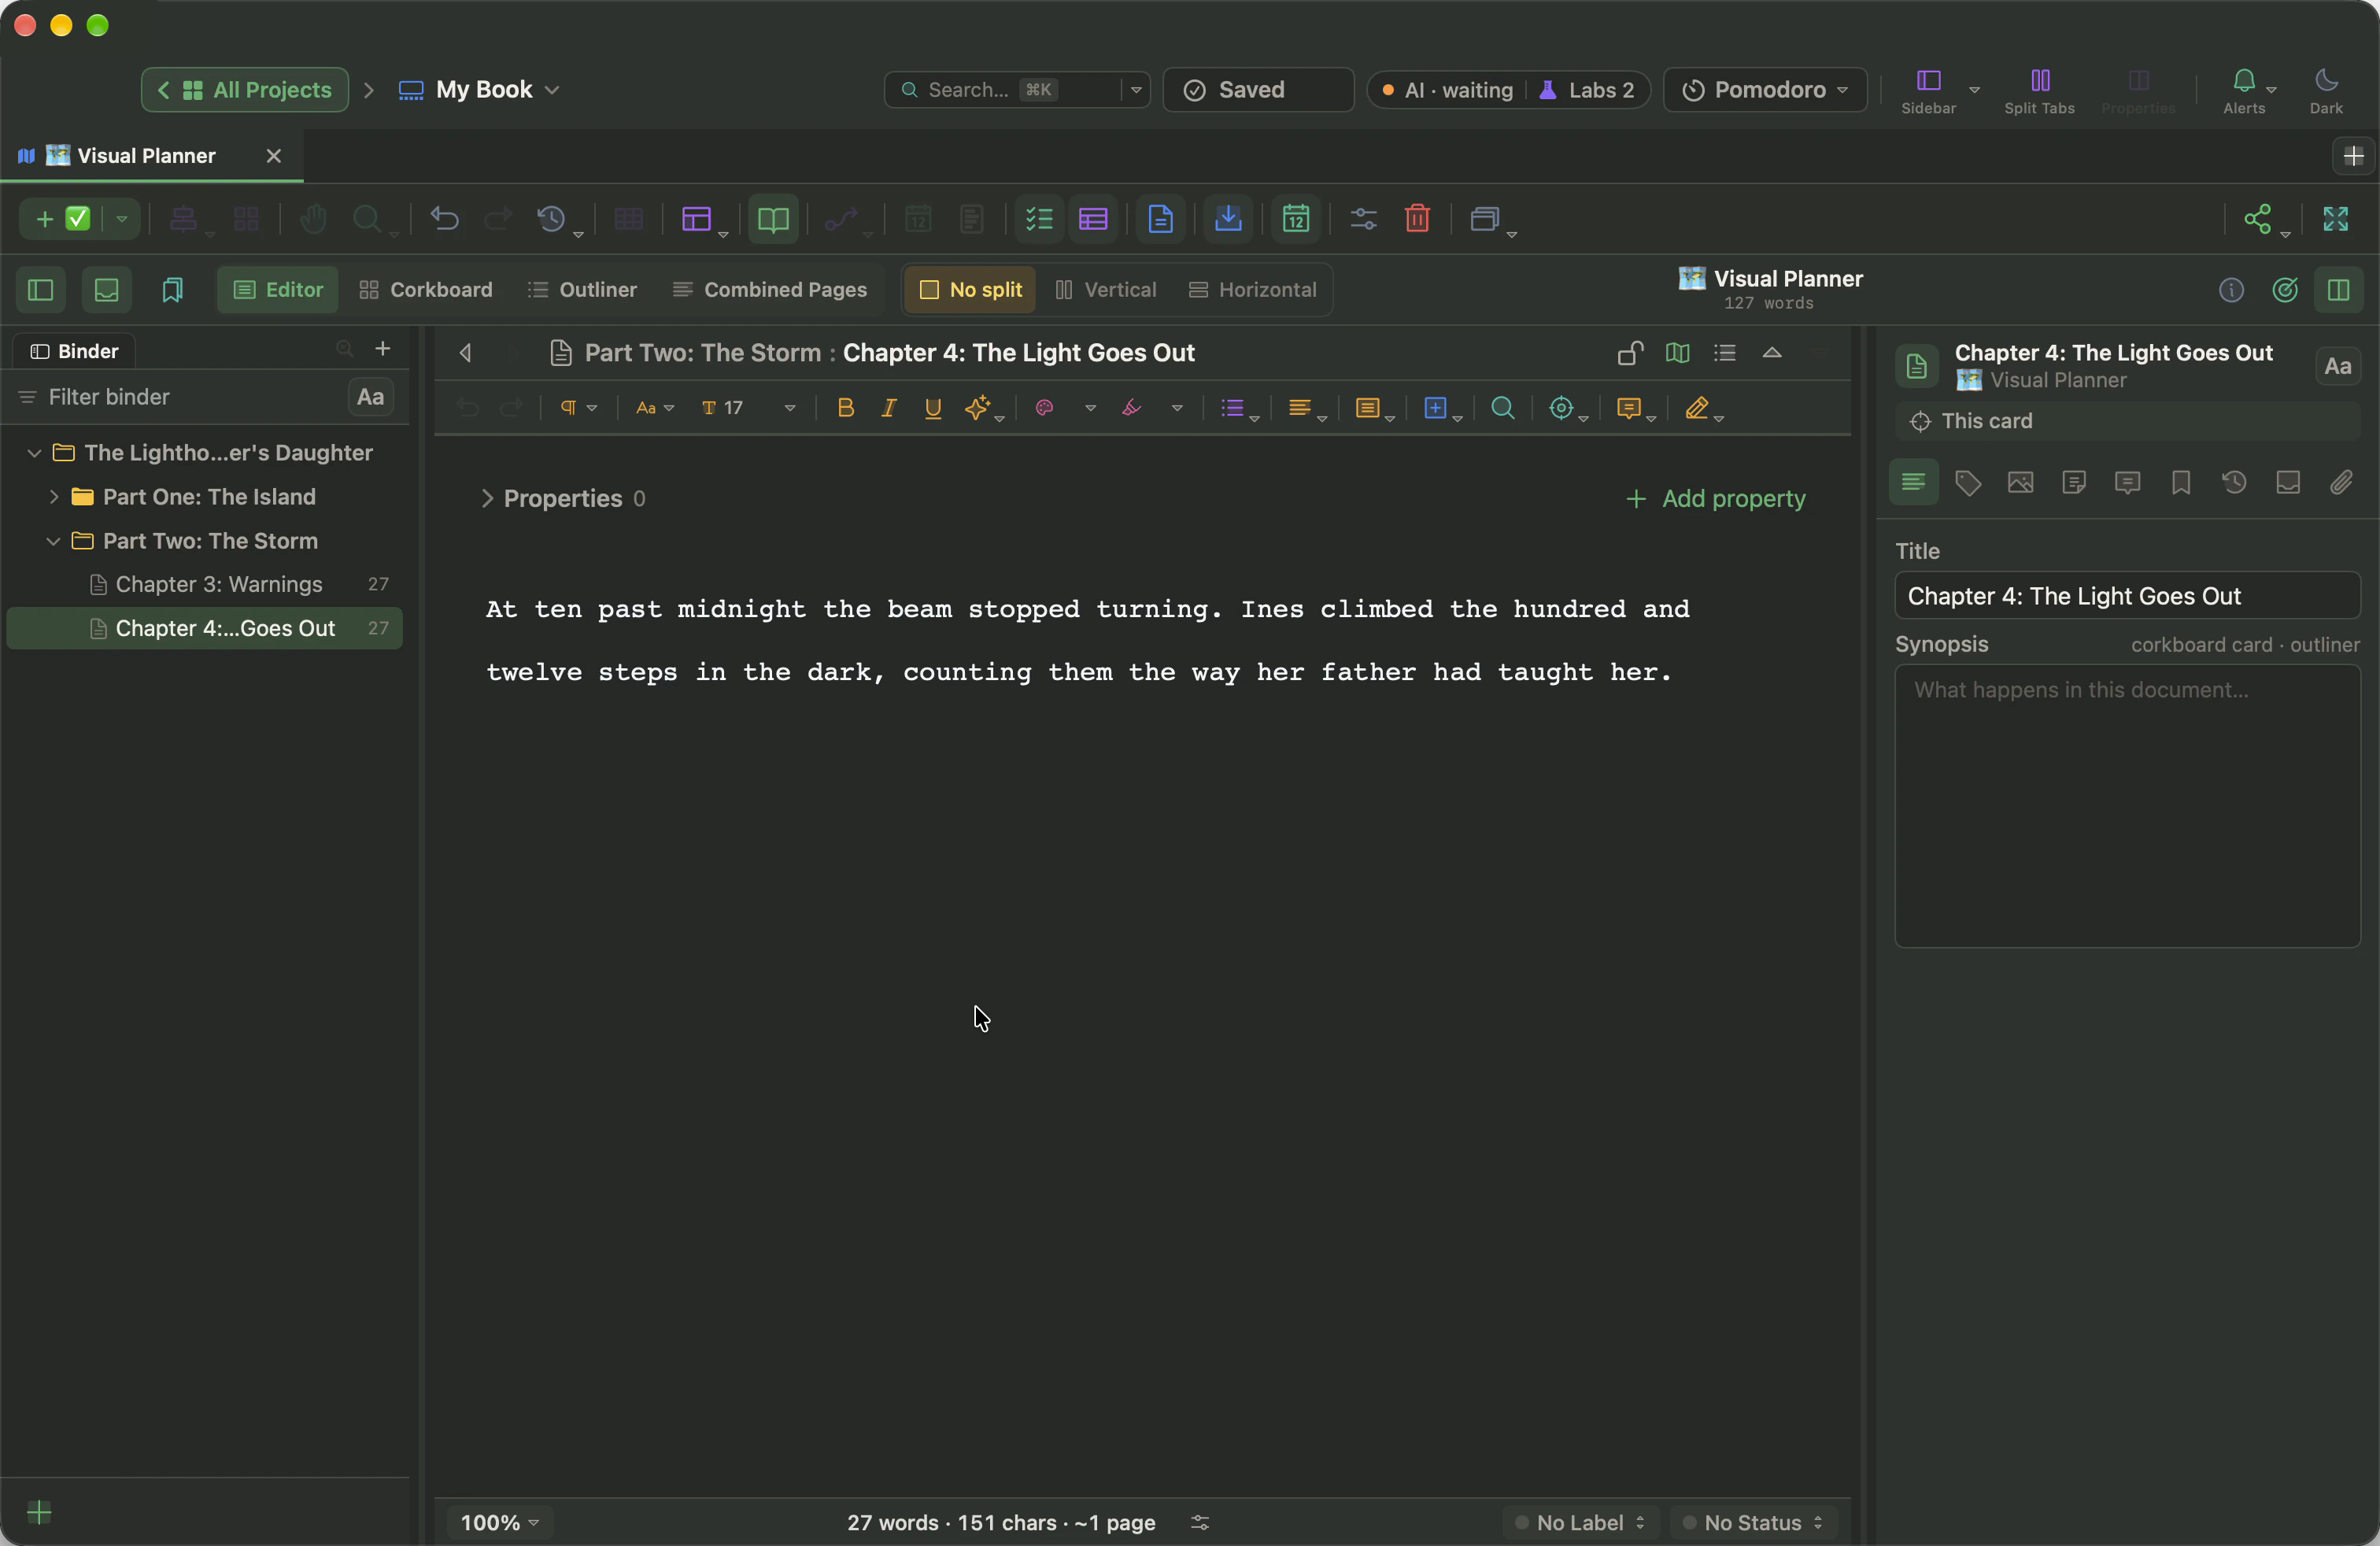
Most books start life somewhere else, very often as one long Word file. WriterMorph can take that file and lay it out as a book in a single step: every part becomes a folder in the binder, every chapter becomes a document, and the text arrives with its italics, bold, comments and footnotes. From there you have the Corkboard, the Outliner, targets and Compile, chapter by chapter.
This guide shows the whole route, with a short video and a picture of each step.
Before you import: check your headings
WriterMorph splits the file where your headings are, so a minute in Word first pays off.
- Use Word's heading styles. Set your part titles in Heading 1 and your chapter titles in Heading 2: select the line and click the style in the Home tab's Styles. Word's Navigation Pane (in the View tab) lists every heading, which is a quick way to check that none is missing.
- Only chapters? Heading 1 for every chapter is fine. You will get a flat list of chapters with no part folders.
- No styles at all? WriterMorph also recognises headings by their look: a short line set noticeably larger than the body text, or a line that is entirely bold. The largest size becomes folders, the smaller sizes become documents.
Your Word file itself is never changed. WriterMorph reads a copy.
Step by step
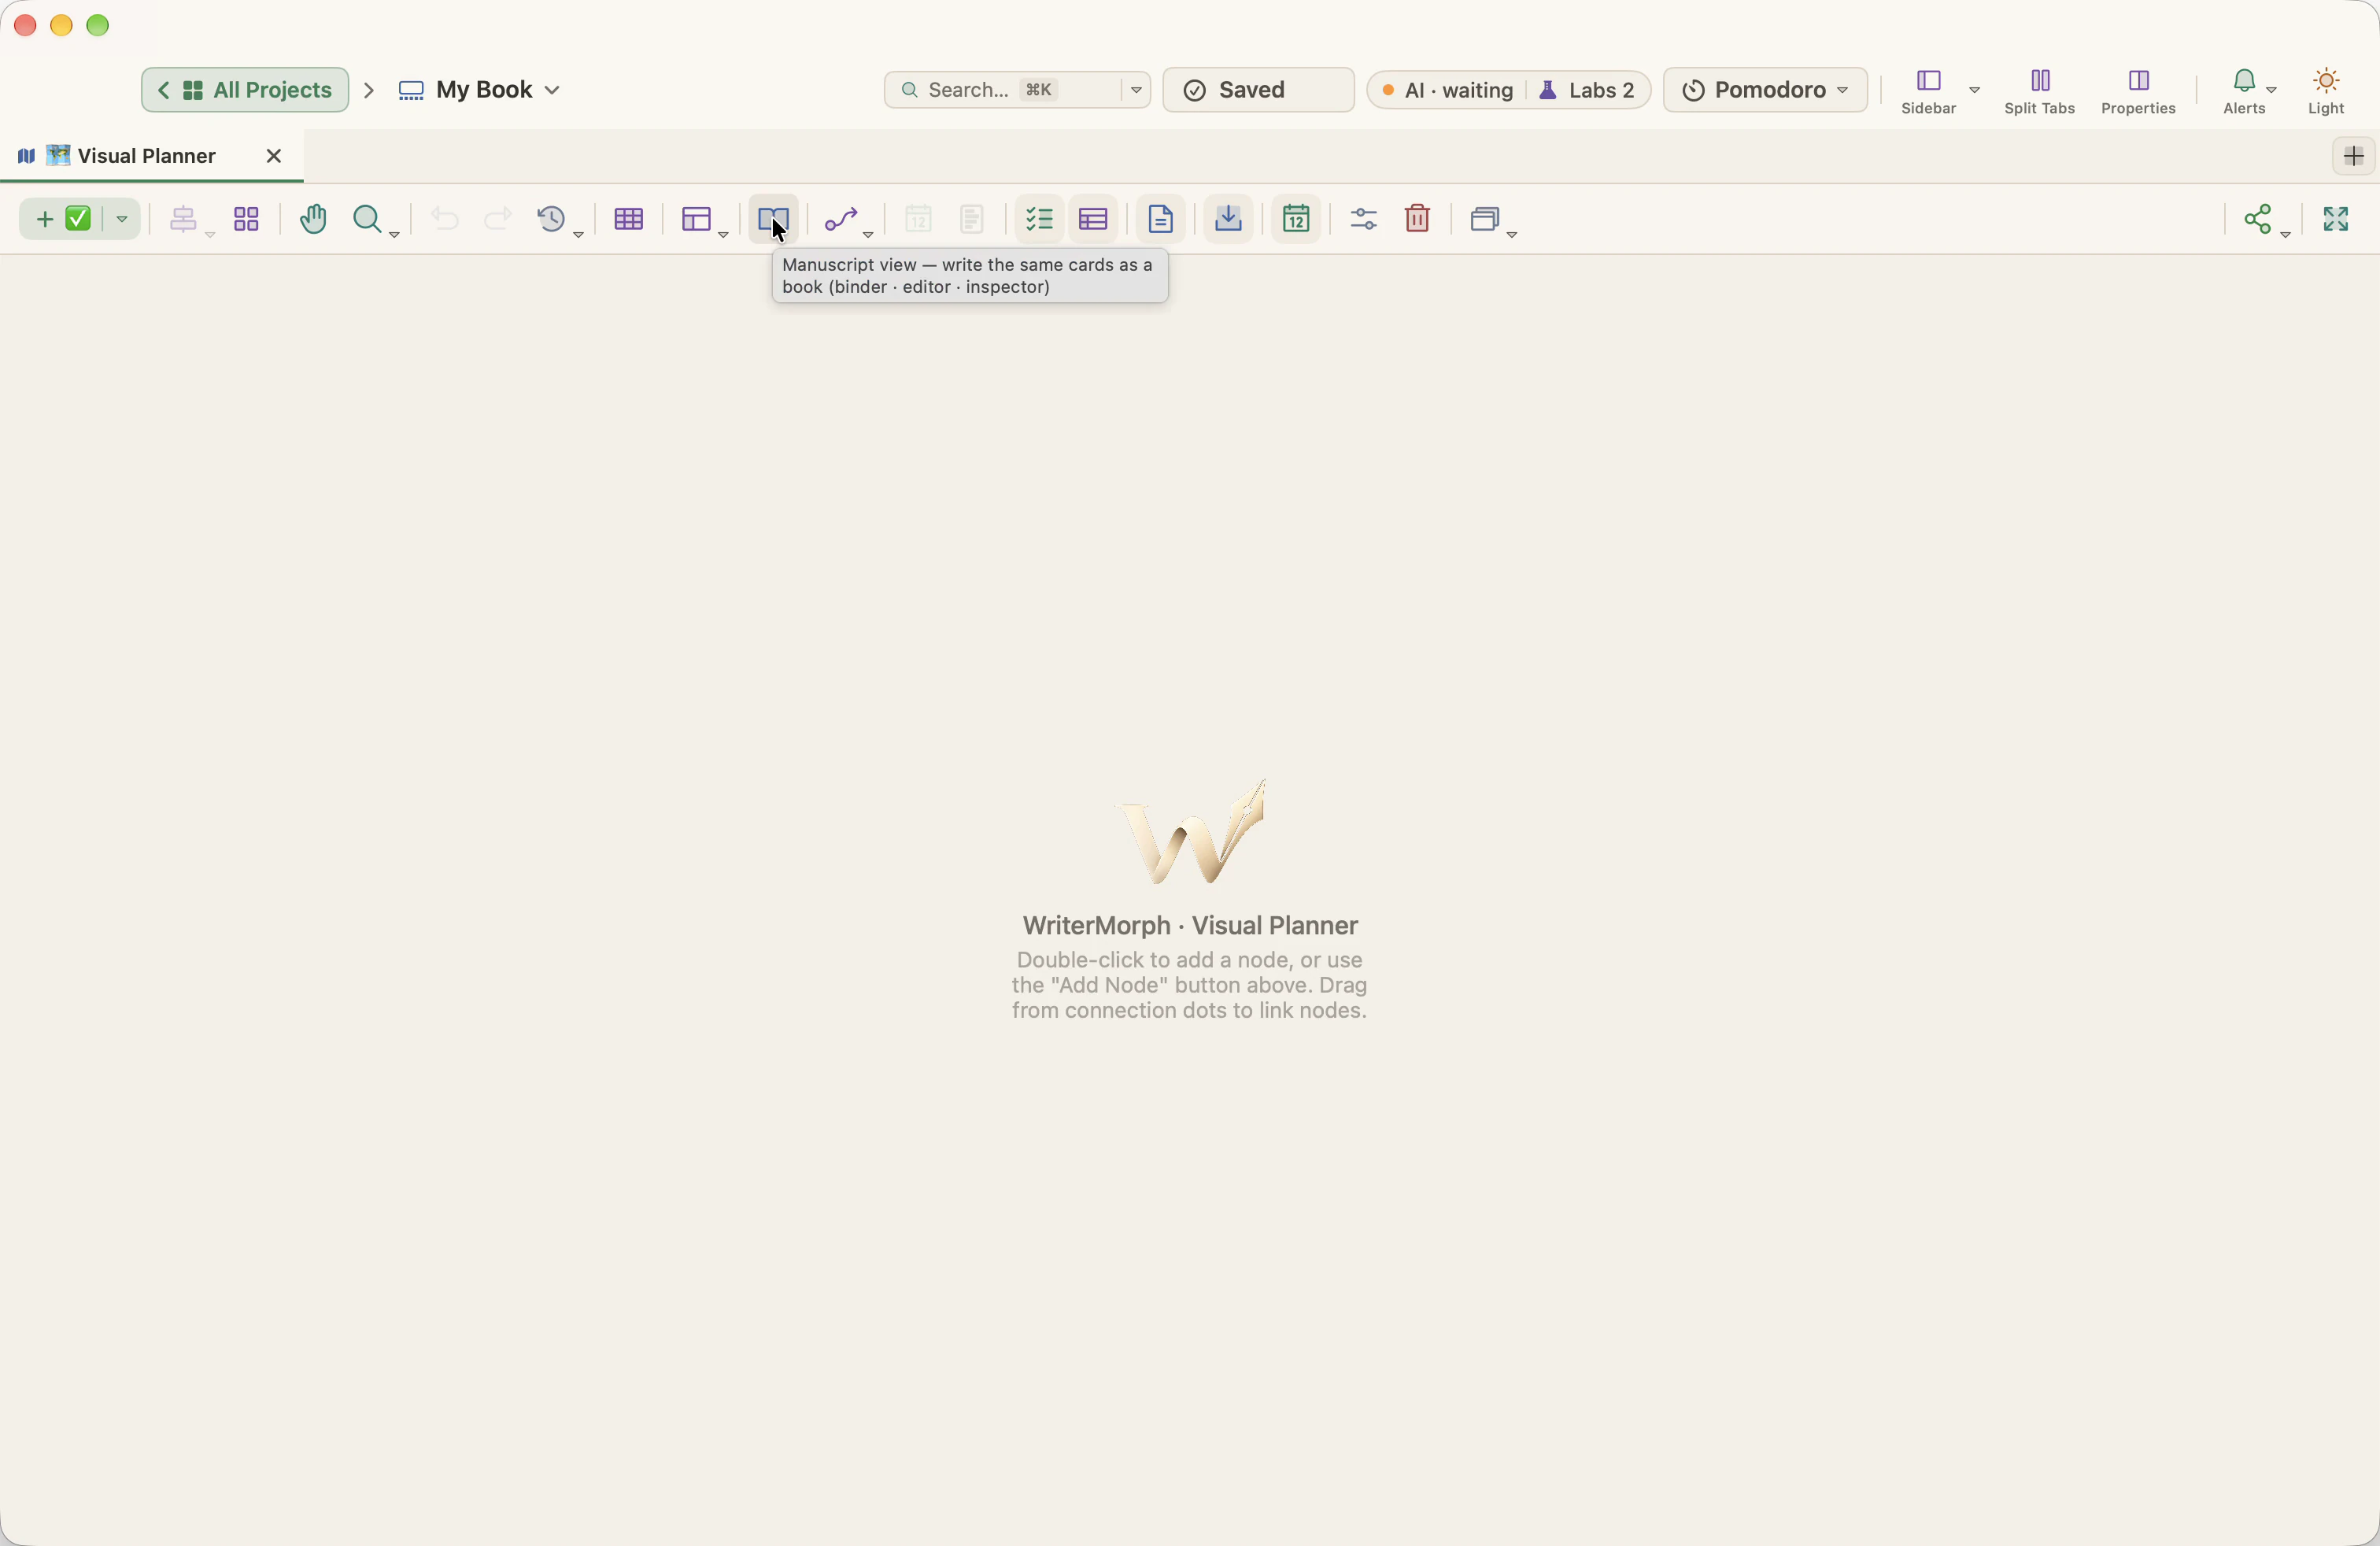
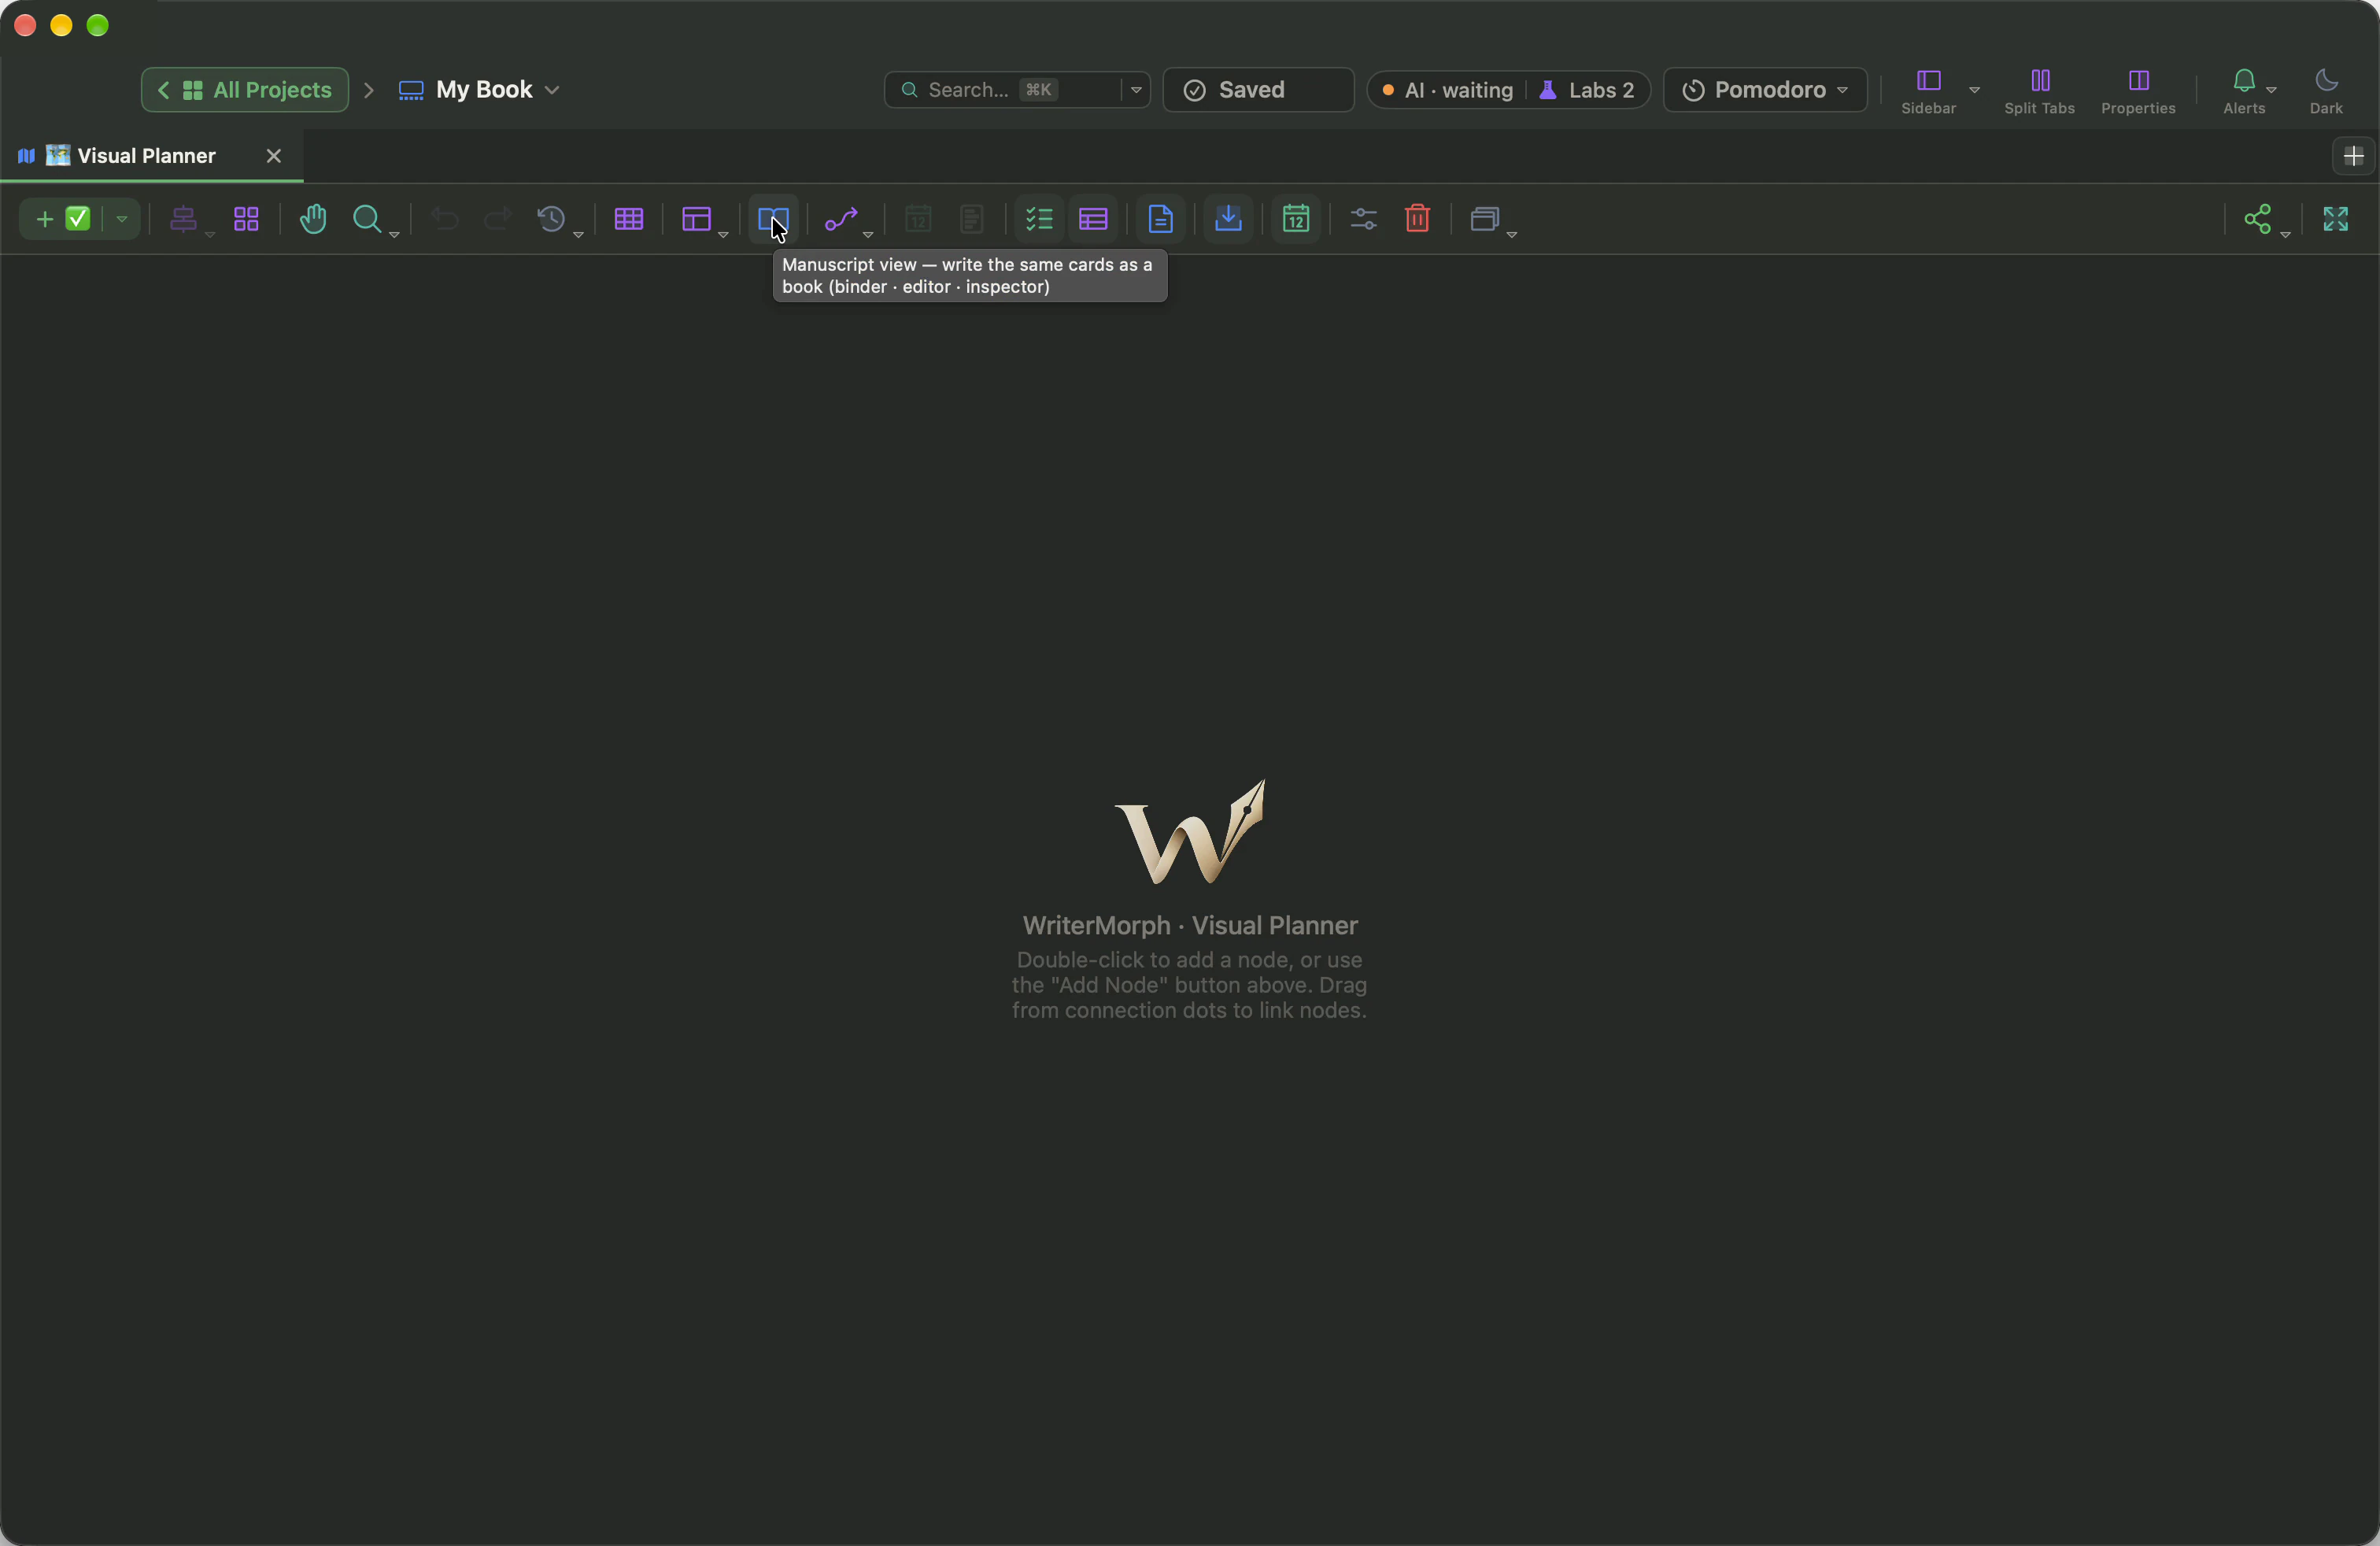
1. Open your book in Manuscript Mode
Open the project and click Manuscript view in the planner toolbar, or press ⌃⌘M (Control, Command and M together). A Manuscript tab works too. The book import needs one of them; anywhere else WriterMorph answers "Open the Manuscript view first".
2. Choose the book import
Choose File › Import Files › Word, OpenDocument or RTF into the Book…. The File menu is in the menu bar at the very top of the screen, next to the Apple menu, not inside the WriterMorph window. In full screen, move the pointer to the top edge and the menu bar appears.
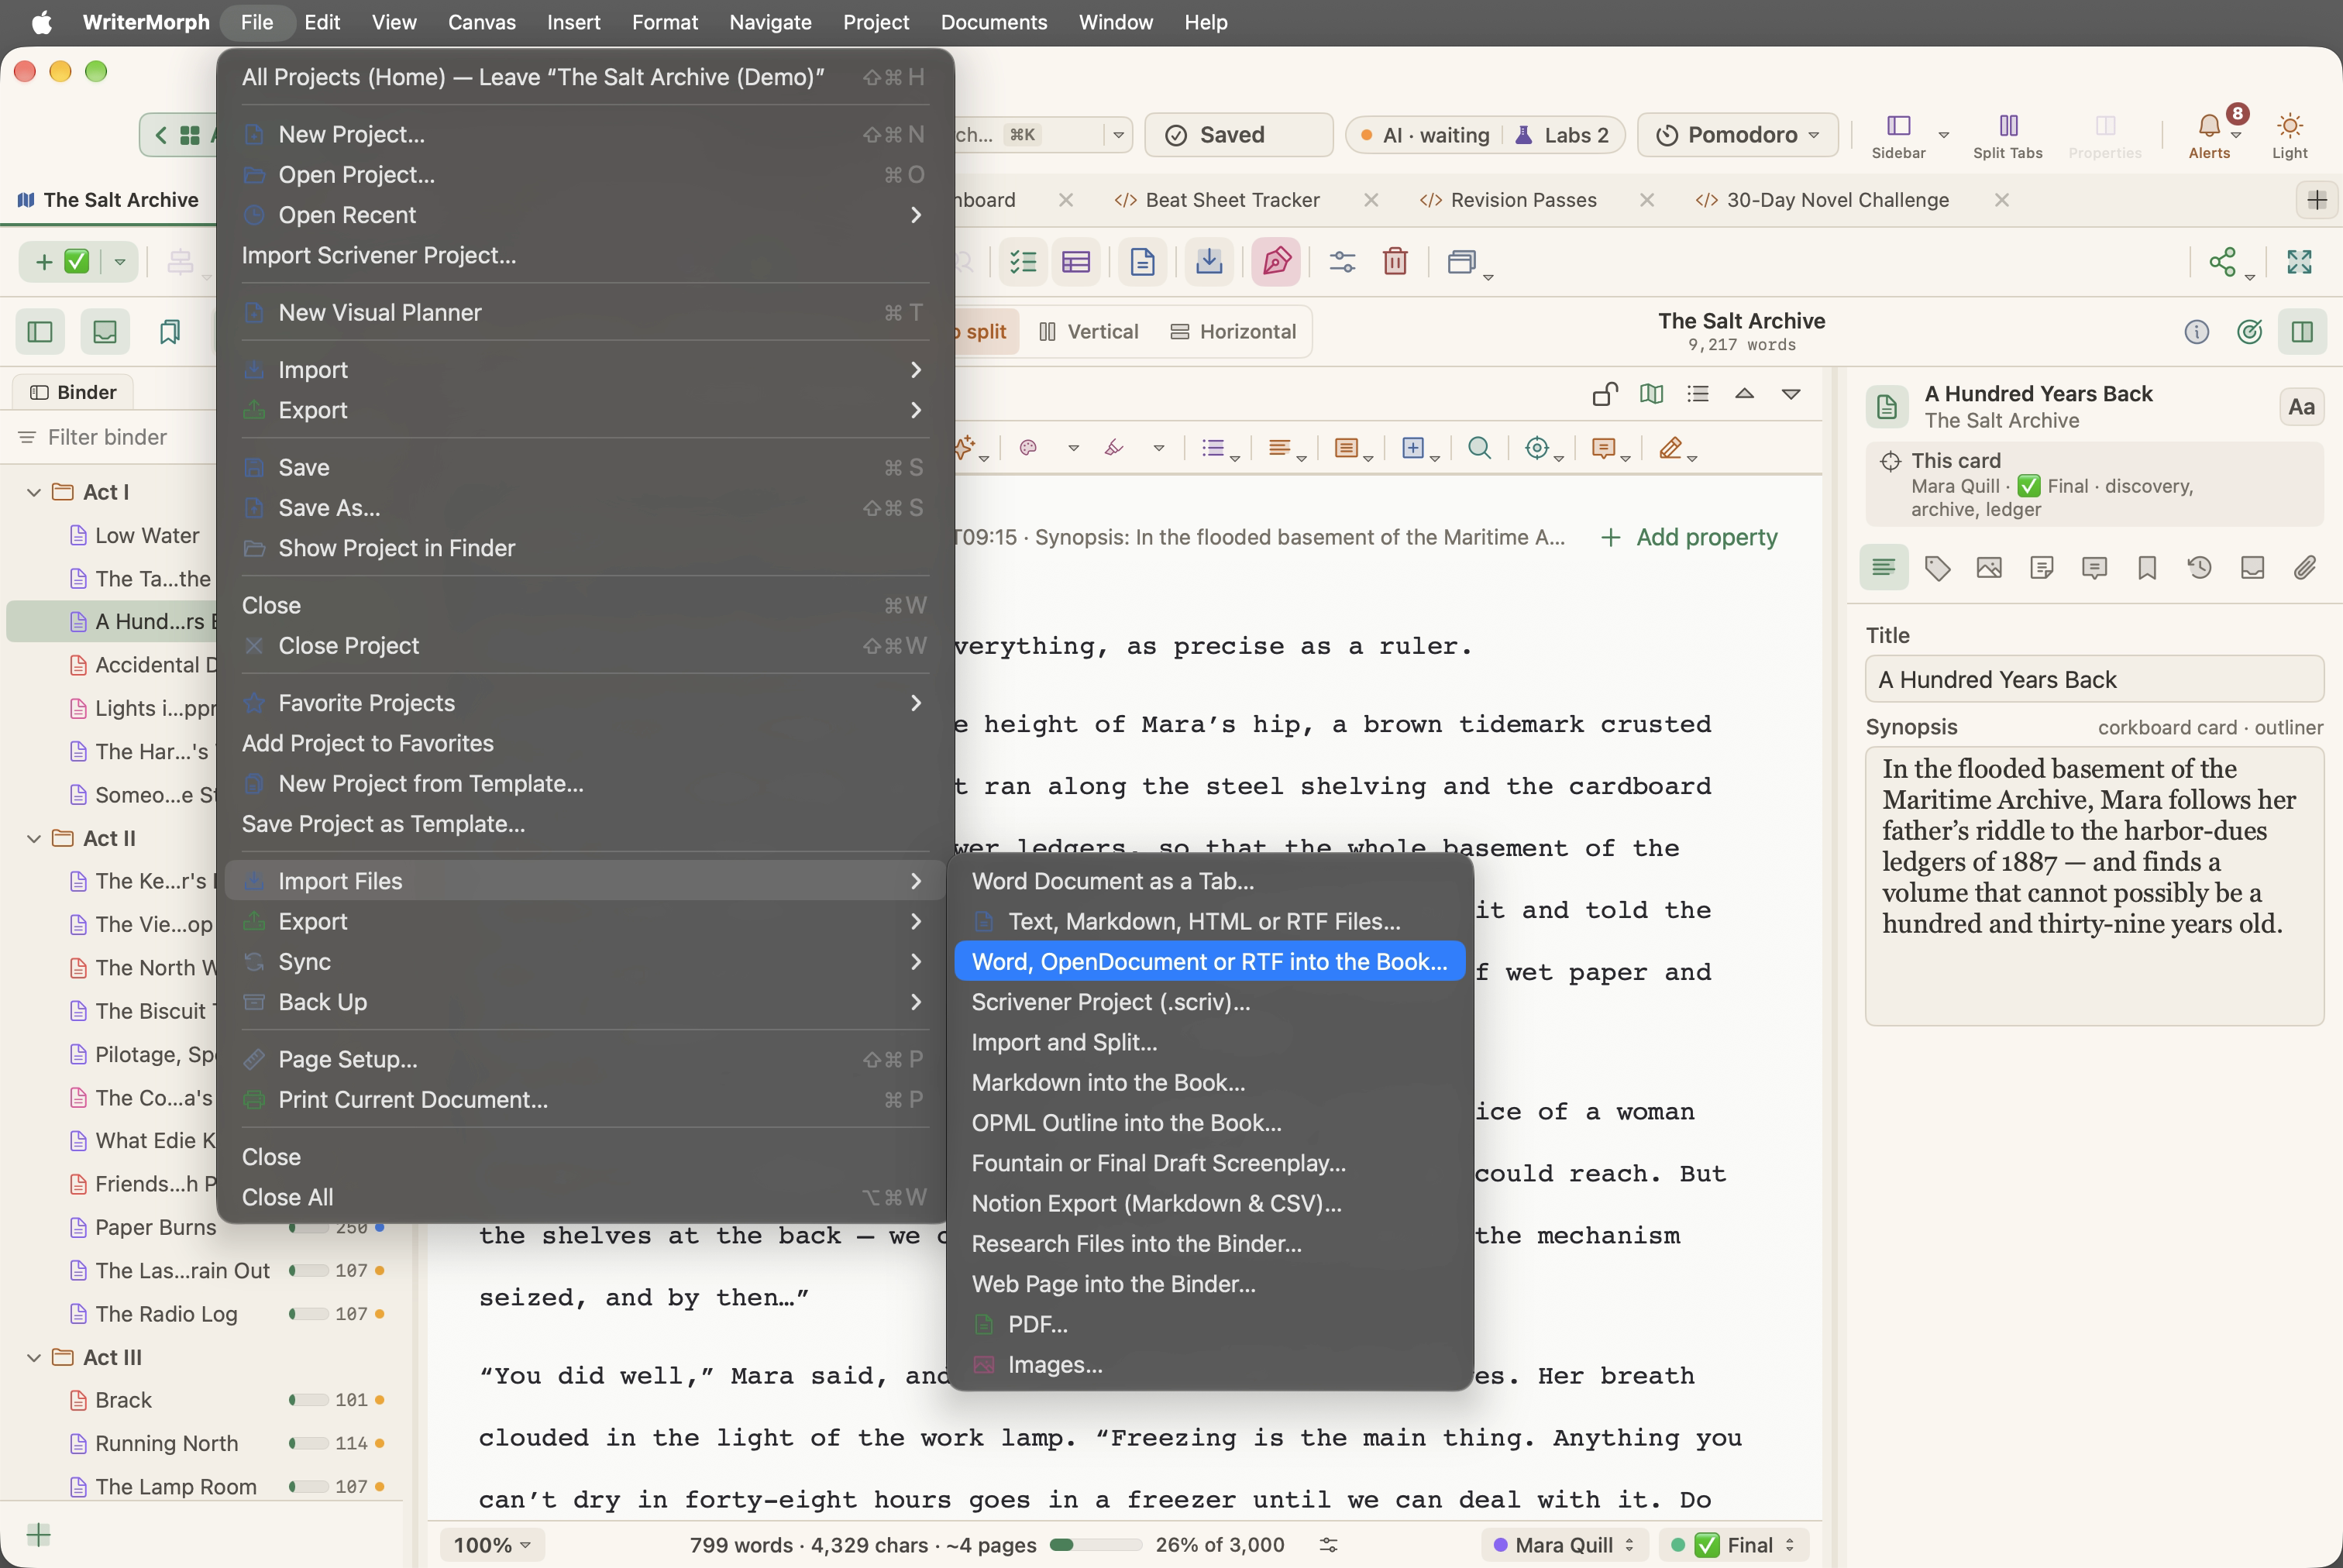
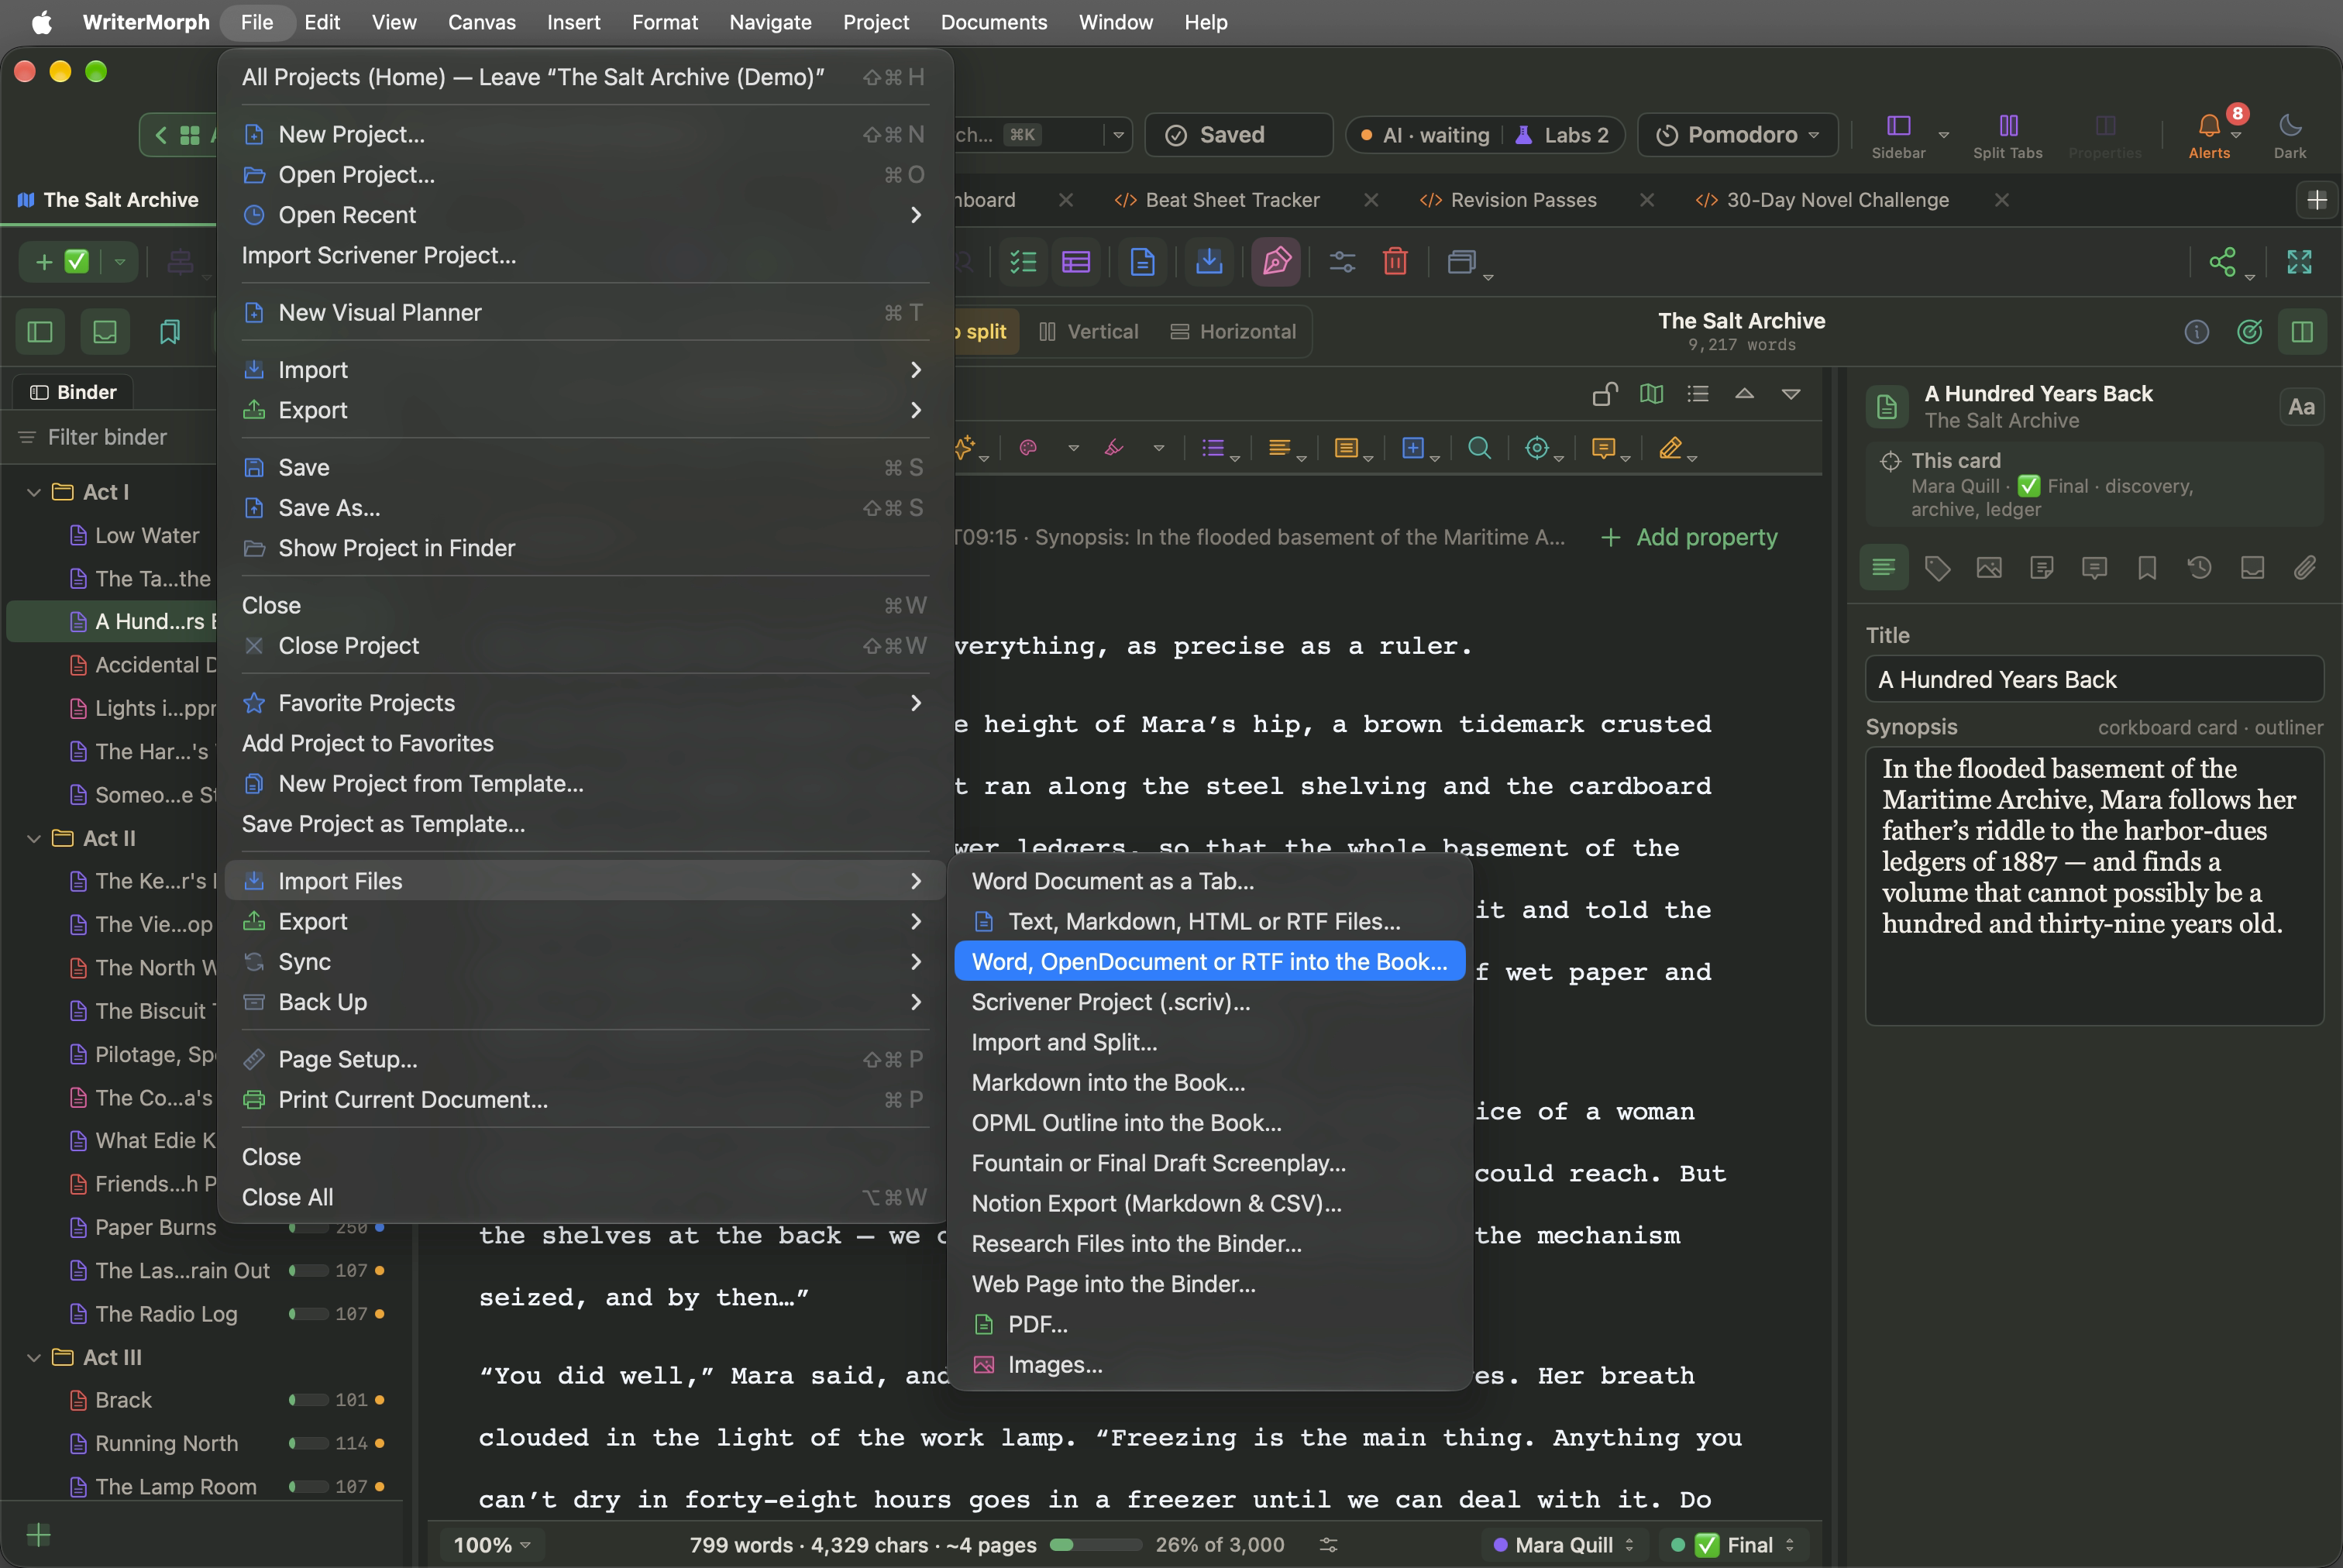
Take care with the first item in that list, Word Document as a Tab…. It does something different: it opens the file as a page of its own, with its pictures, fonts and page size, the way a word processor shows it. A tab is not split into chapters.
3. Pick the file
Select your .docx file and click Open. .doc, .odt, .rtf and .rtfd files work too, and you can select several at once.
4. Choose Split at Headings
WriterMorph asks how to bring the file in.
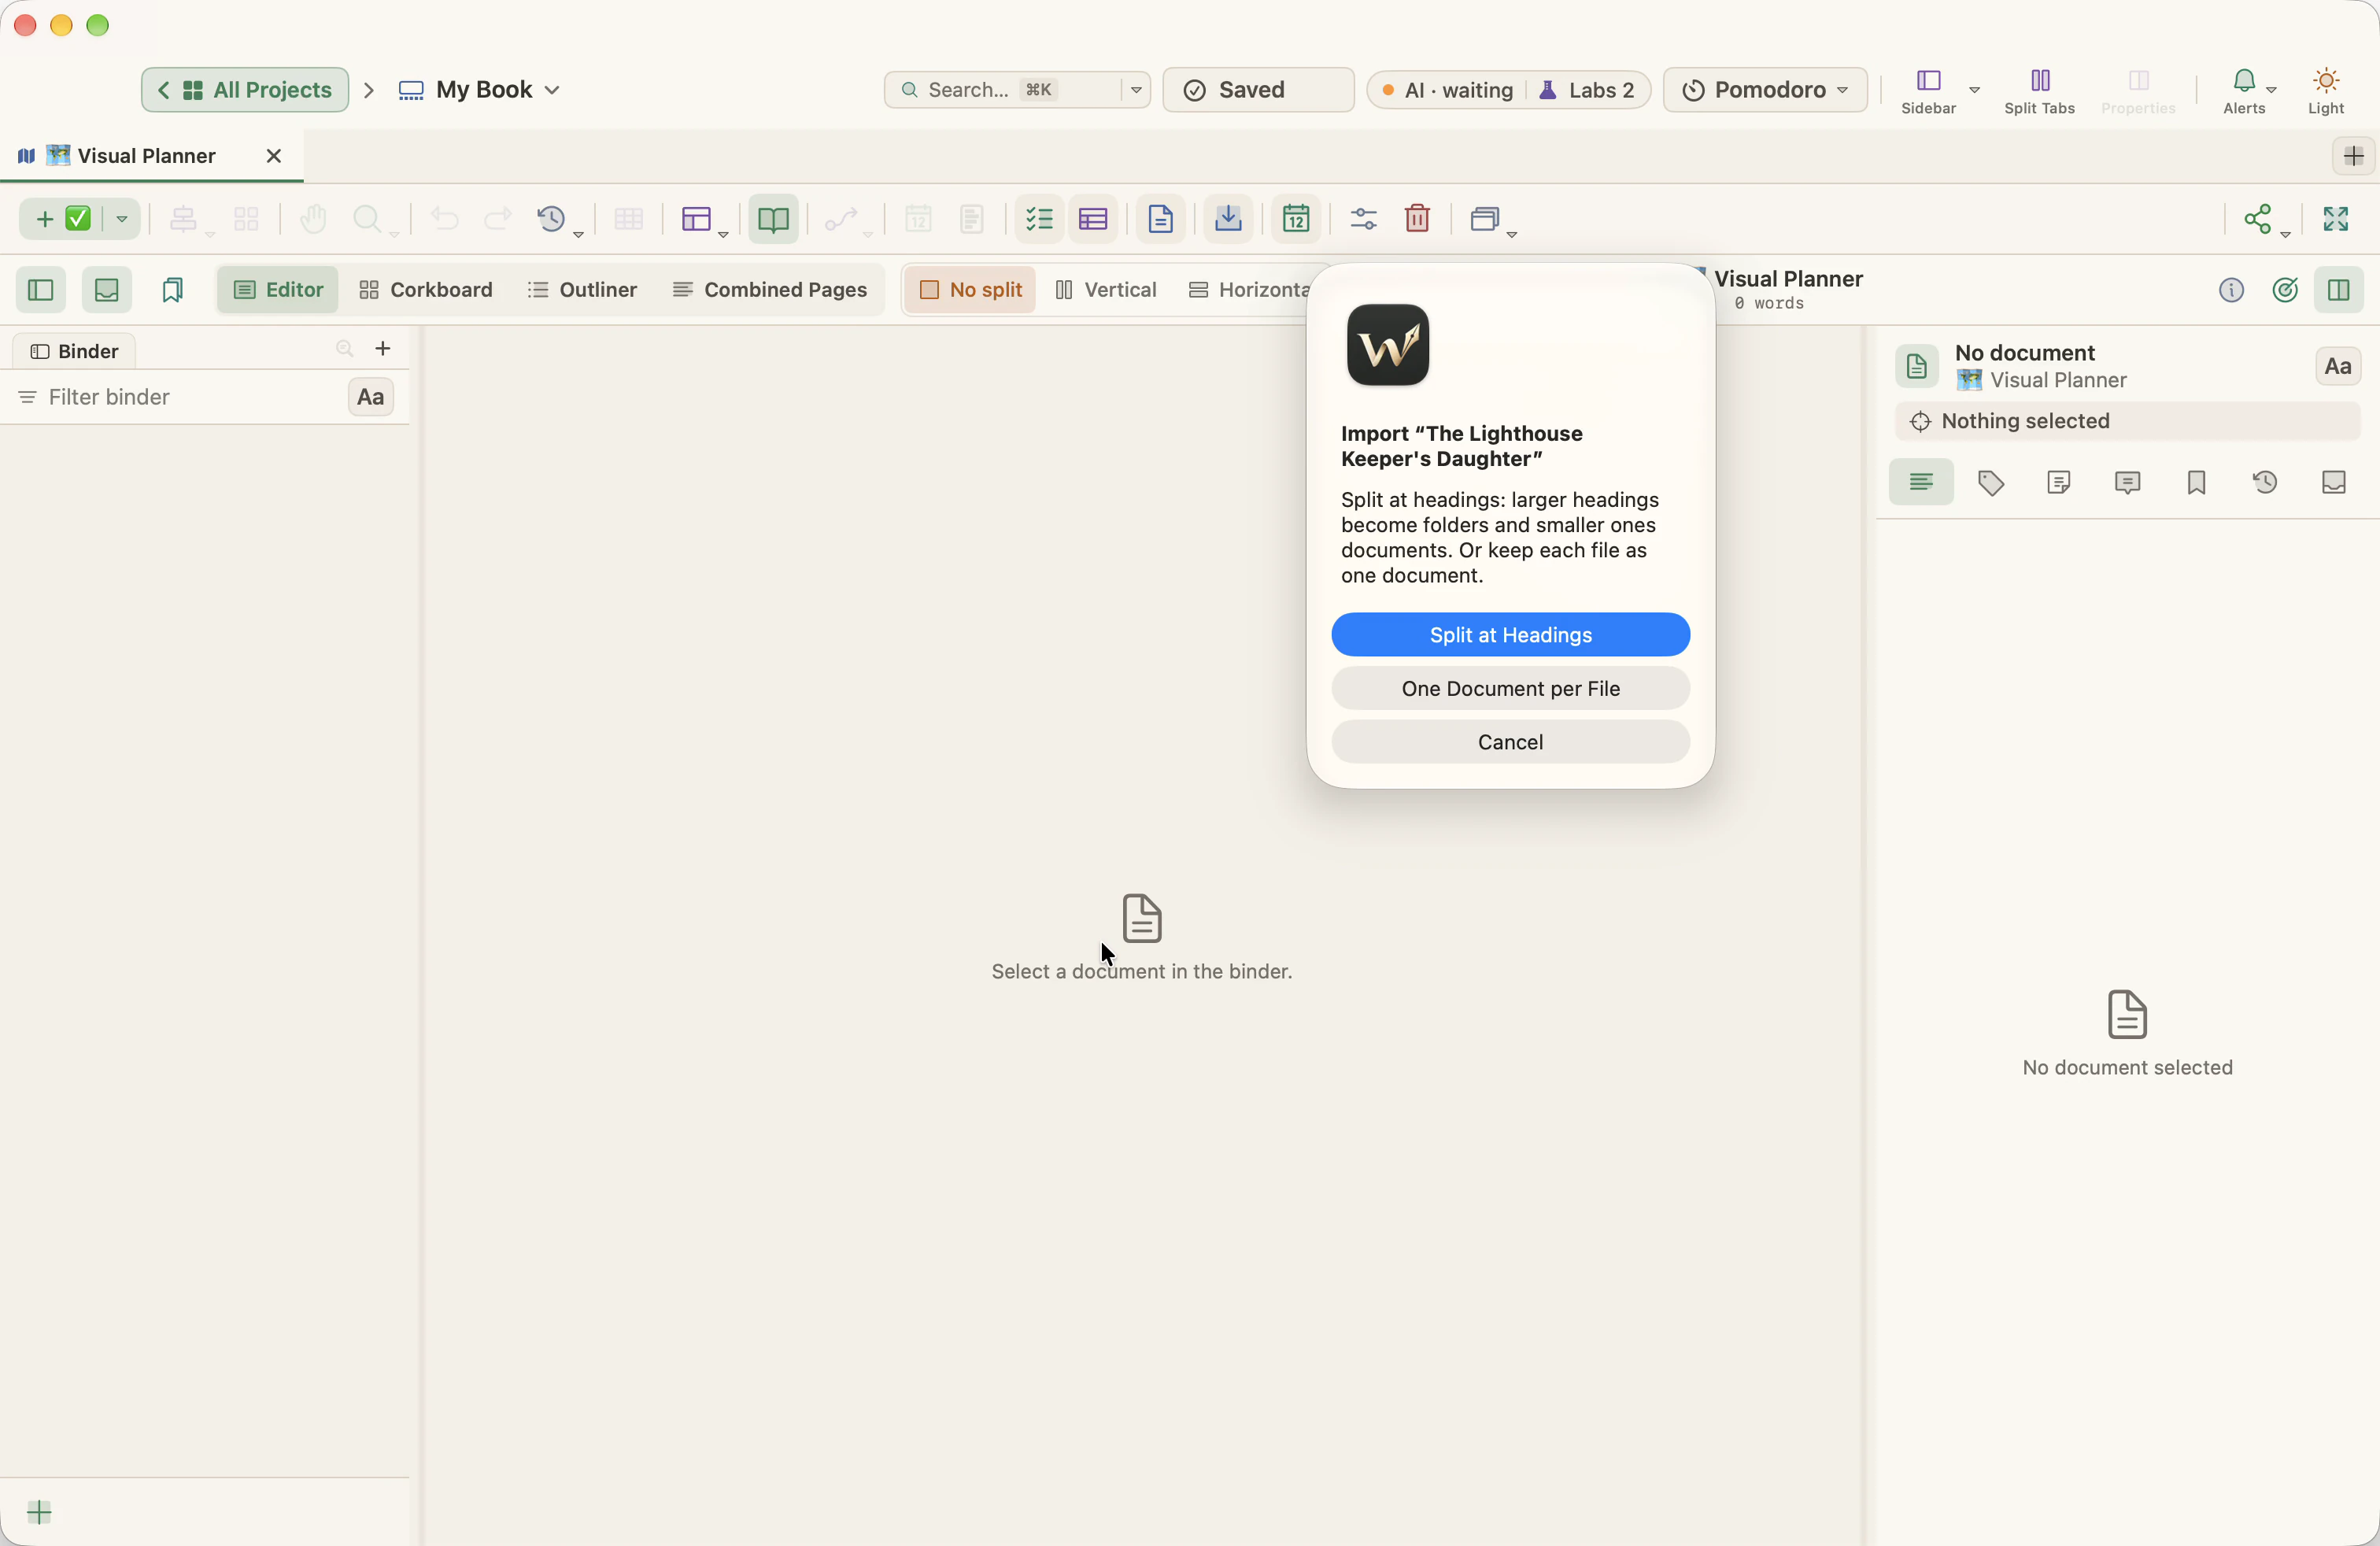
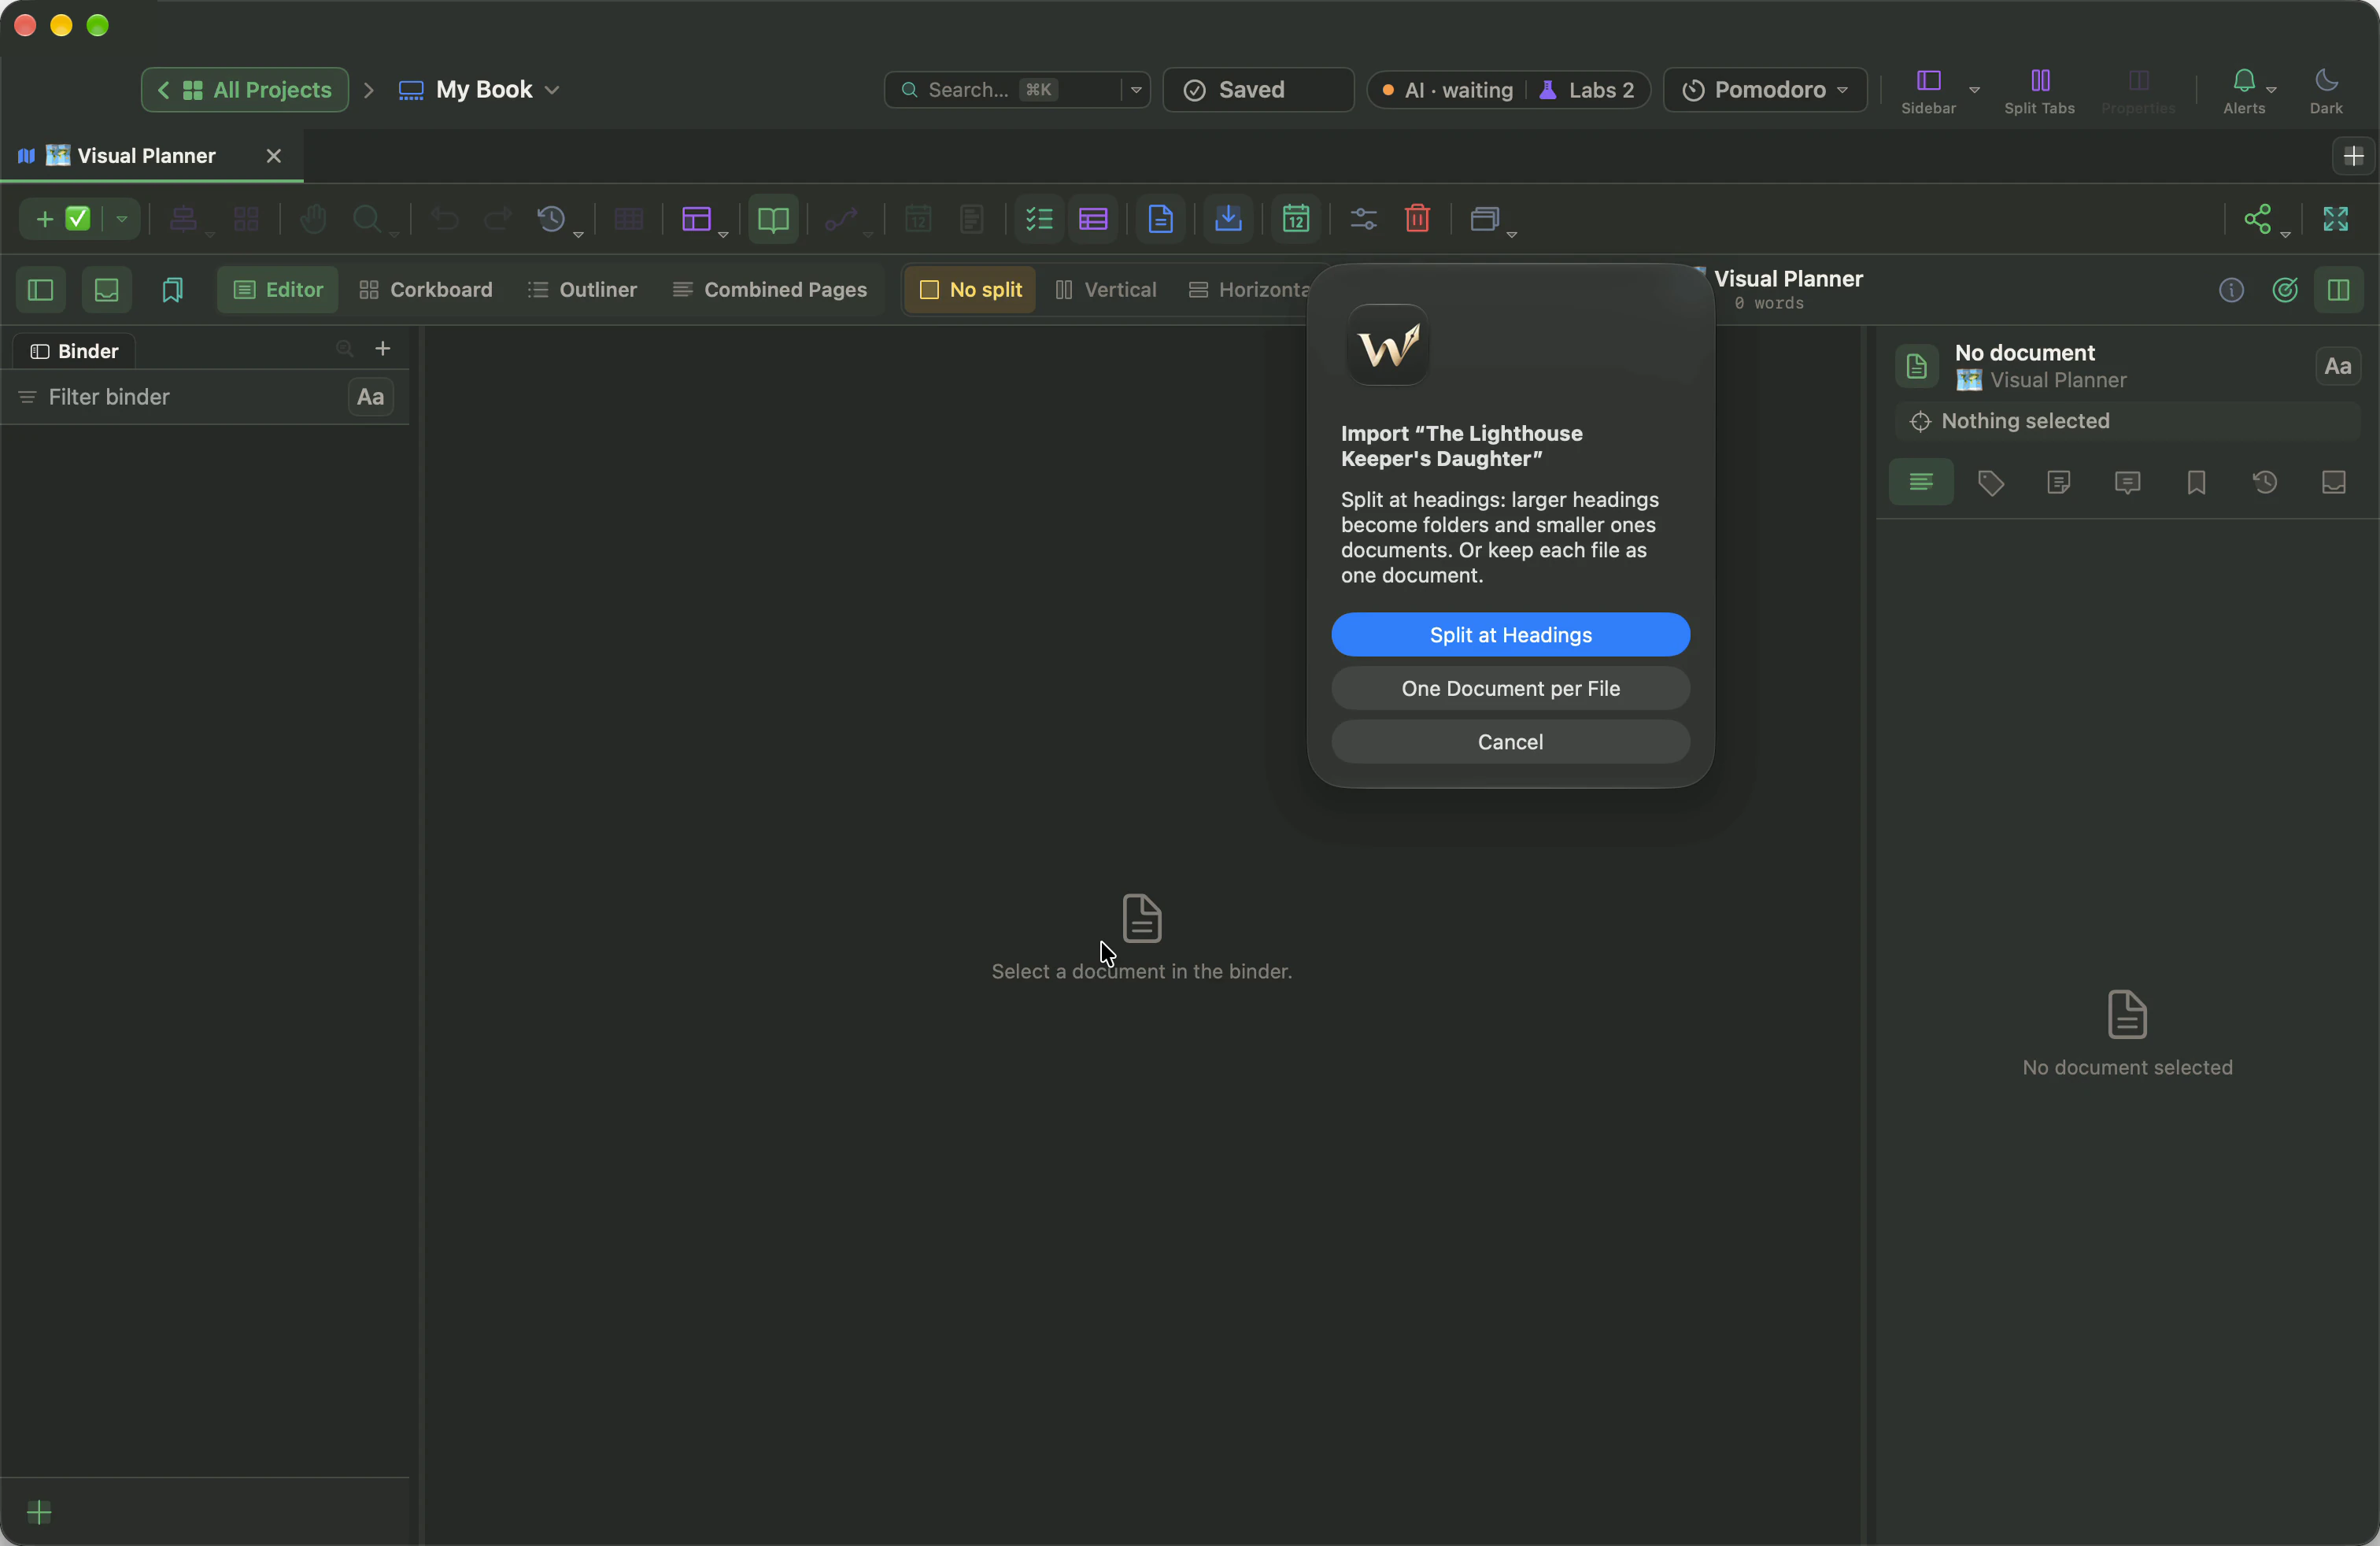
- Split at Headings gives you the book laid out in parts and chapters. Text before the first heading, such as a dedication, becomes a document of its own.
- One Document per File brings the file in as one long document. Choose it when the file has no headings or when you would rather divide it yourself (see below).
If the Word file has tracked changes, WriterMorph then asks once whether to accept them, reject them or keep them as revision marks to review one by one.
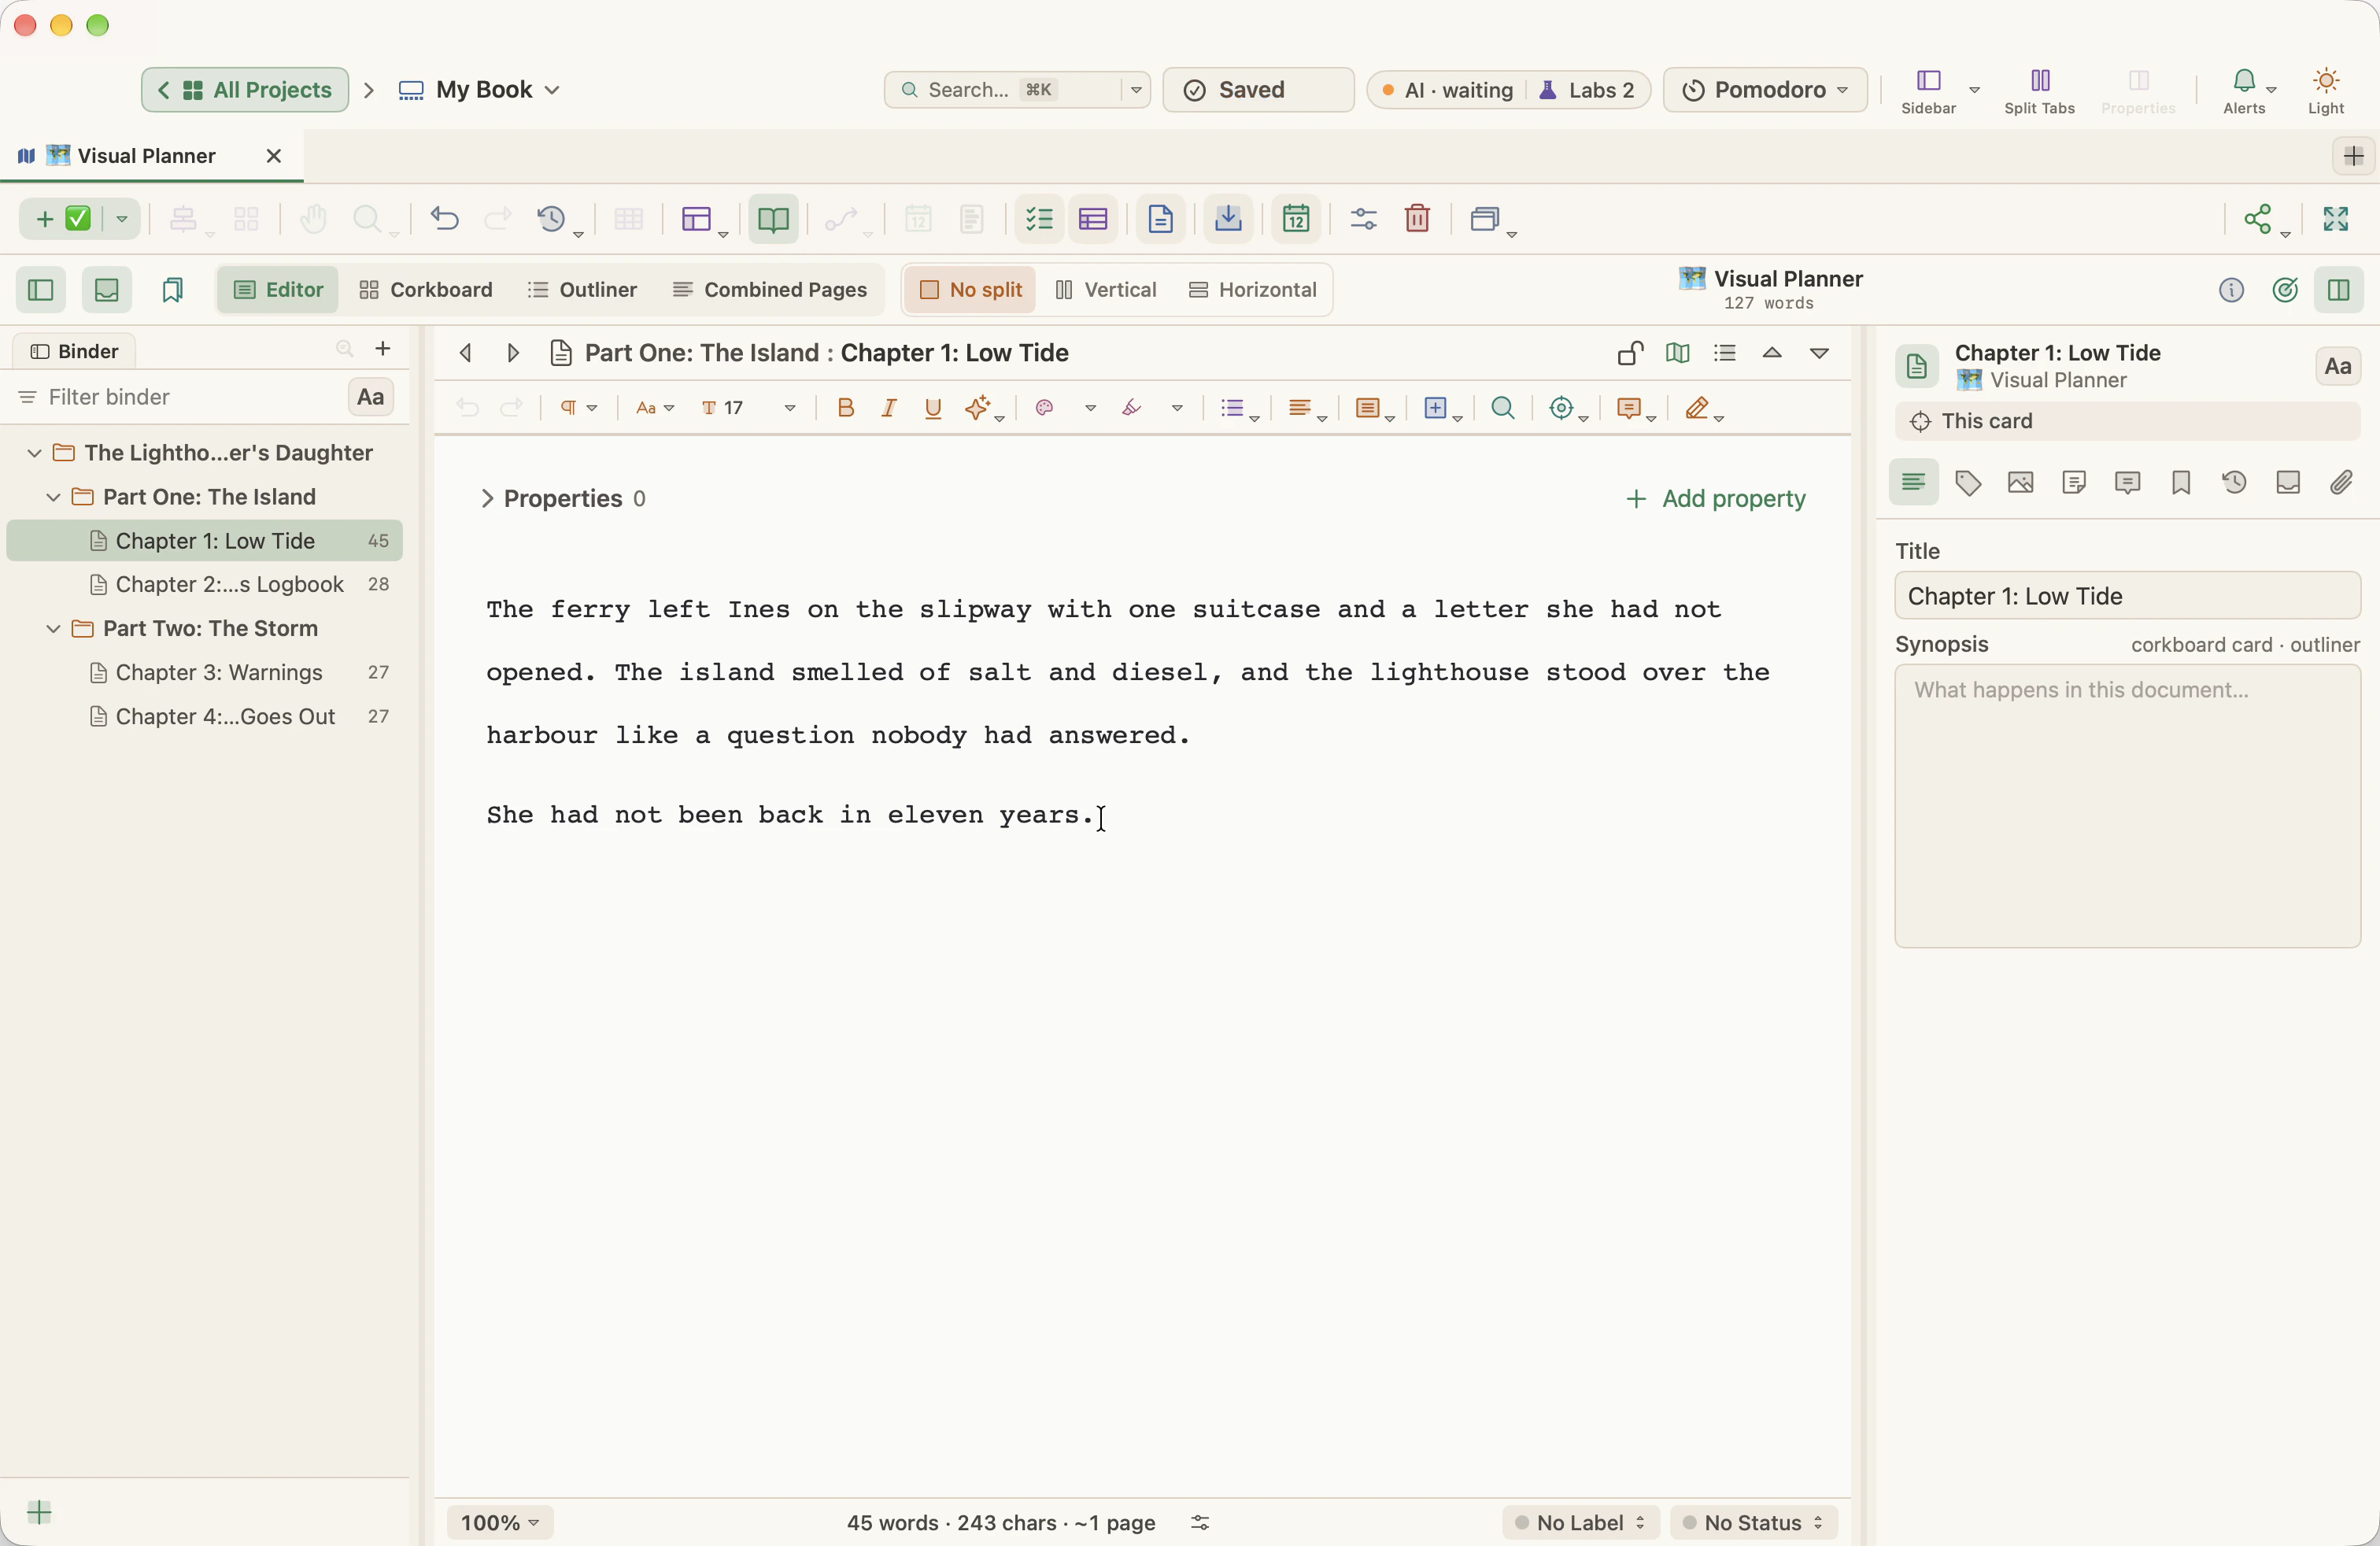
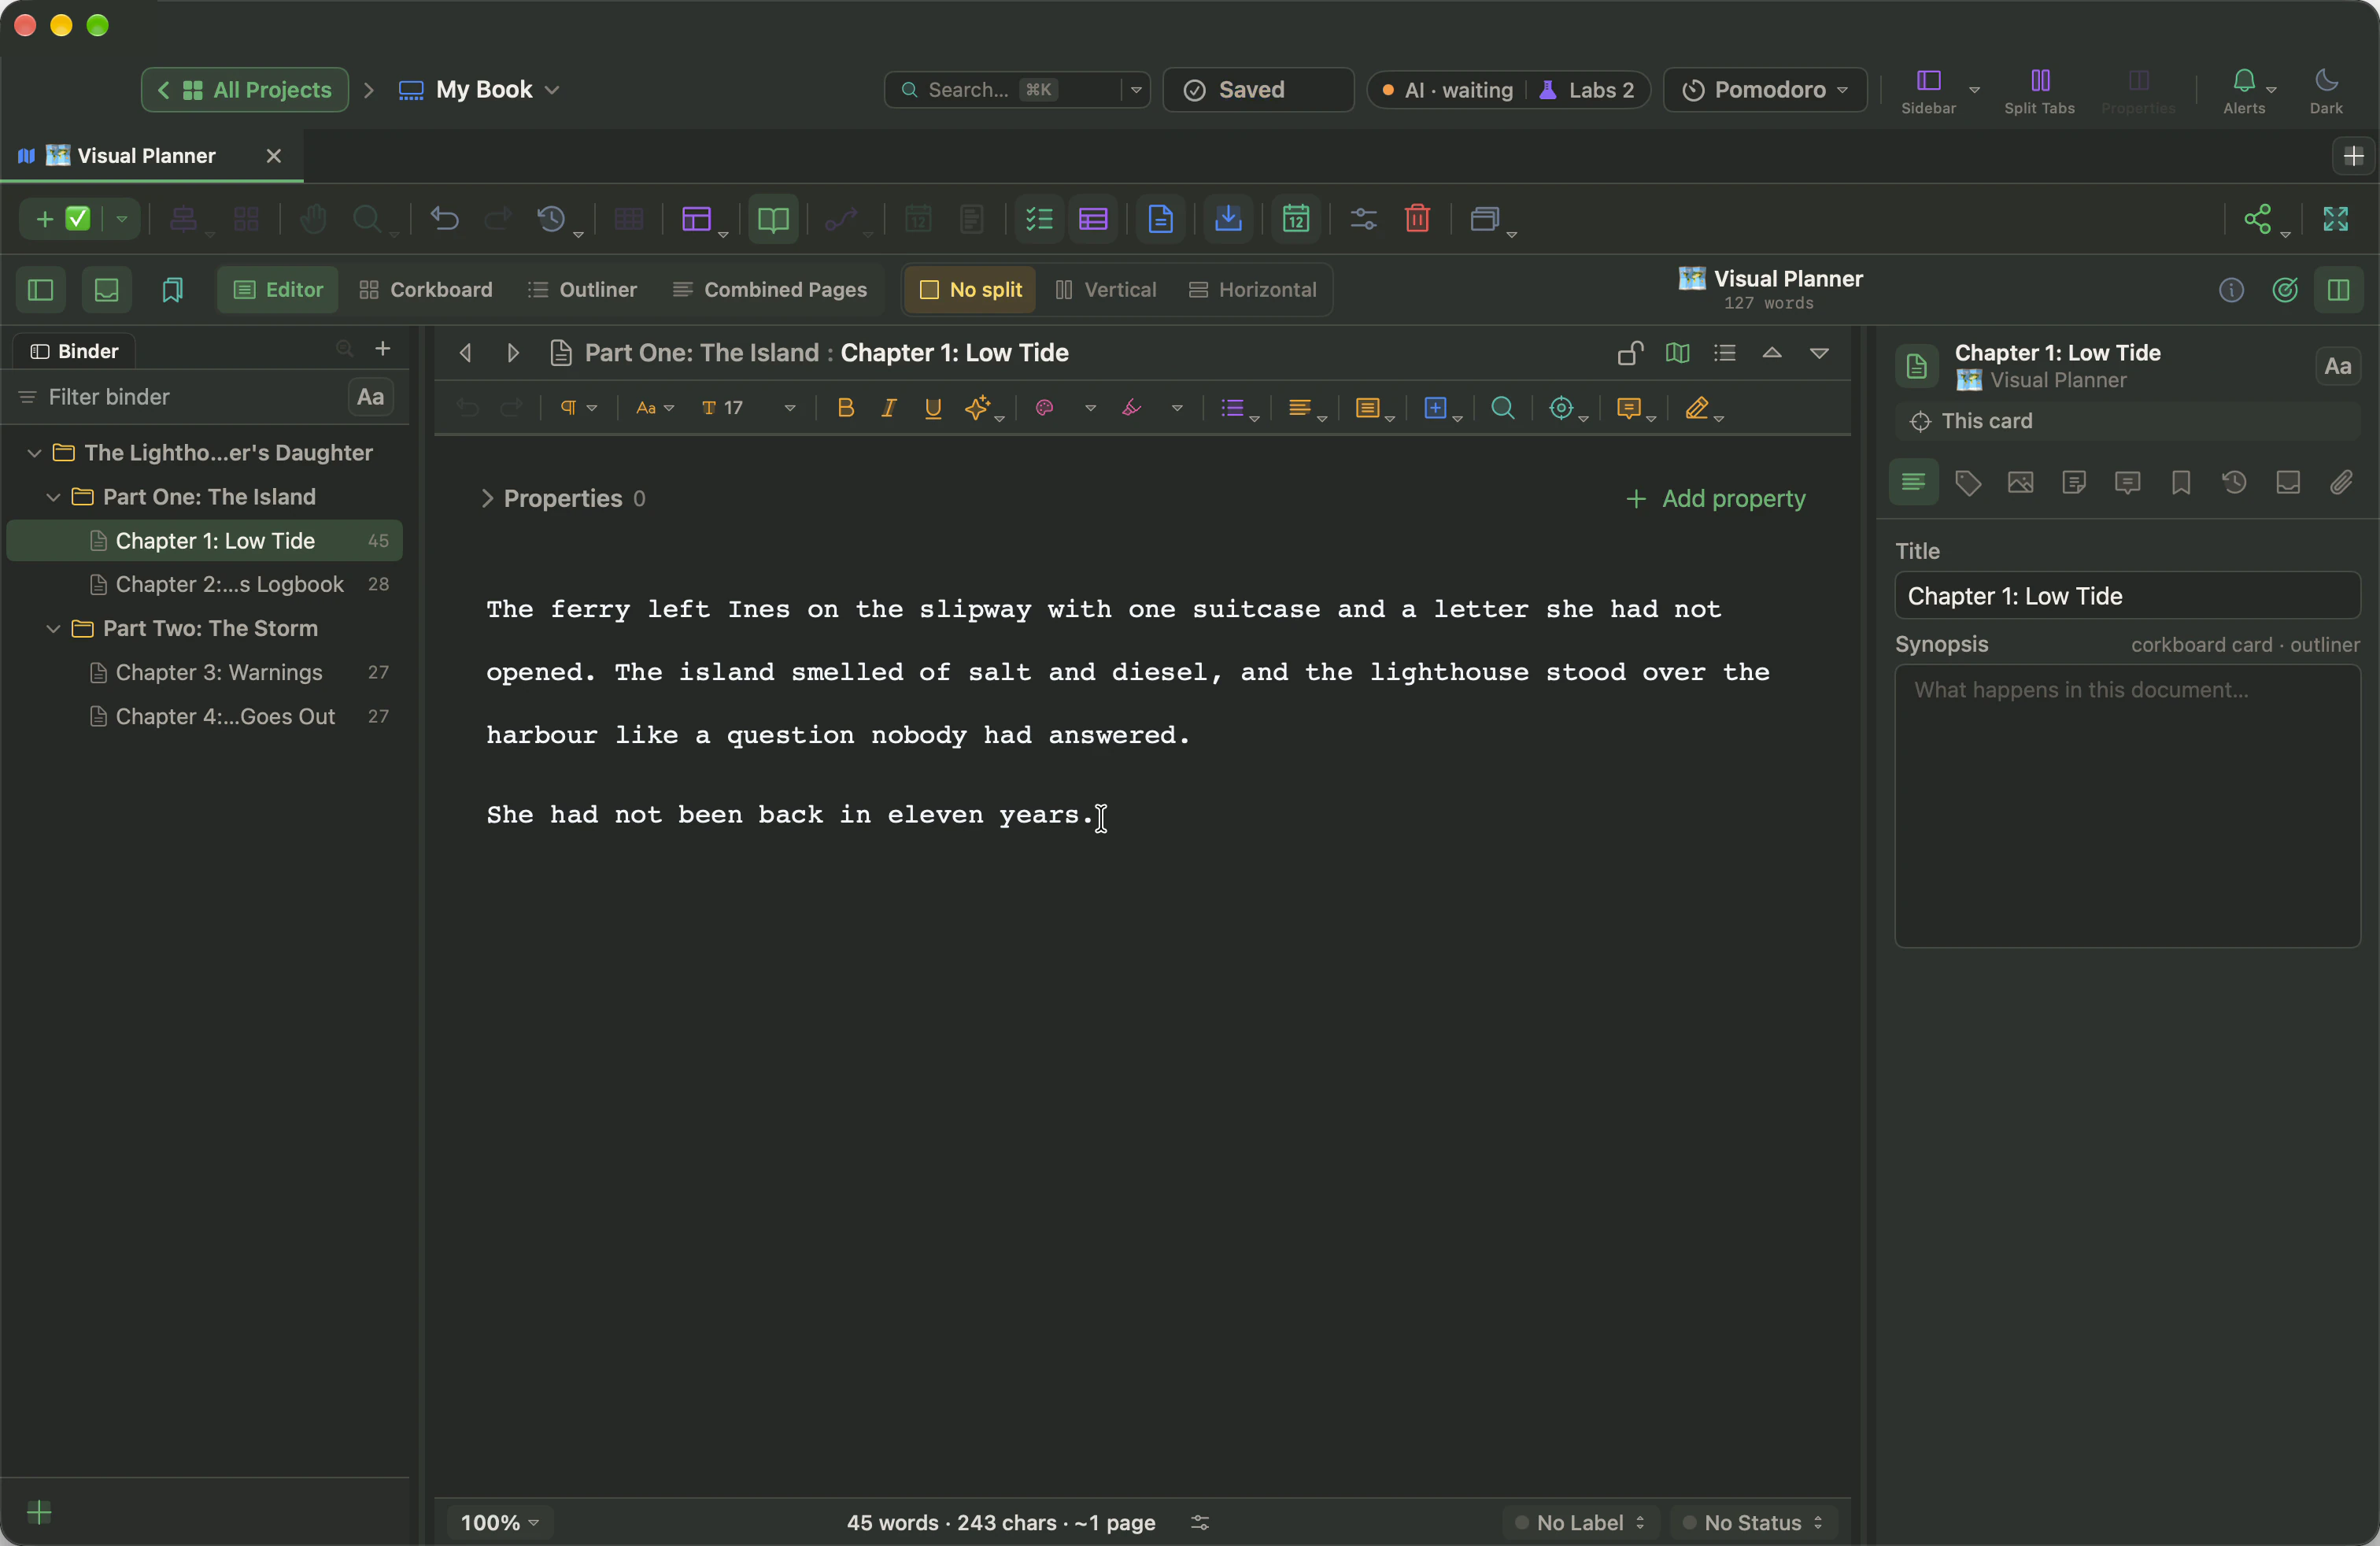
5. Your book in the binder
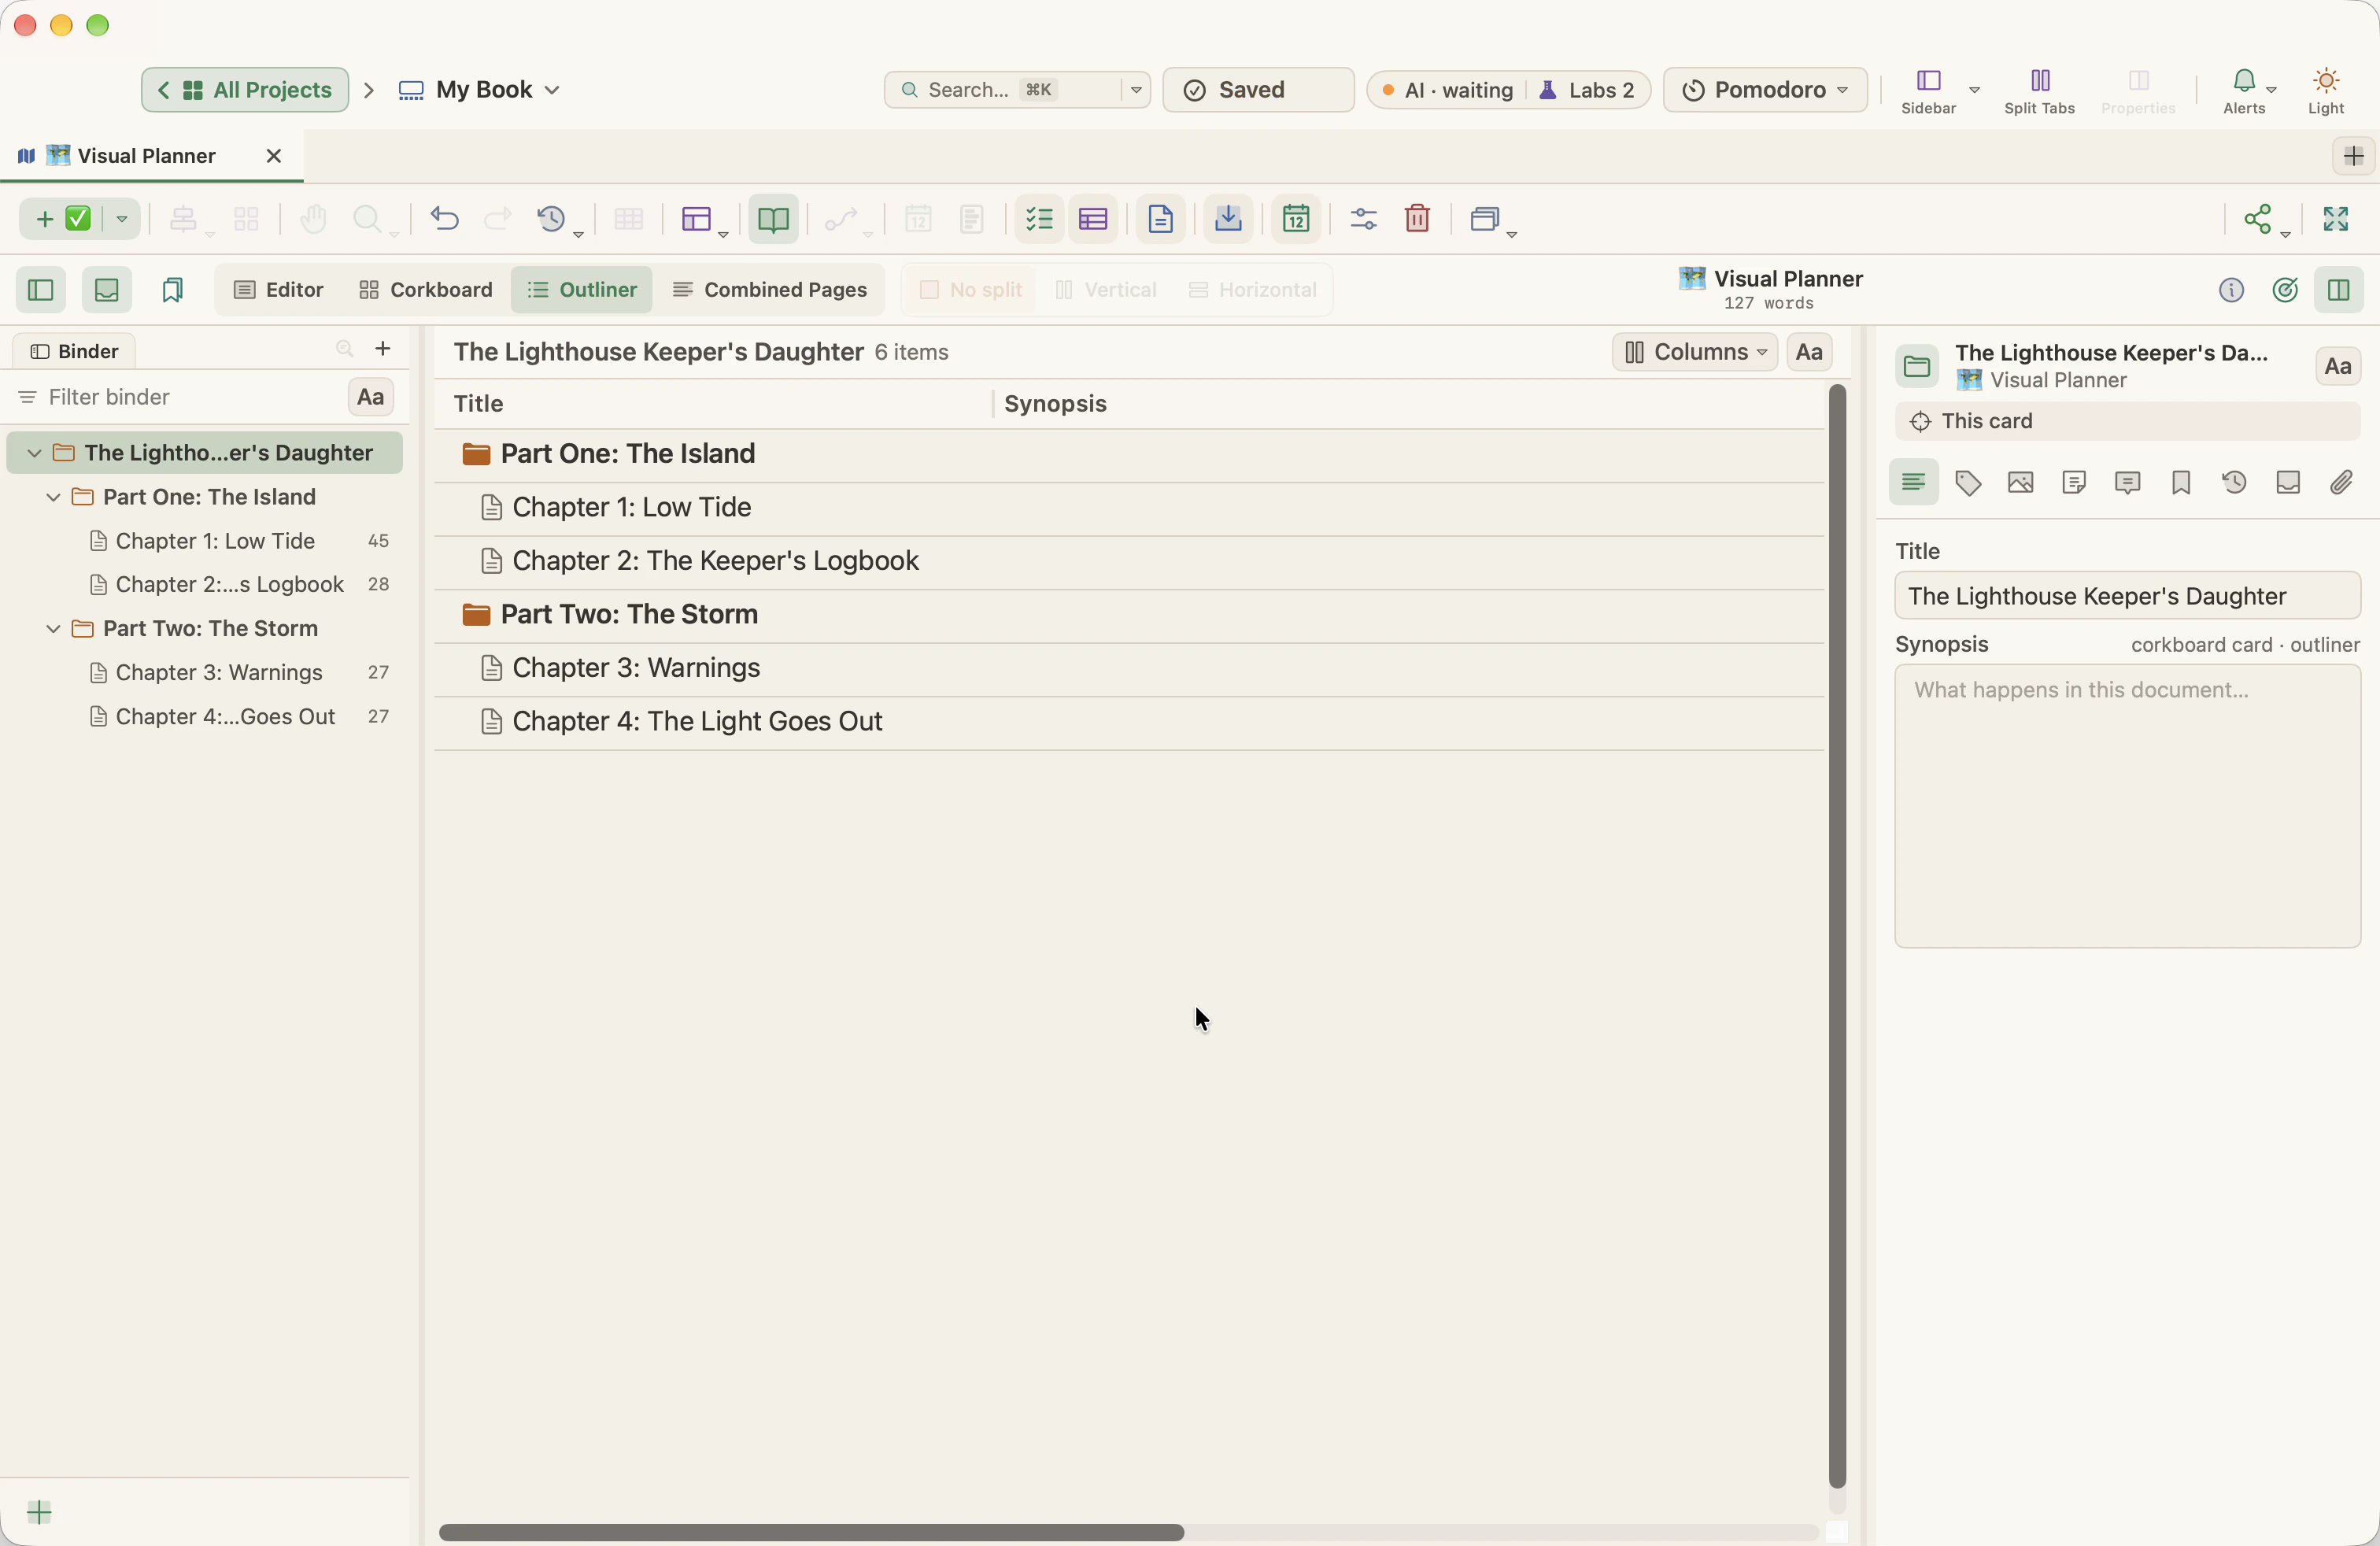
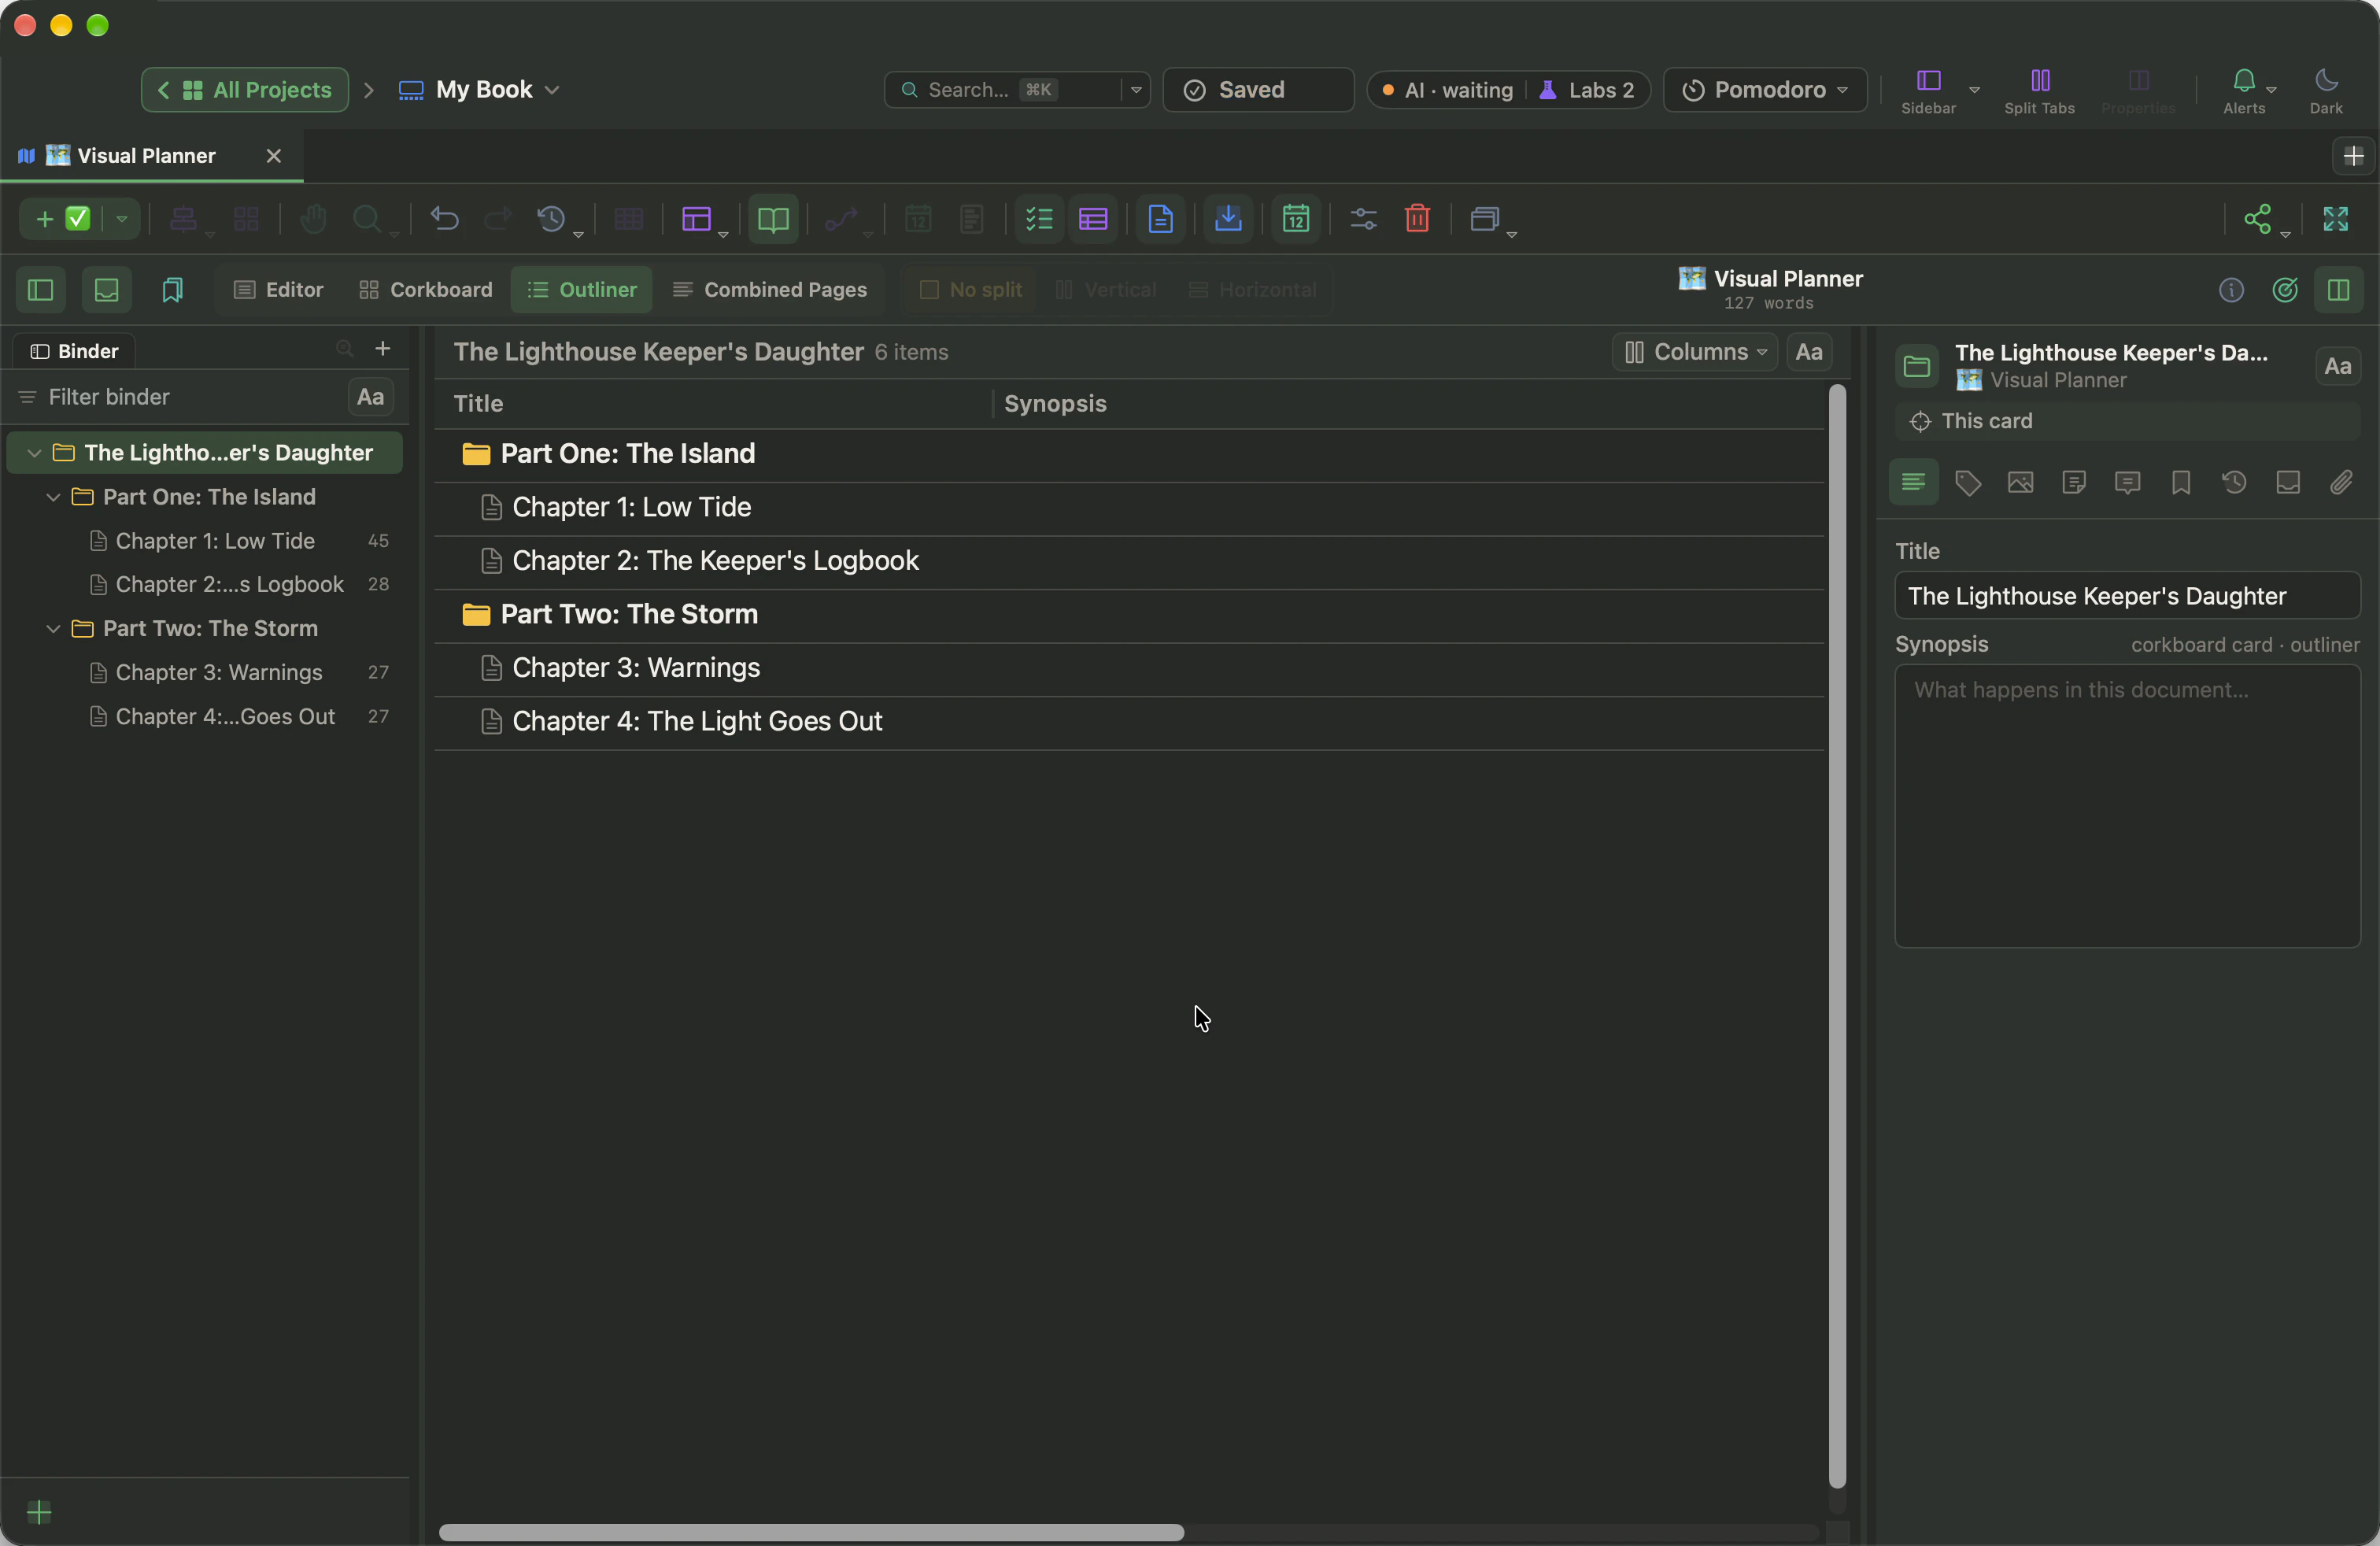
A folder named after the file appears in the binder, with a folder for each part and a document for each chapter inside it. Click a chapter to read and write it.
After the import
Now the book behaves like one you wrote in WriterMorph.
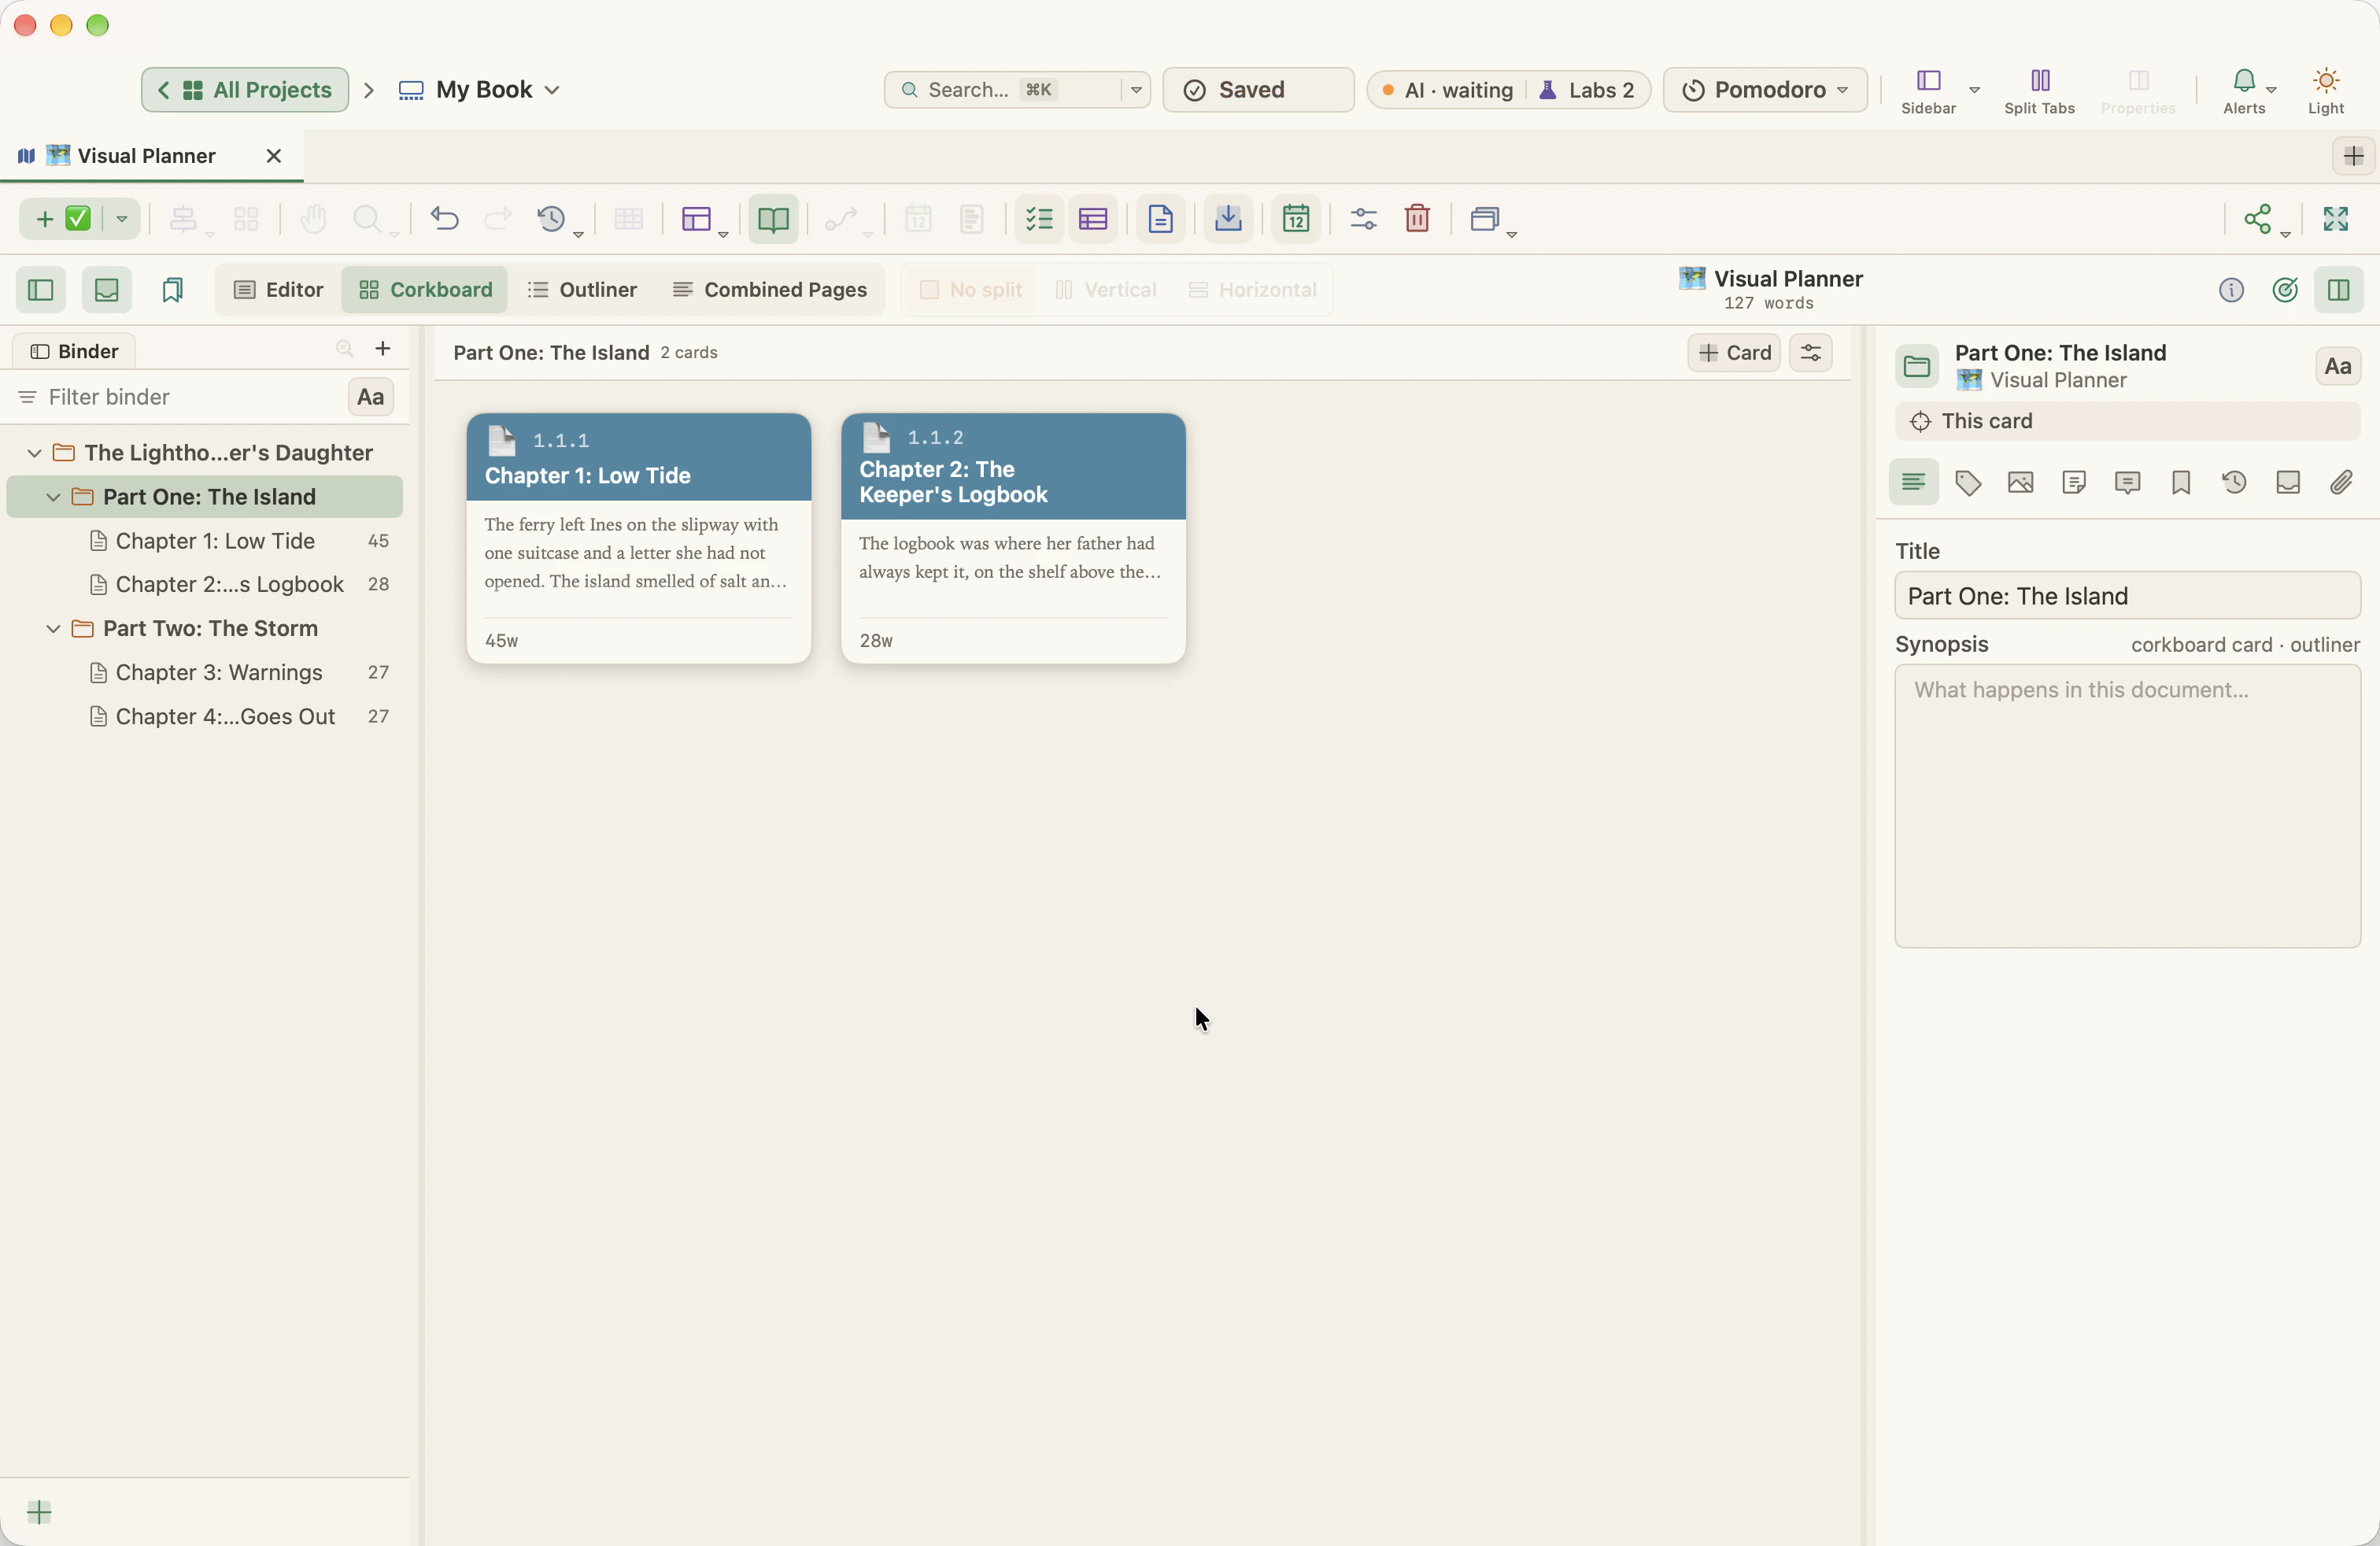
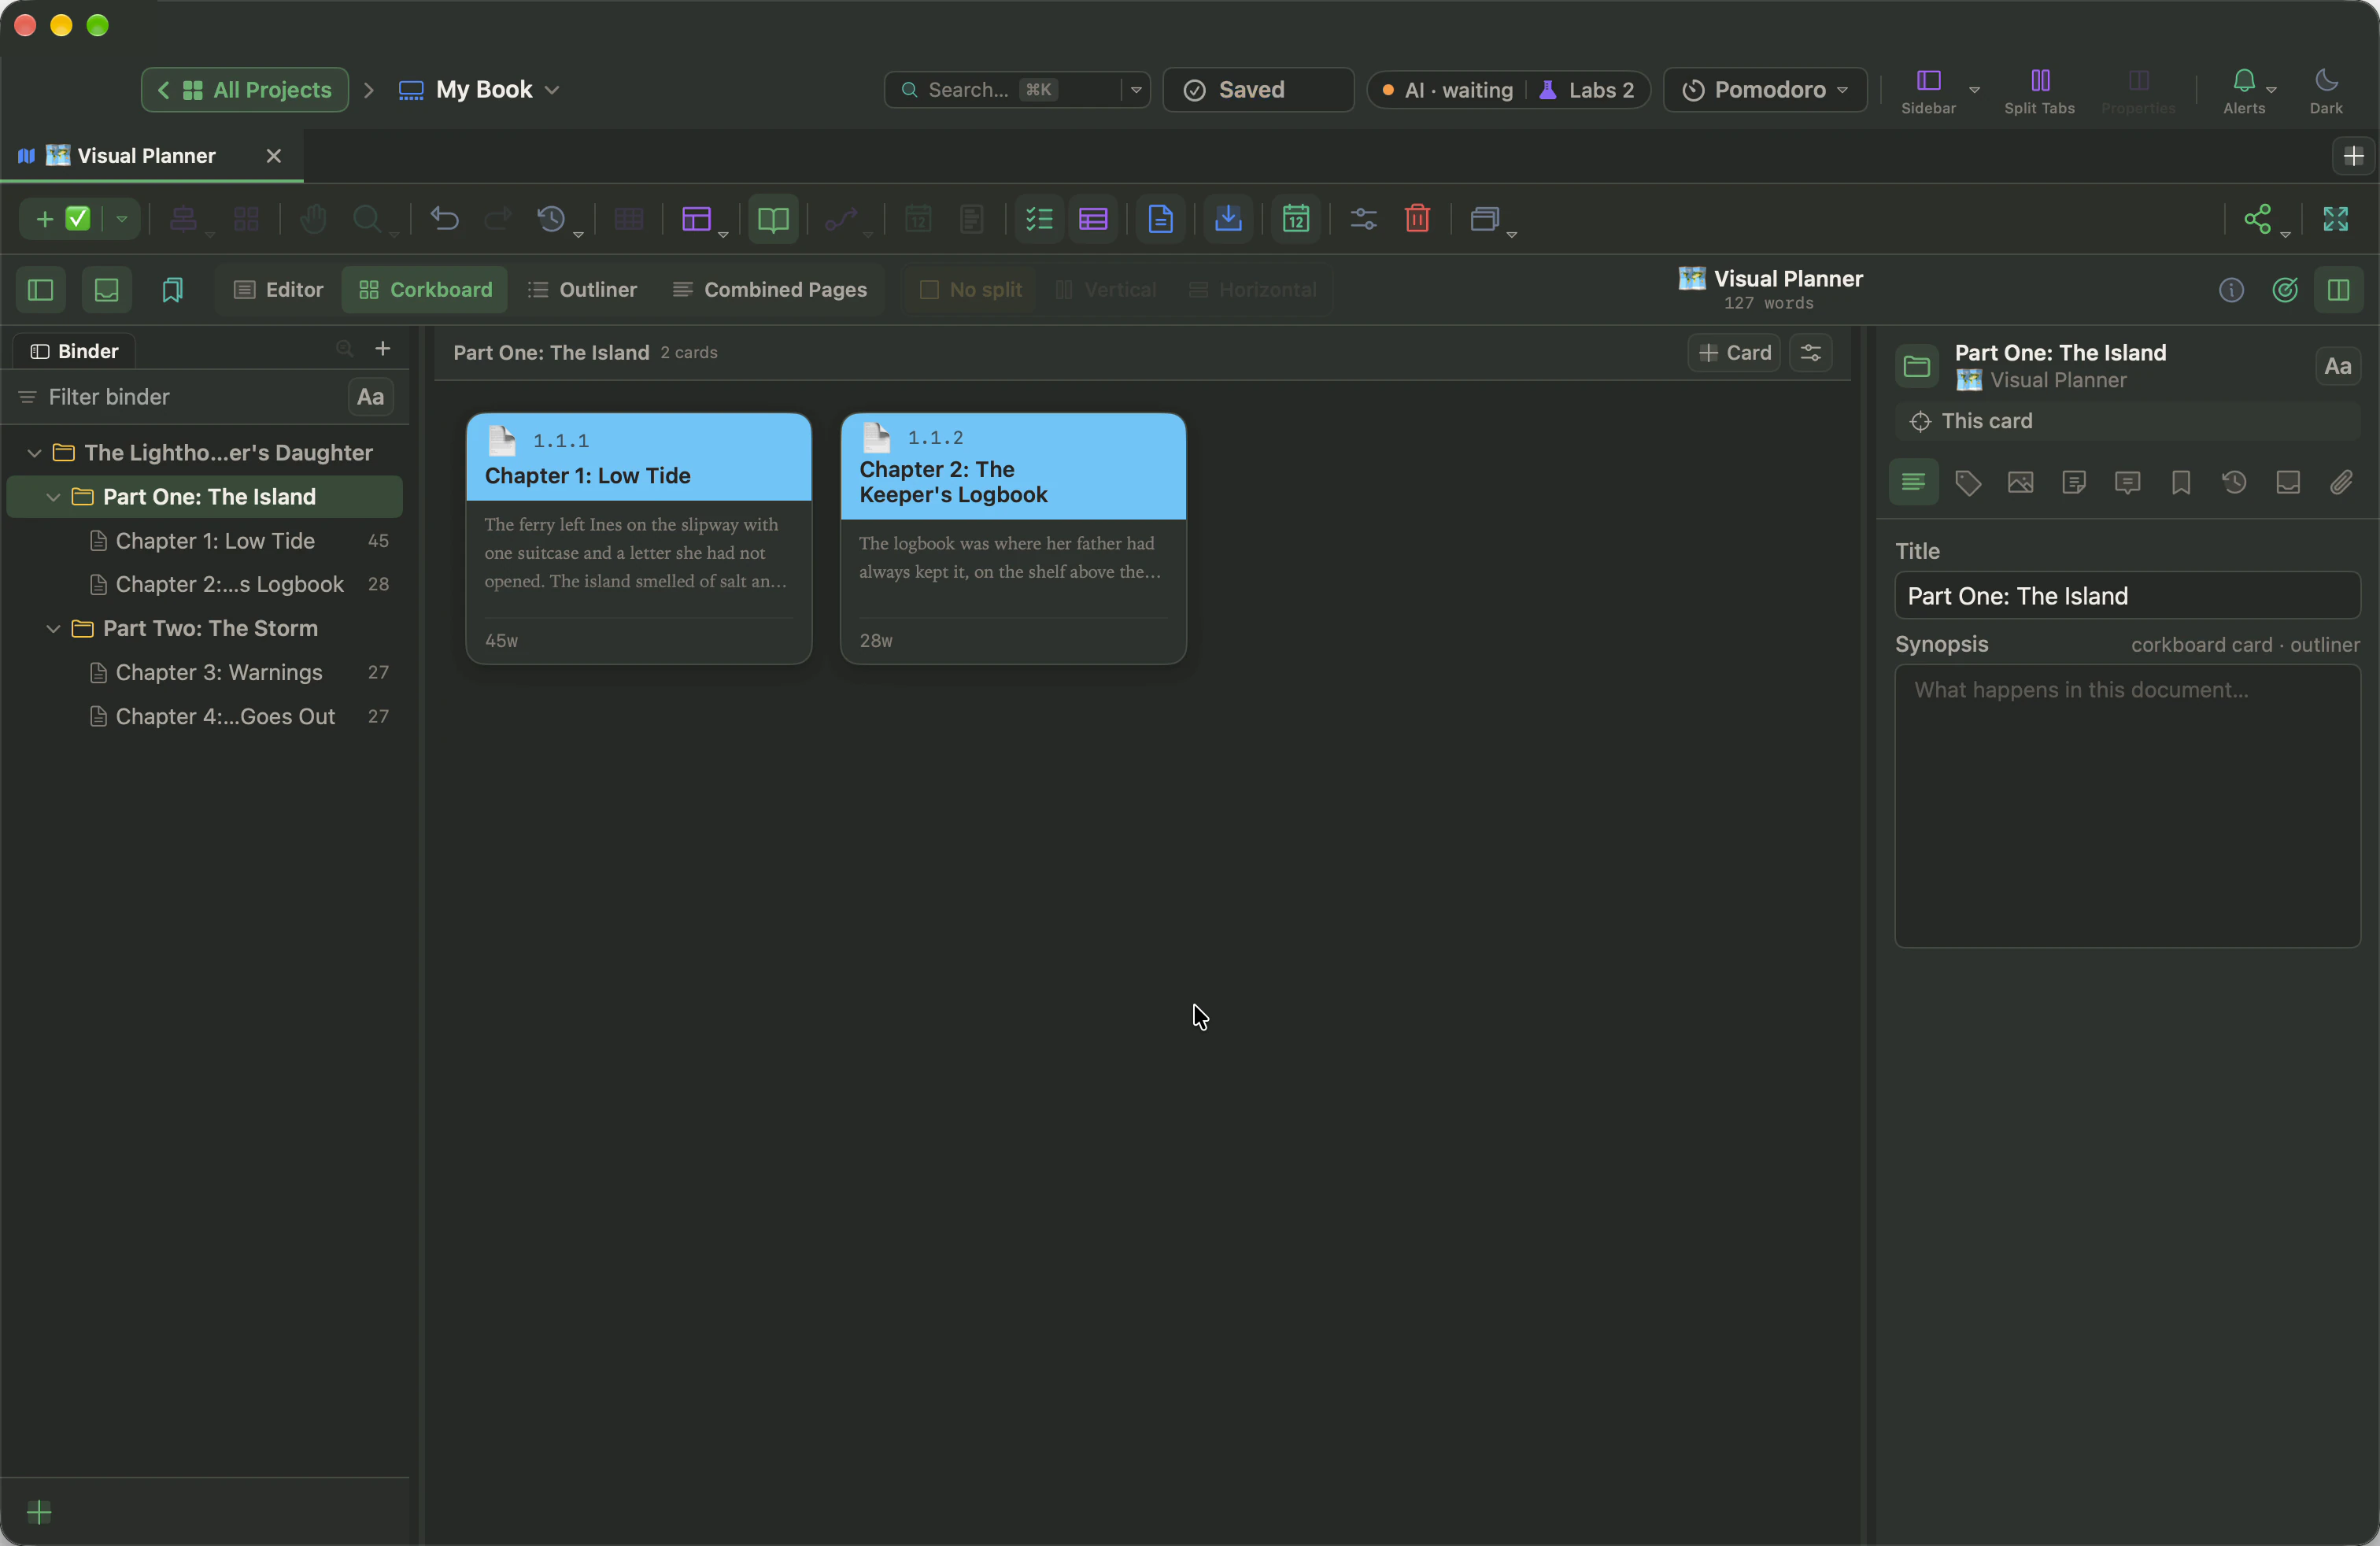
- Corkboard. Select a part and choose Corkboard: one index card per chapter. Drag the cards to reorder the chapters, and write a synopsis on each card.
- Outliner. Select the book's folder and choose Outliner to see every part and chapter in order, with word counts and the columns you choose.
- Compile. When the book is ready, Project › Compile… (⌥⌘E) turns it back into a Word file, a PDF or an e-book. The guide to formatting and compiling your manuscript covers the settings.
Comments from Word come in as WriterMorph comments, and footnotes and endnotes as footnotes.
When the split isn't quite right
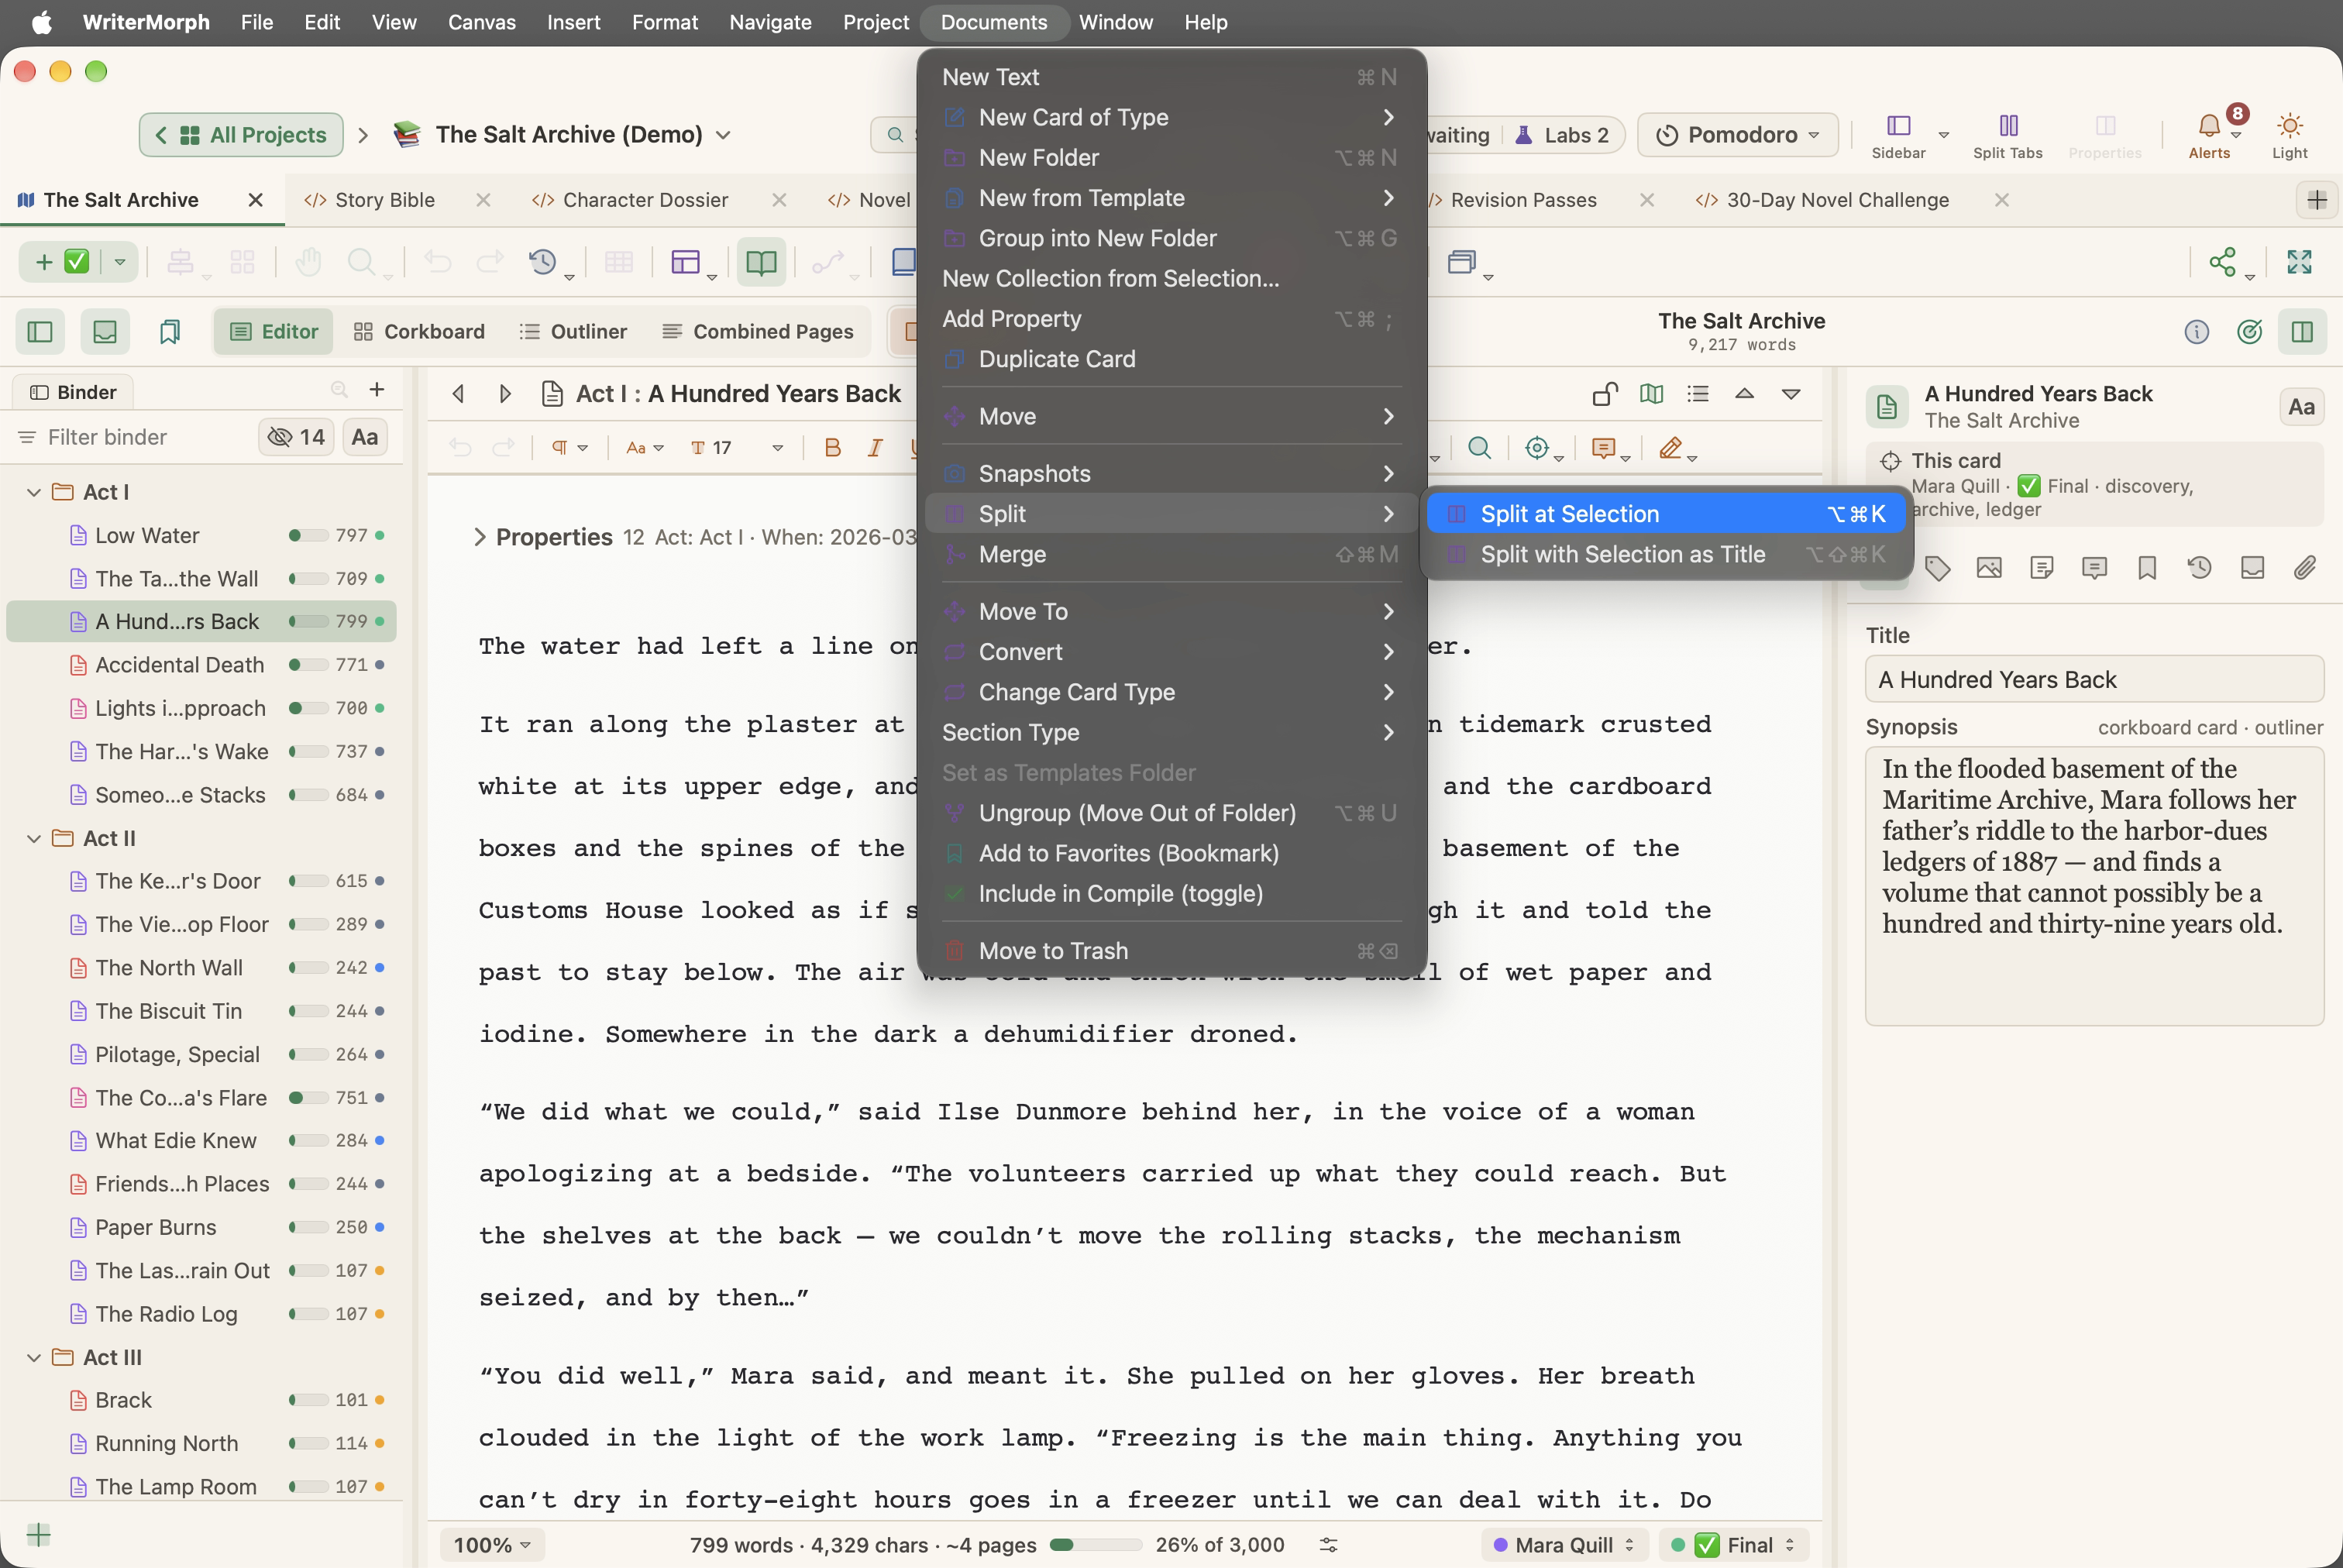
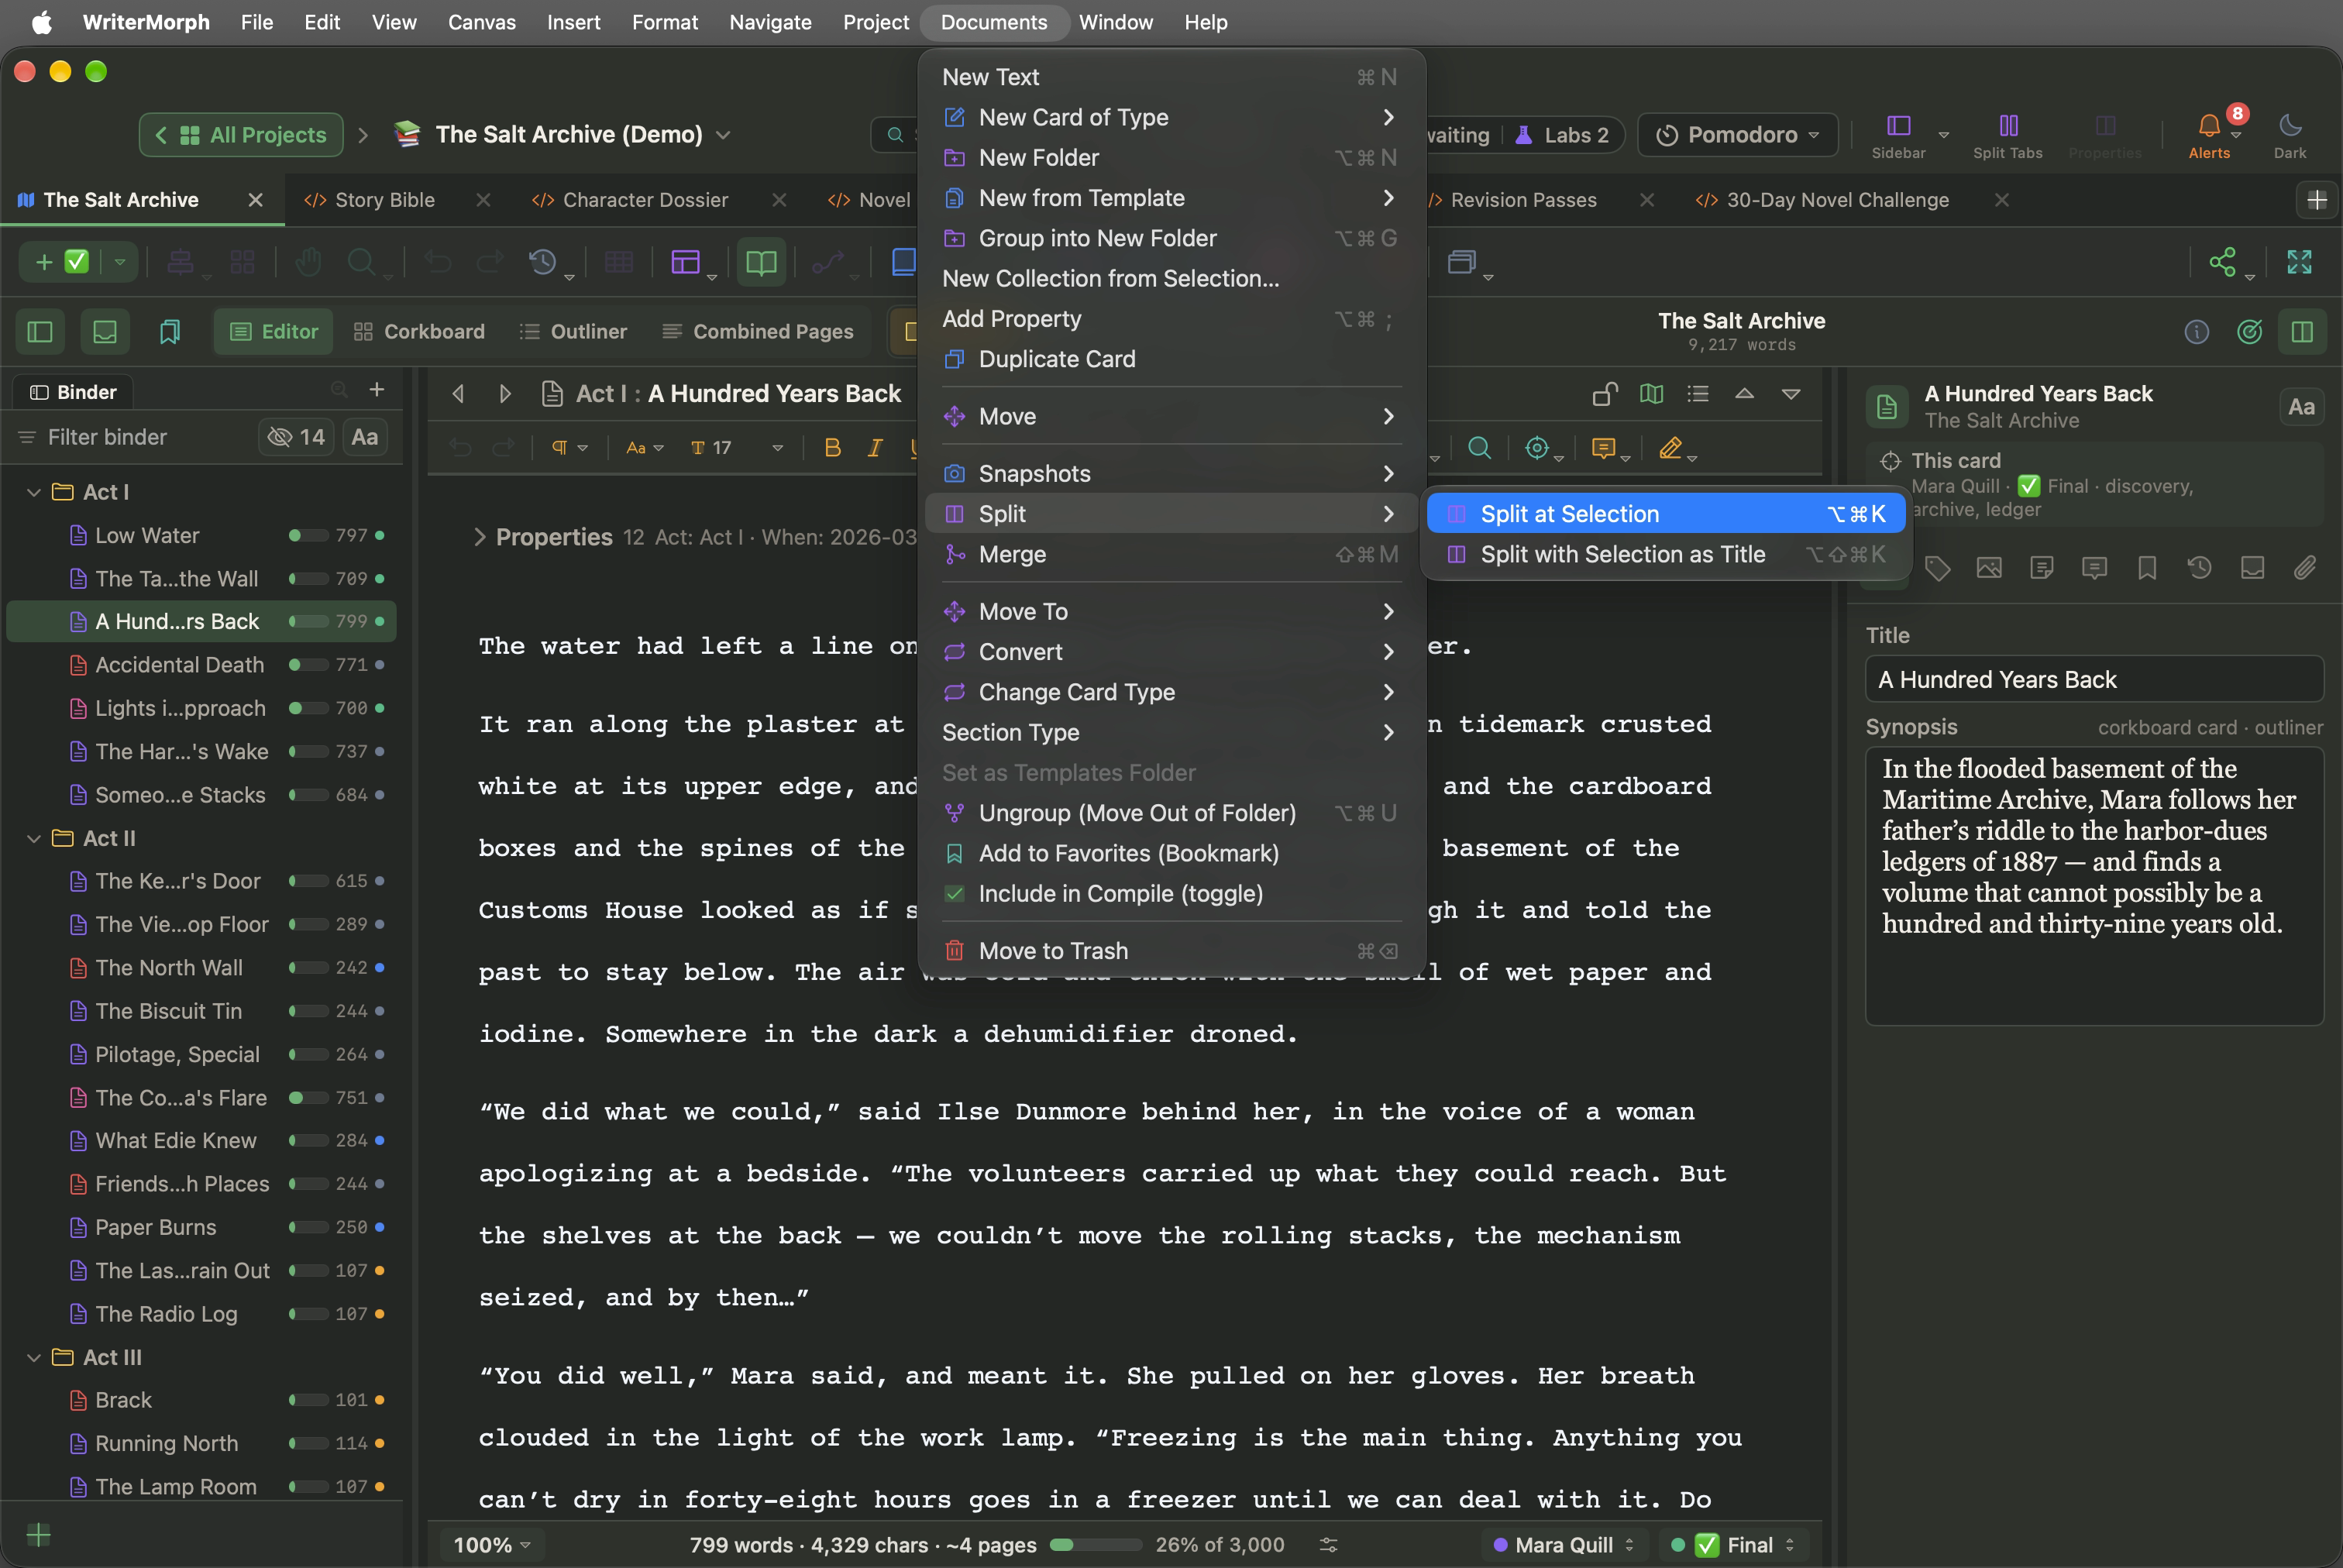
Nothing is fixed in place. In the Documents menu:
- Split › Split at Selection (⌥⌘K): put the cursor where a new chapter should begin. Everything after the cursor becomes a new document just below.
- Split › Split with Selection as Title (⌥⇧⌘K): select a heading line, such as "Chapter 7". The new document starts there and is named after it.
- Merge (⇧⌘M): select two or more documents in the binder to join them into one, for example when a bold line in the text was taken for a heading.
You can also drag rows in the binder to change the order or move a chapter into another part. If you imported with One Document per File, click into the long document and use Split with Selection as Title at each chapter heading. It takes a few minutes for a whole book.
Quick answers
WriterMorph says "Open the Manuscript view first". Click Manuscript view in the toolbar or your Manuscript tab, then choose the menu item again.
I can't find the File menu. It is in the menu bar at the very top of the screen. In full screen, move the pointer to the top edge.
Command-M does nothing. The shortcut for Manuscript Mode is Control-Command-M (⌃⌘M). On a Mac, Command-M on its own minimises the window.
The file opened as a page, not in the binder. It was opened with Word Document as a Tab… or New ▾ › Word file…. Import it again with Word, OpenDocument or RTF into the Book….
The whole book came in as one document. Either One Document per File was chosen or WriterMorph found no headings. Give the part and chapter titles Word's heading styles and import again, or split the document as described above.
Can I import a Scrivener project instead? Yes: File › Import Files › Scrivener Project (.scriv)… brings in the whole binder. See moving from Scrivener.
Everything else about importing, including Markdown, OPML, screenplays and Obsidian vaults, is in the help page Importing Your Work.