 WriterMorph

Moving from Scrivener to WriterMorph: what comes across and where to find it
How to import a Scrivener project into WriterMorph, where the tools you already use live, and the few things that work differently.
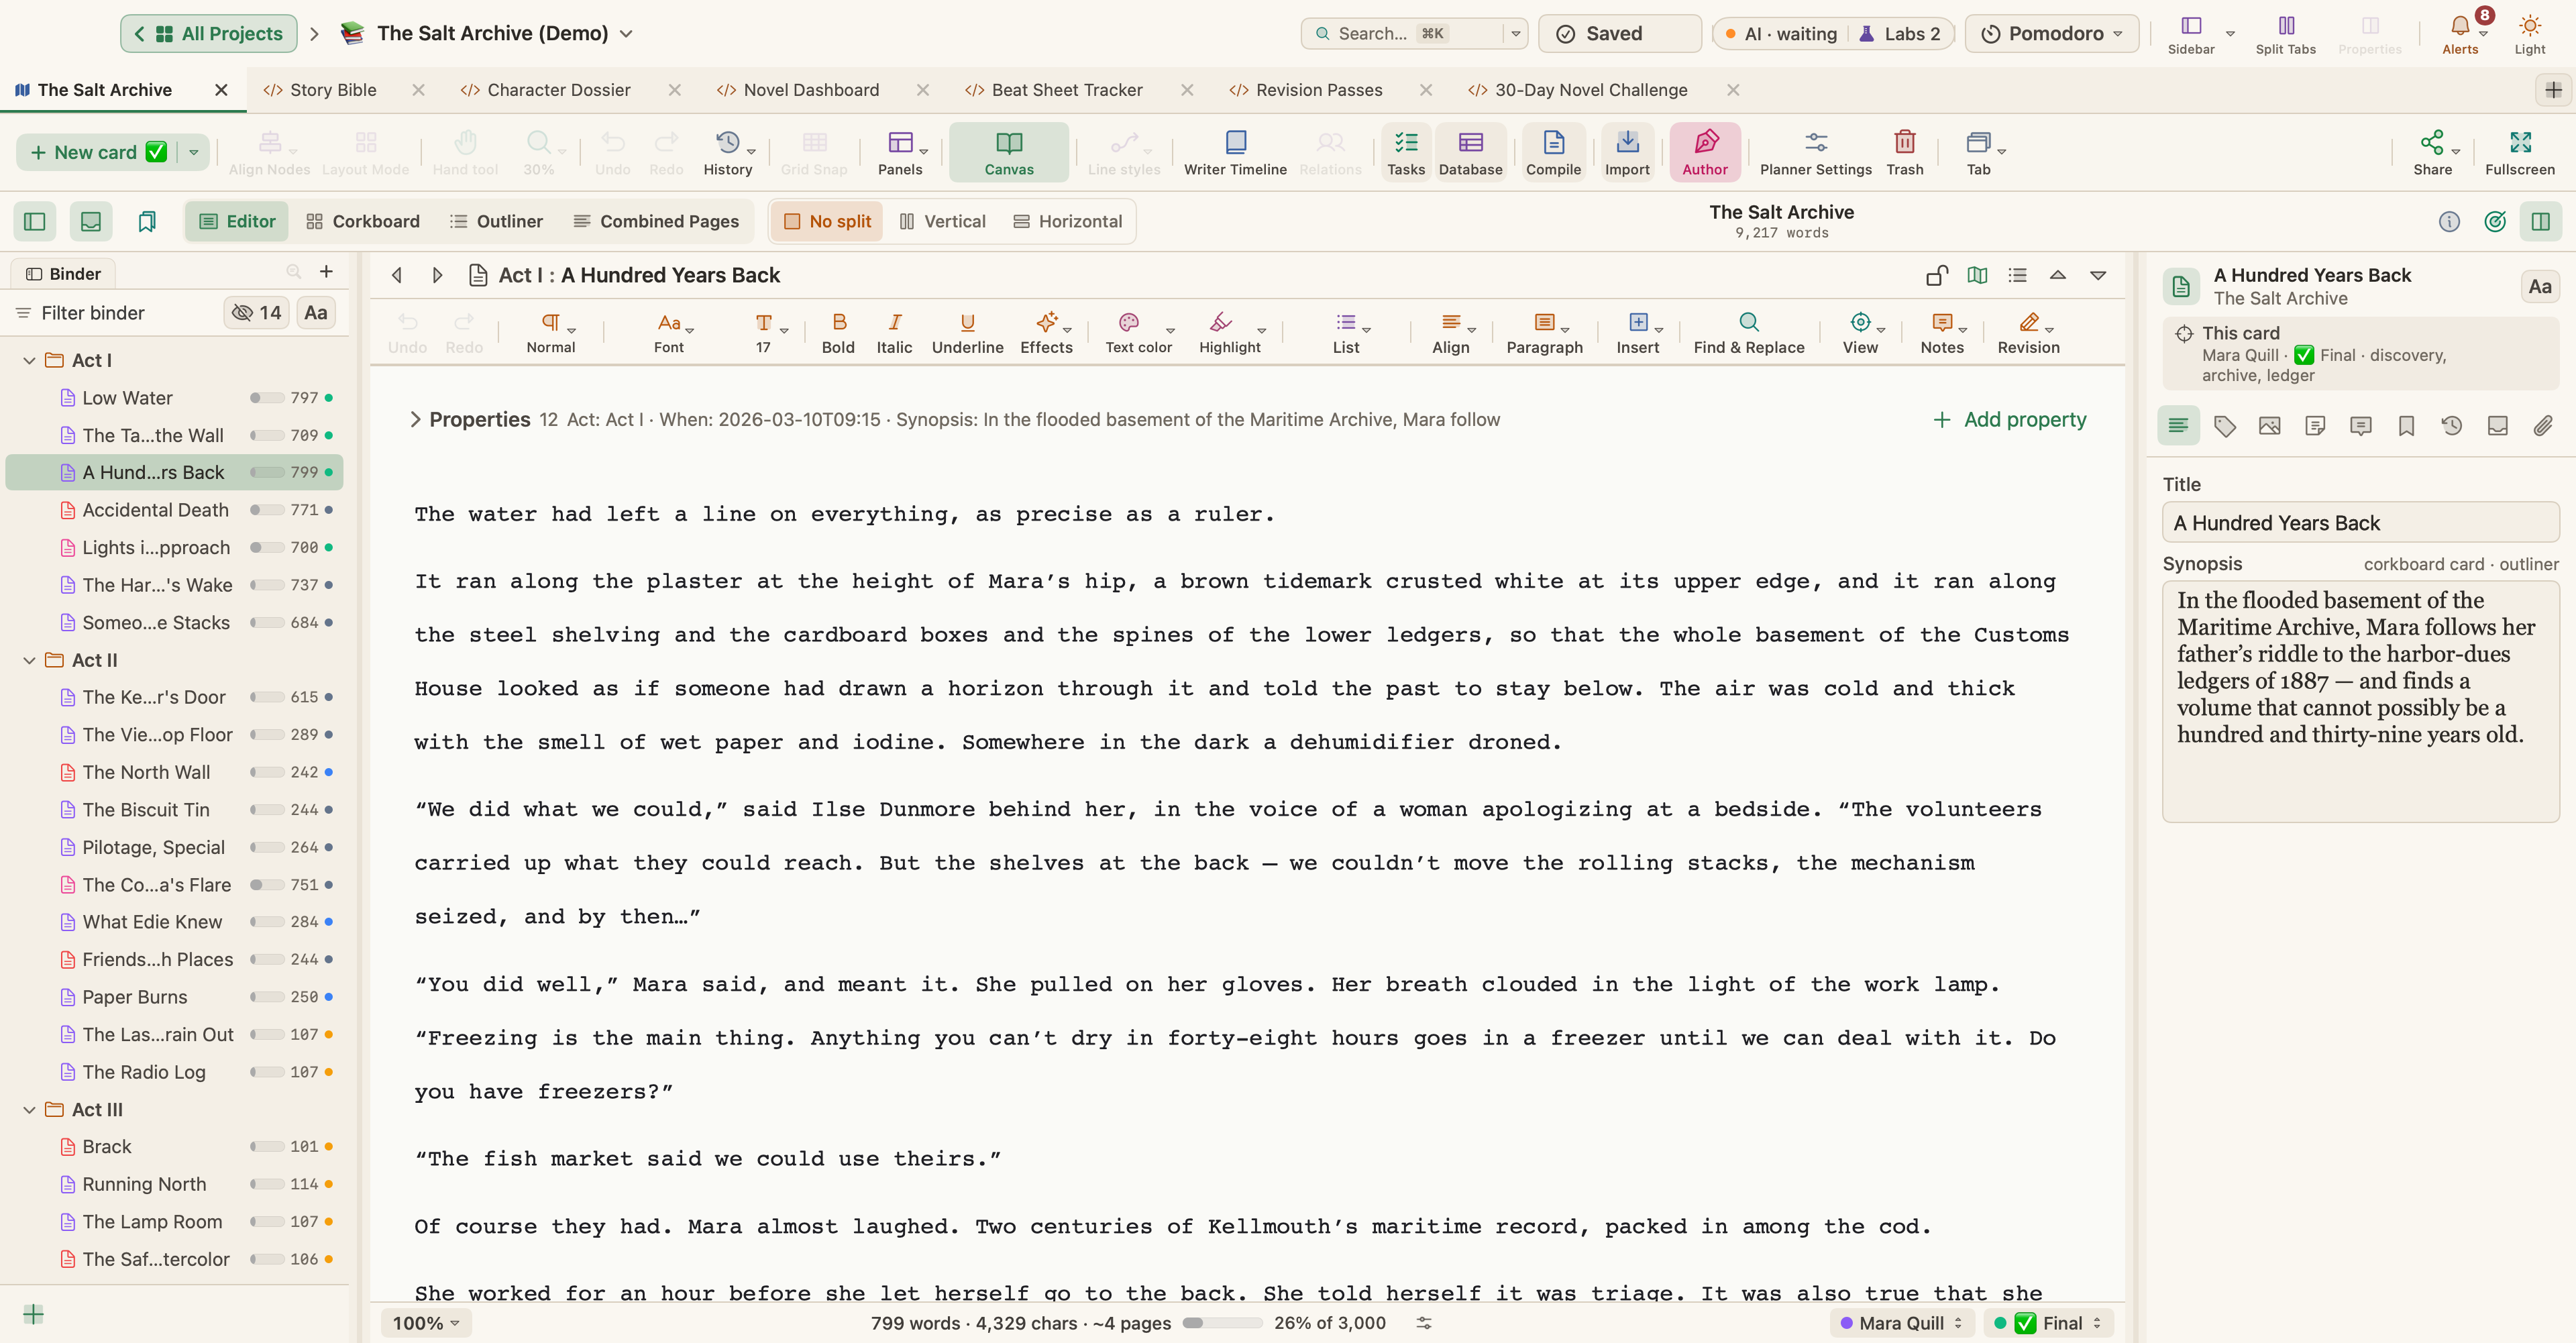
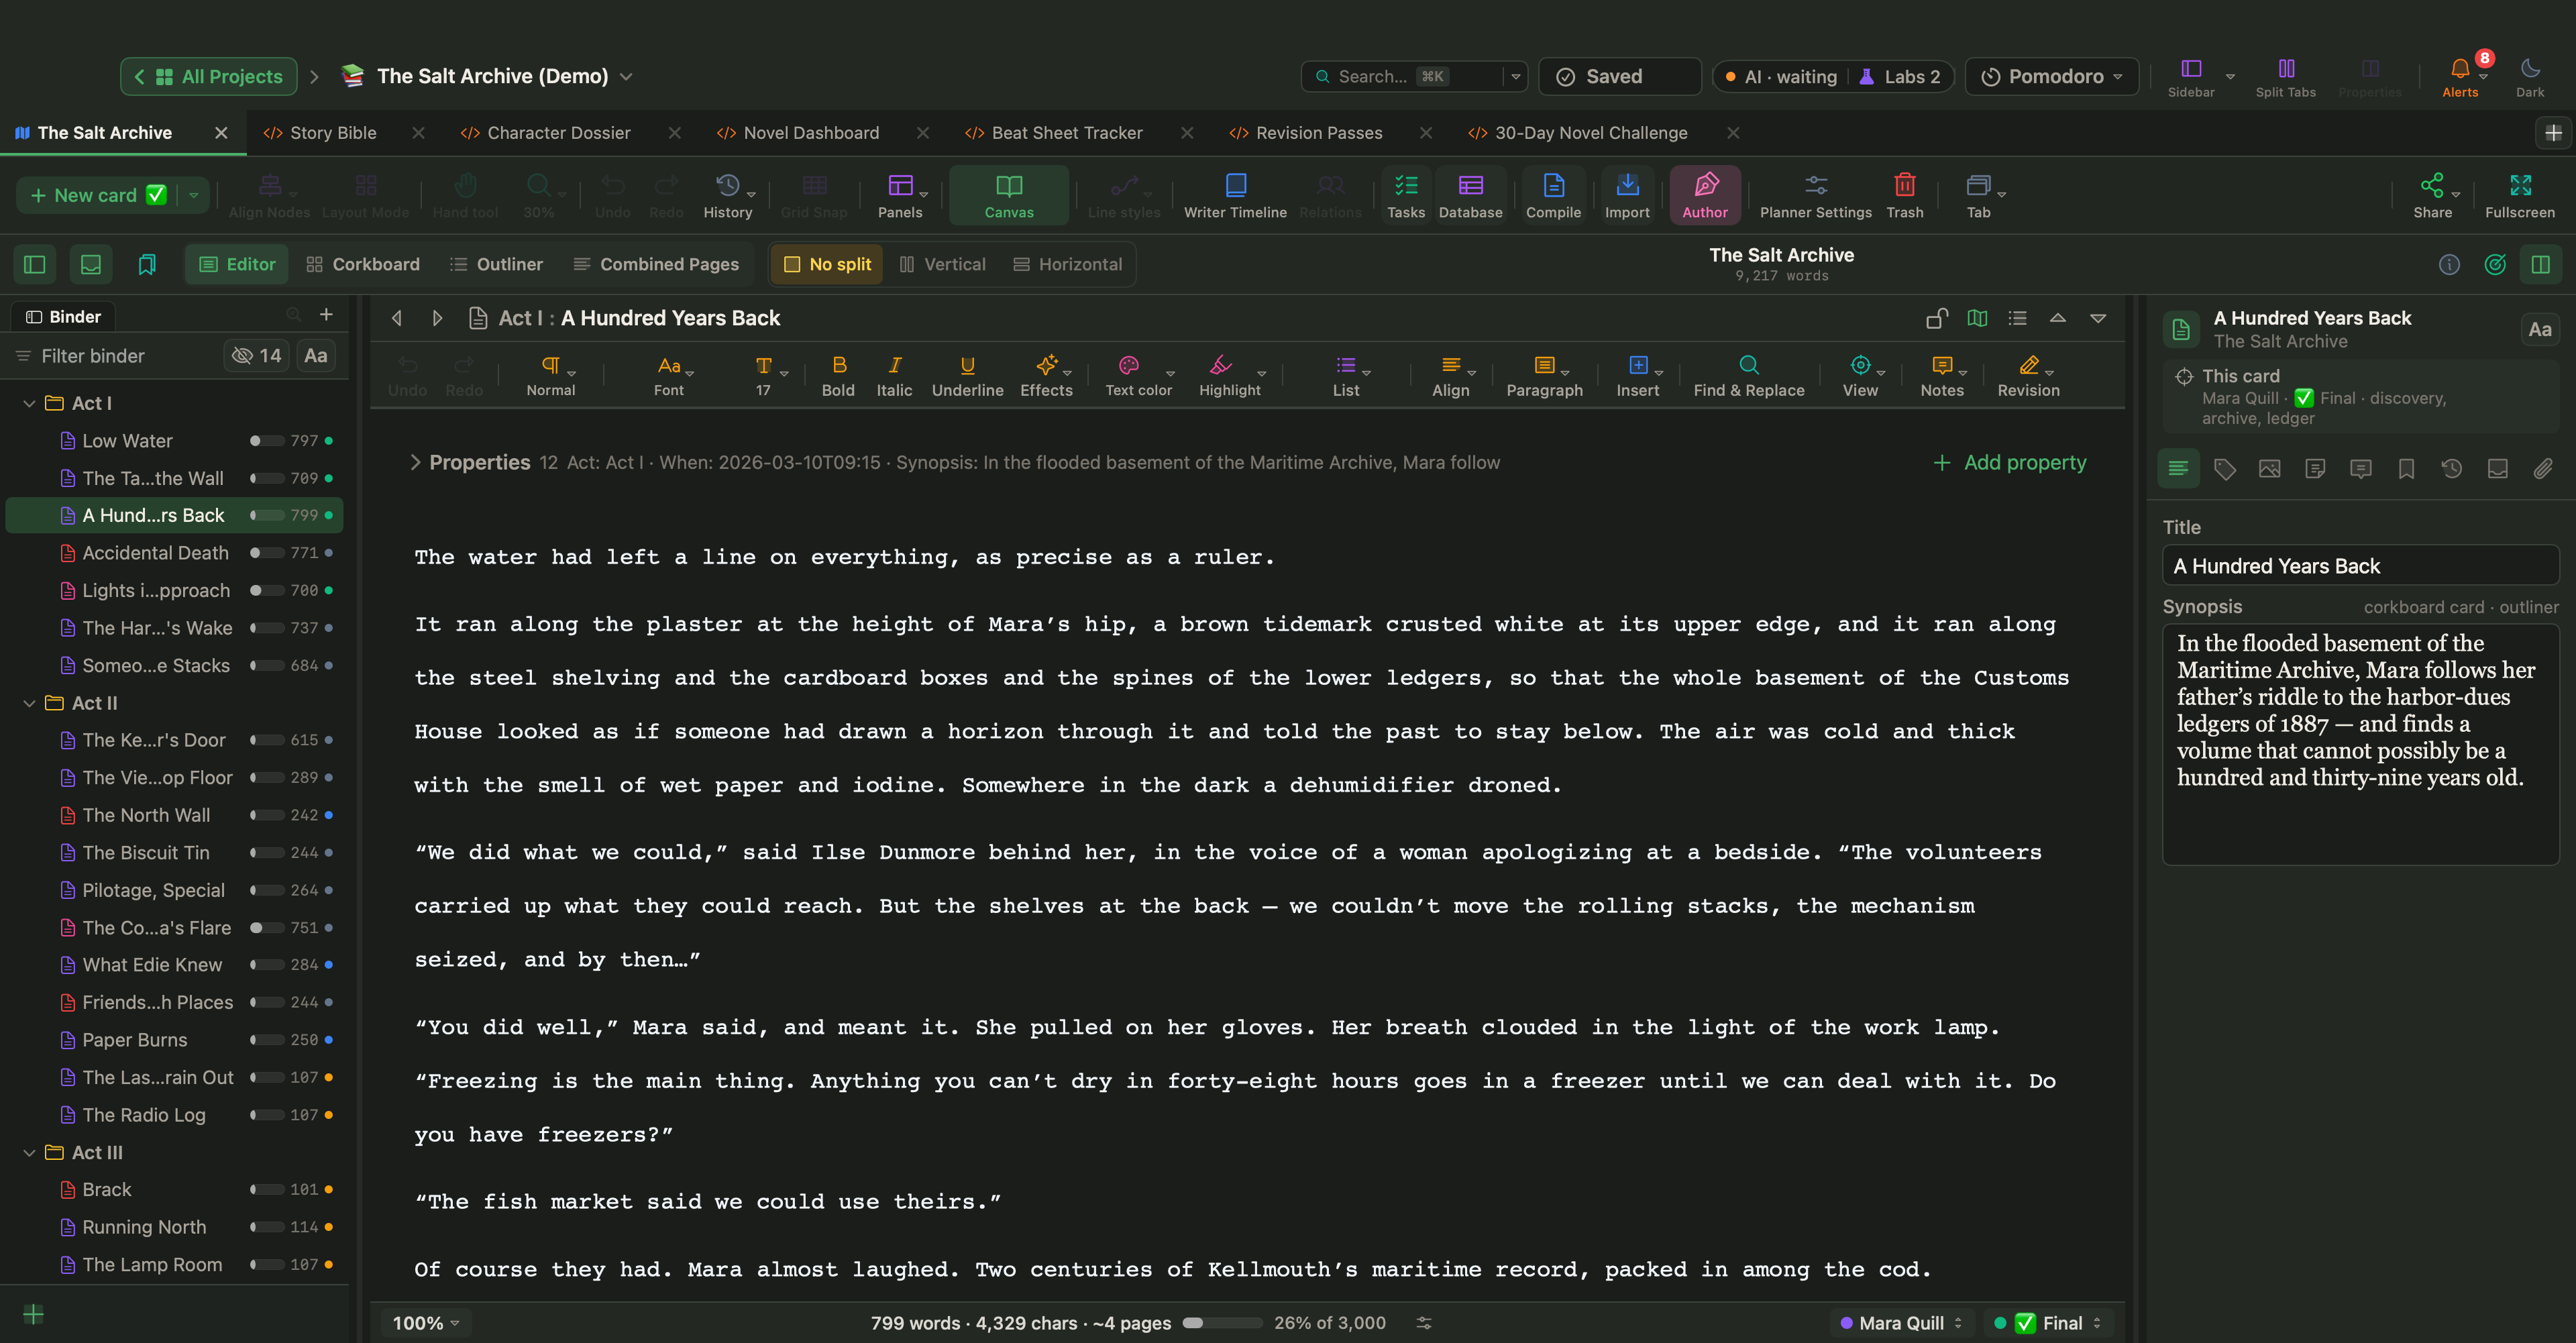
If you have written a book in Scrivener, your work lives in a binder: chapters and scenes in order, a synopsis on every index card, notes beside the text and a compile setup for the finished file. WriterMorph is built for the same kind of long writing. The parts you use every day are there under familiar names, and a whole Scrivener project comes across in one step.
This guide covers the import, where to find the tools you already know, and what works differently.
How to import a Scrivener project
The import adds your Scrivener project to the book of a WriterMorph project, so begin with one open. For an empty project, choose File › New Project… (⇧⌘N) and pick Blank.
- Open Manuscript Mode with View › Manuscript Mode (⌃⌘M).
- Choose File › Import Files › Scrivener Project (.scriv)….
- Select your
.scrivproject.
WriterMorph reads the Draft folder (its folders, texts, synopses and notes) and the Research folder, and adds them to the book in a new folder named after the project. Importing never changes your original files: the Scrivener project on your disk stays exactly as it was.
What the import brings in
The Importing help lists what happens to each part of a Scrivener project:
| In the Scrivener project | In WriterMorph |
|---|---|
| The Draft folder: folders, texts, synopses and notes | Added to the book, in a new folder named after the project |
| The Research folder | Read as well; PDFs, images, media files and web archives become research items |
| Documents left out of compile | Still left out of compile |
| Headings | Headings |
| Inline footnotes | Footnotes |
| Inline annotations | Comments |
| Hidden style codes | Not shown in the imported text |
| The trash | Not imported |
Research items stay outside the manuscript, so they are never compiled. If you would rather have your chapters at the top level of the binder than inside the new folder, select them and choose Documents › Move To › Top Level.
Where your usual tools are
Most of Manuscript Mode will look familiar. Here is where to find the tools Scrivener users look for first:
| In Scrivener | In WriterMorph |
|---|---|
| Binder, corkboard and outliner | The same three views of one structure, with drag and drop between them: Editor (⌘1), Corkboard (⌘2) and Outliner (⌘3) |
| Scrivenings | Combined Pages (⌘4): several documents edited as one text |
| Inspector | View › Inspector (⌥⌘I): synopsis, notes, label, status, keywords, custom properties, snapshots and comments |
| Composition Mode | Composition Mode (⌃⌥⌘F), plus Dactylo, the typewriter |
| Split editor and Quick Reference | Vertical and horizontal splits, Lock in Place, and Navigate › Open Quick Reference (⌥⌘Y) |
| Snapshots and Revision Mode | Snapshots (⌘5), five revision colors, version history and tracked changes in Word files |
| Project and session targets | Project › Show Project Targets (⇧⌘T), with a deadline and writing days |
| Linguistic Focus, Text Statistics, Name Generator | All three, plus word frequency and readability |
| Section Types and Compile | Section types, section layouts and Compile Studio (⌥⌘E), with a page-by-page preview |
| Scriptwriting mode | Script Mode (⌘8), with Fountain and Final Draft import and export |
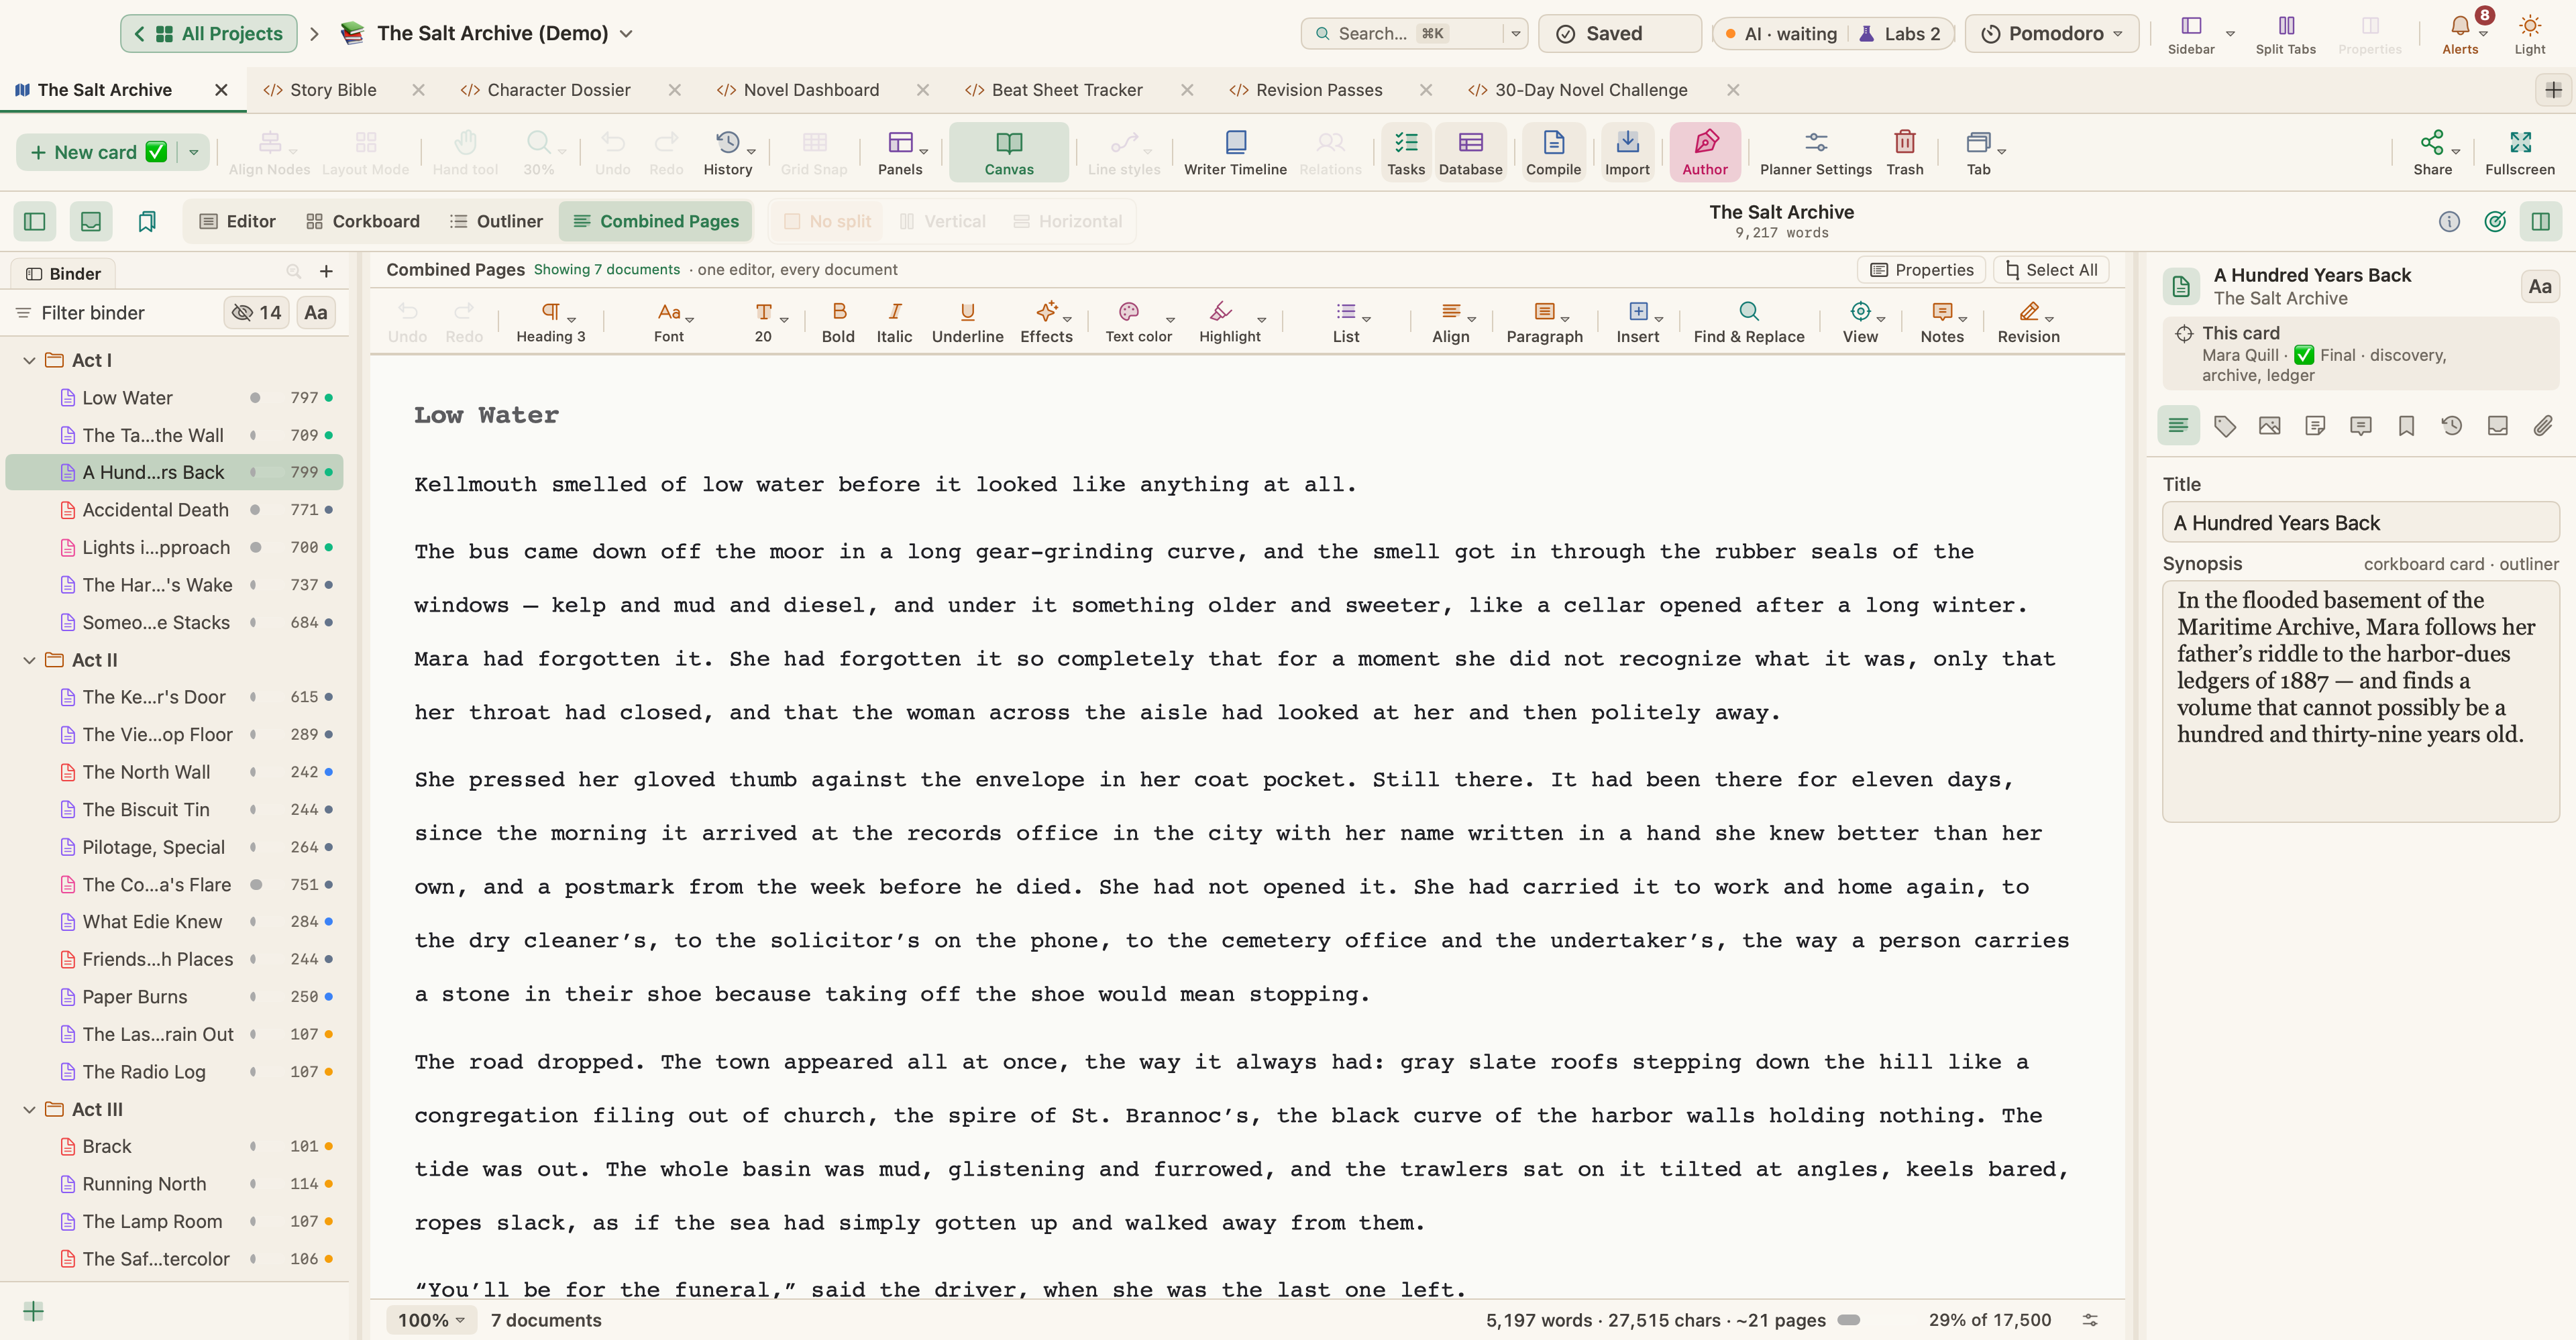
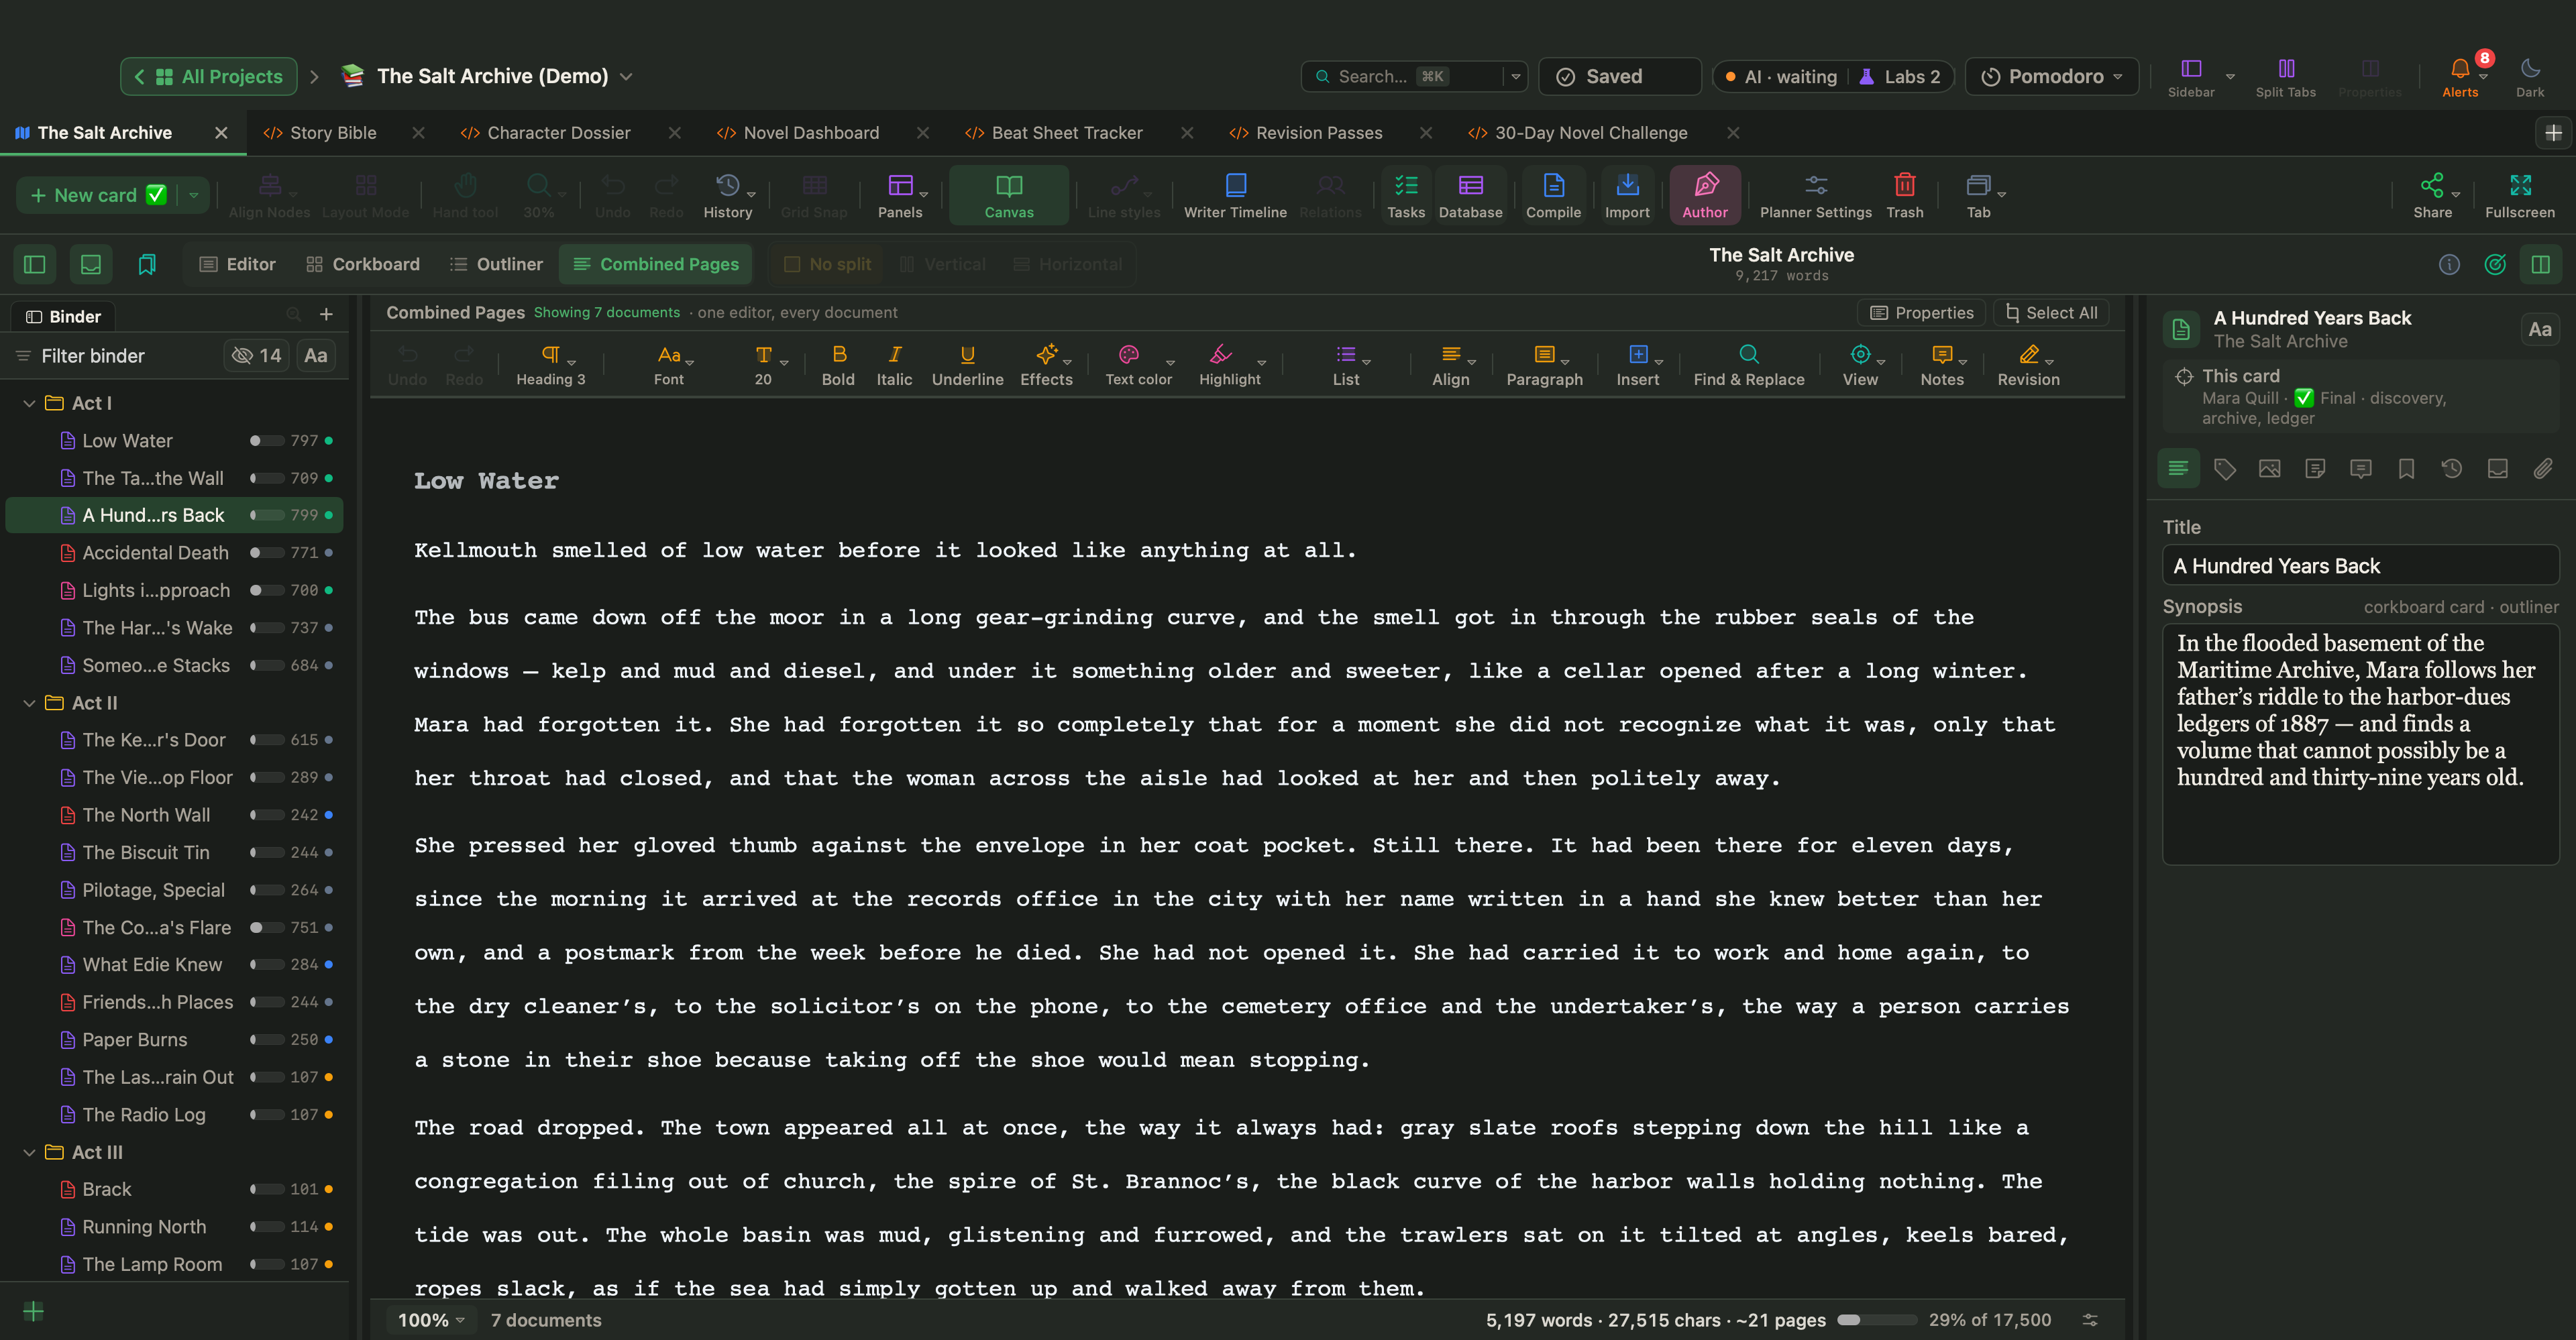
A few more things worth knowing in Manuscript Mode. The order of the binder is the order of the book, and the order Compile follows. Right-click a document for Include in Compile, label and status. Collections group documents without moving them, and a saved search becomes a collection that stays up to date. Documents › Set as Templates Folder gives the character sheets and scene outlines you reuse a home of their own, and Project › Project Notes holds notes that belong to the whole project rather than to one document.
What works differently
The canvas and the binder show the same cards
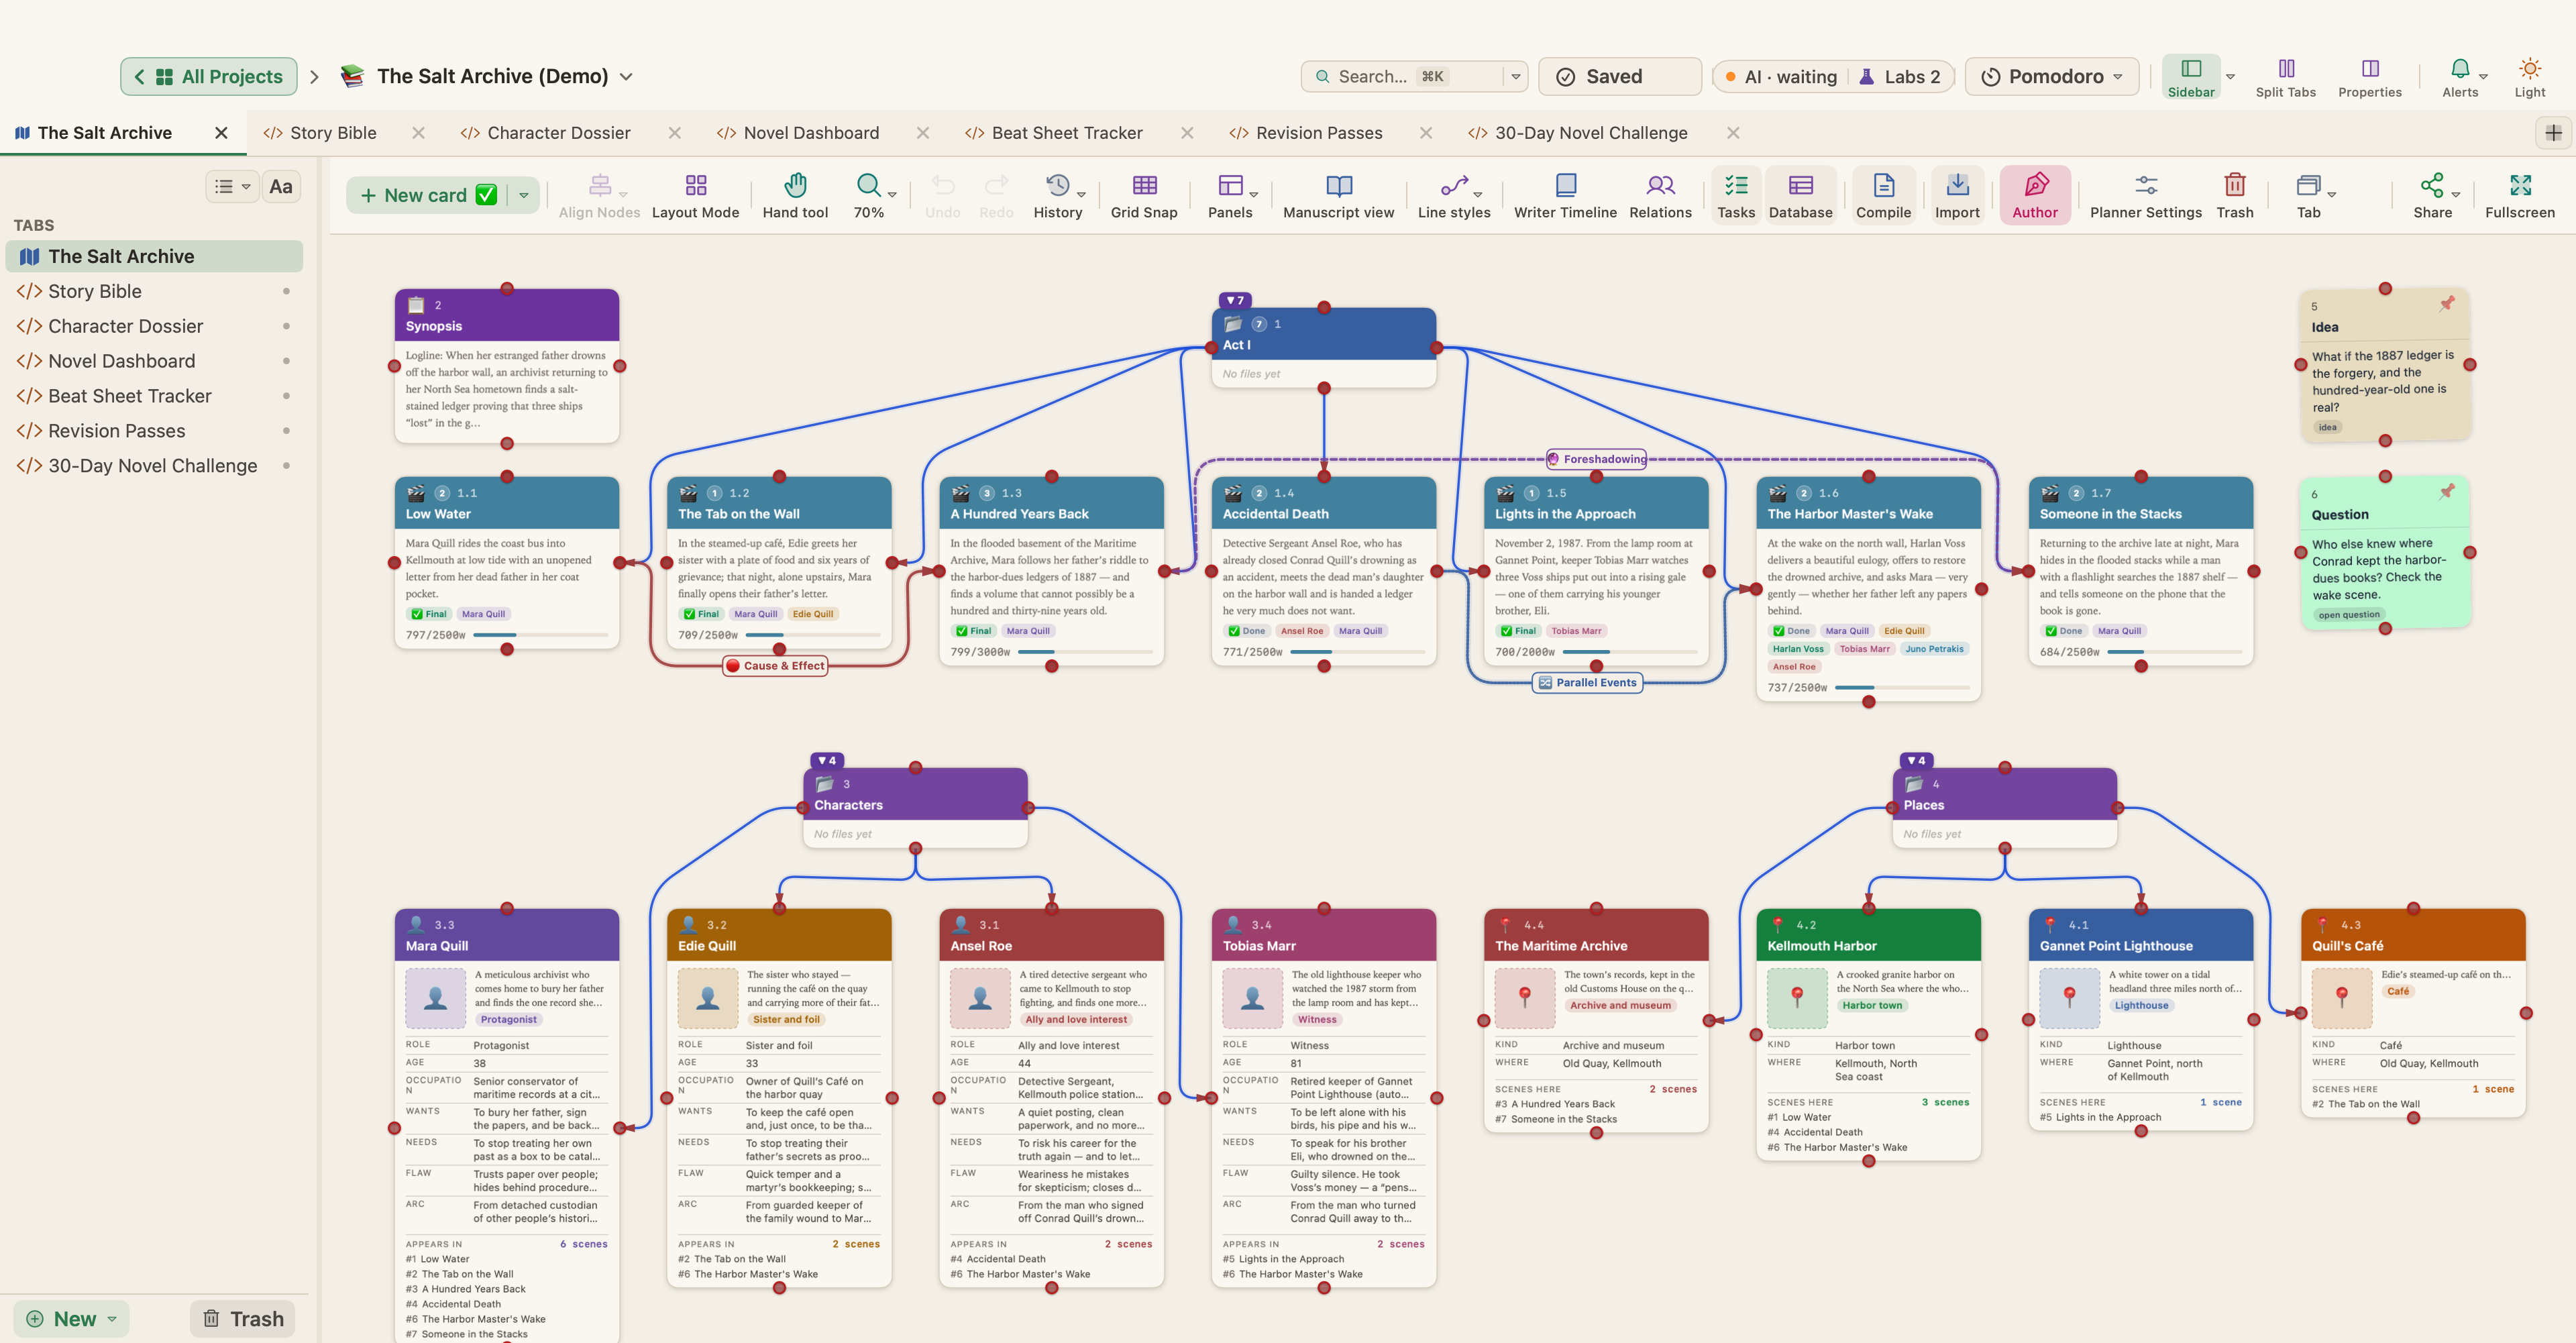
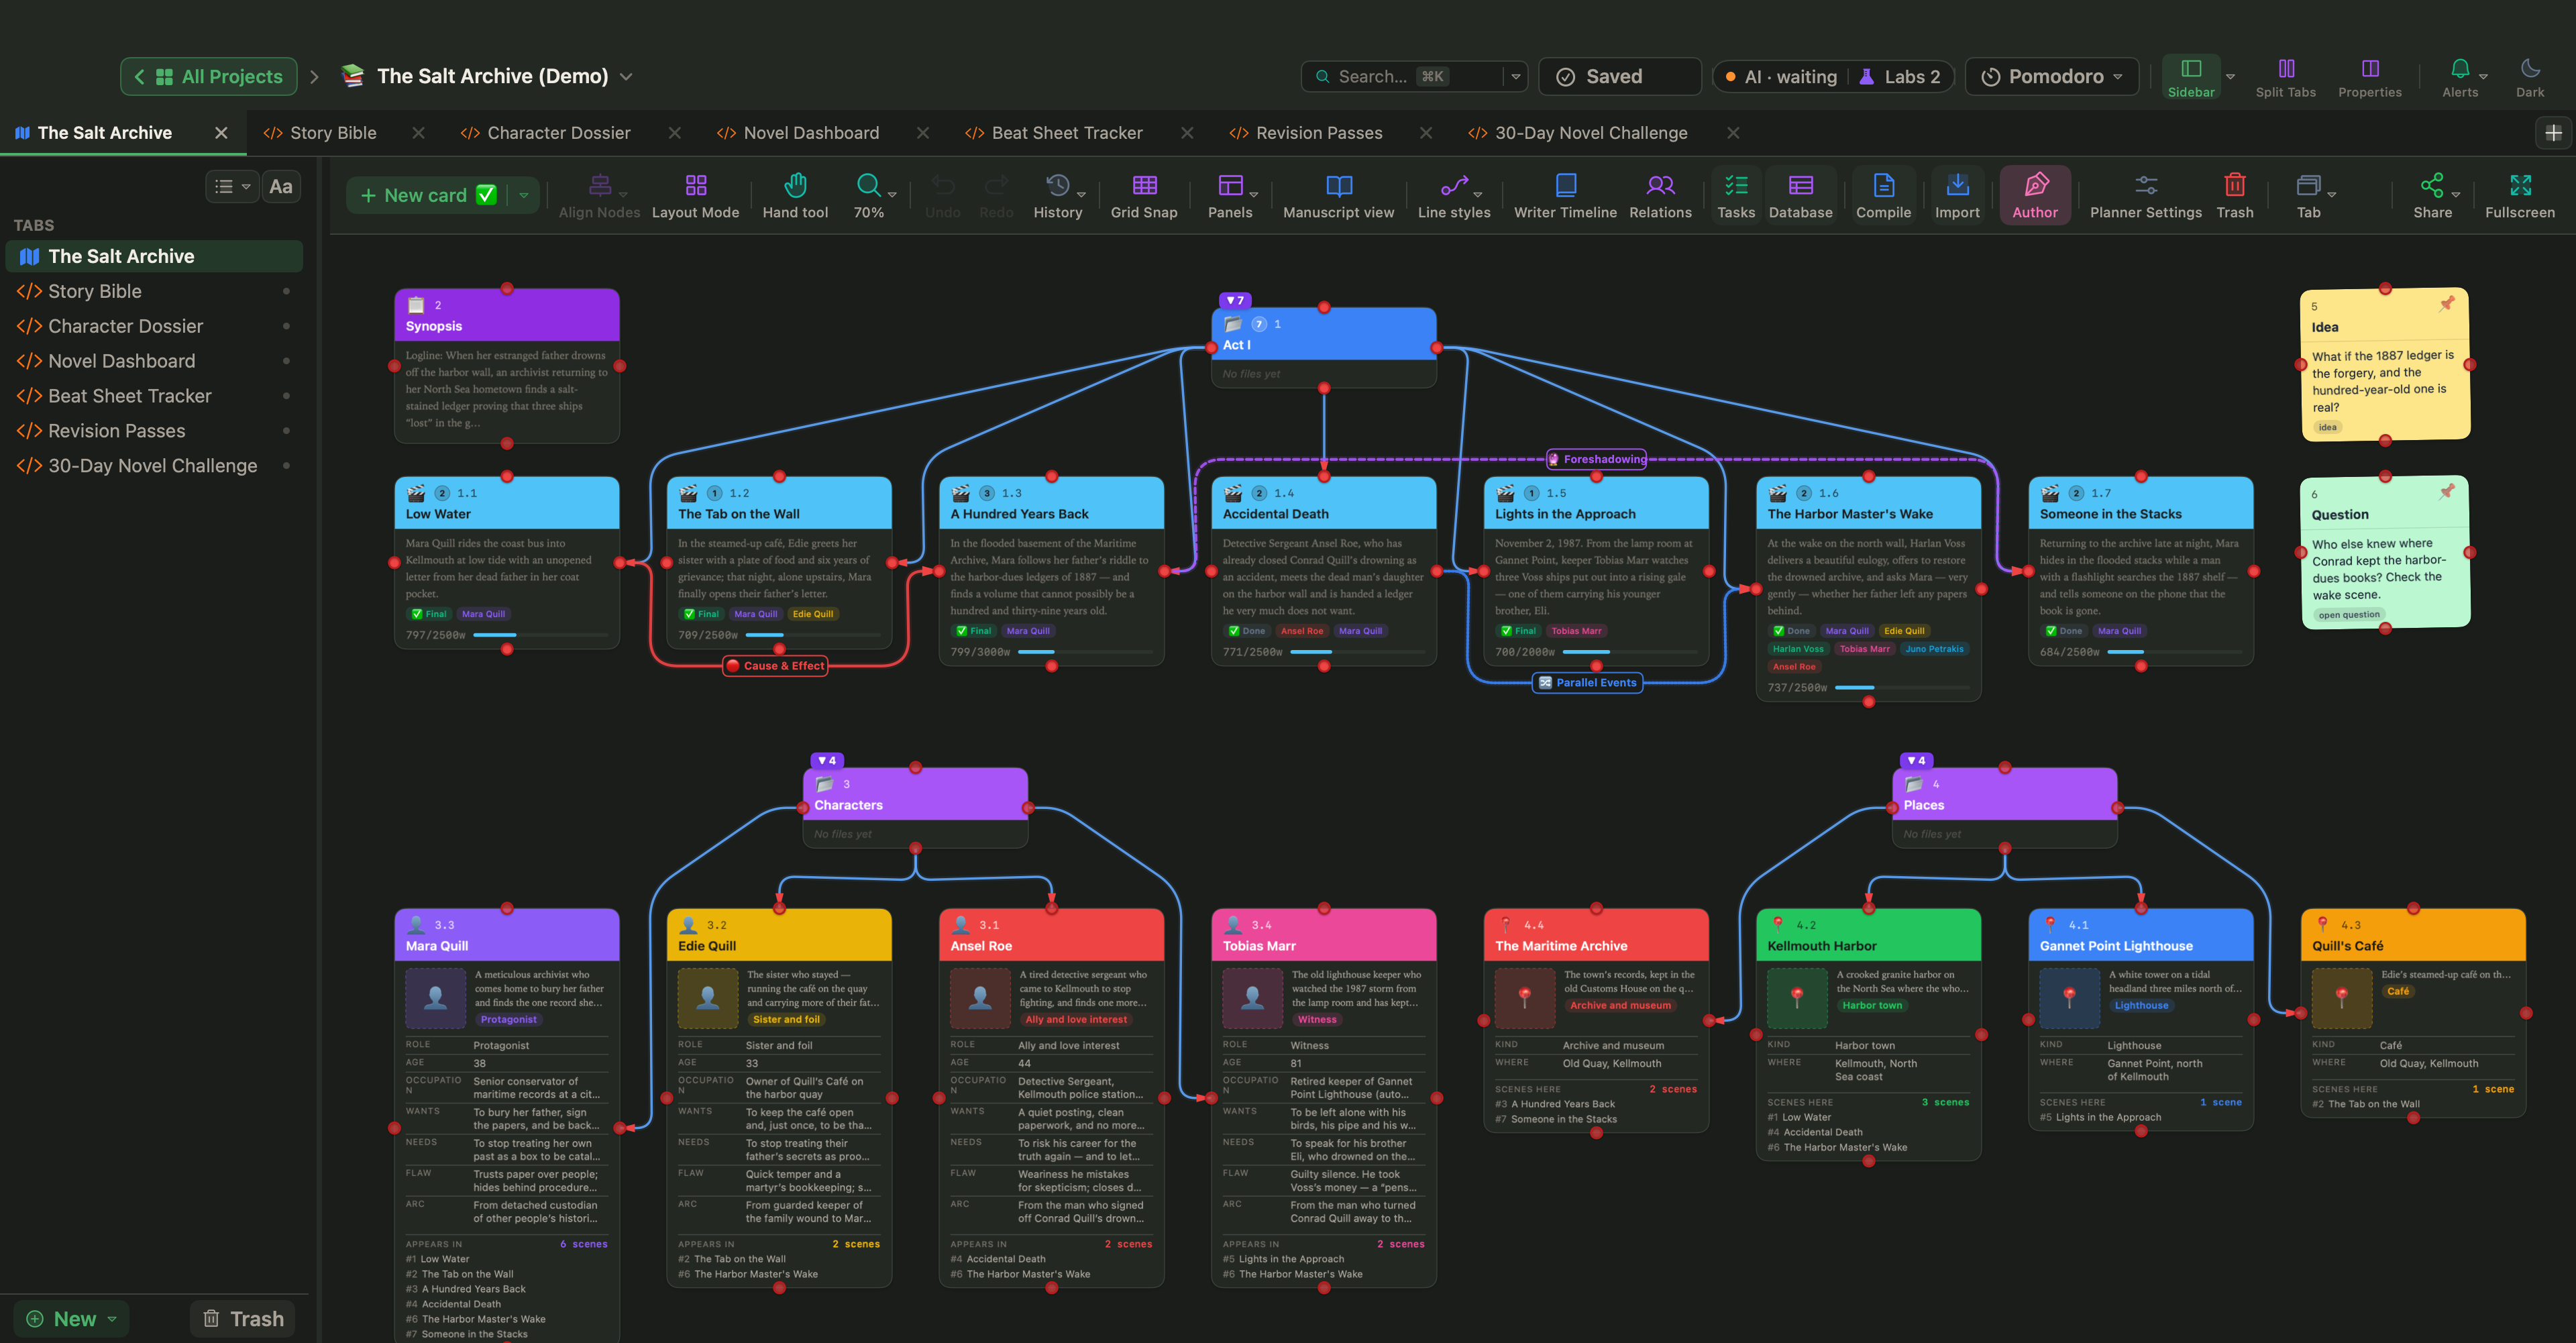
Next to Manuscript Mode, WriterMorph has a Visual Planner: an open canvas where scenes, characters, places and research are cards, grouped under acts and linked by arrows. Press ⌃⌘M to switch between the two. They are views of the same cards, so moving a scene on the canvas moves it in the binder, and renaming a chapter in the binder updates its card. Navigate › Show Selected Card on Canvas jumps from a document to its card and highlights it.
The Writer Timeline
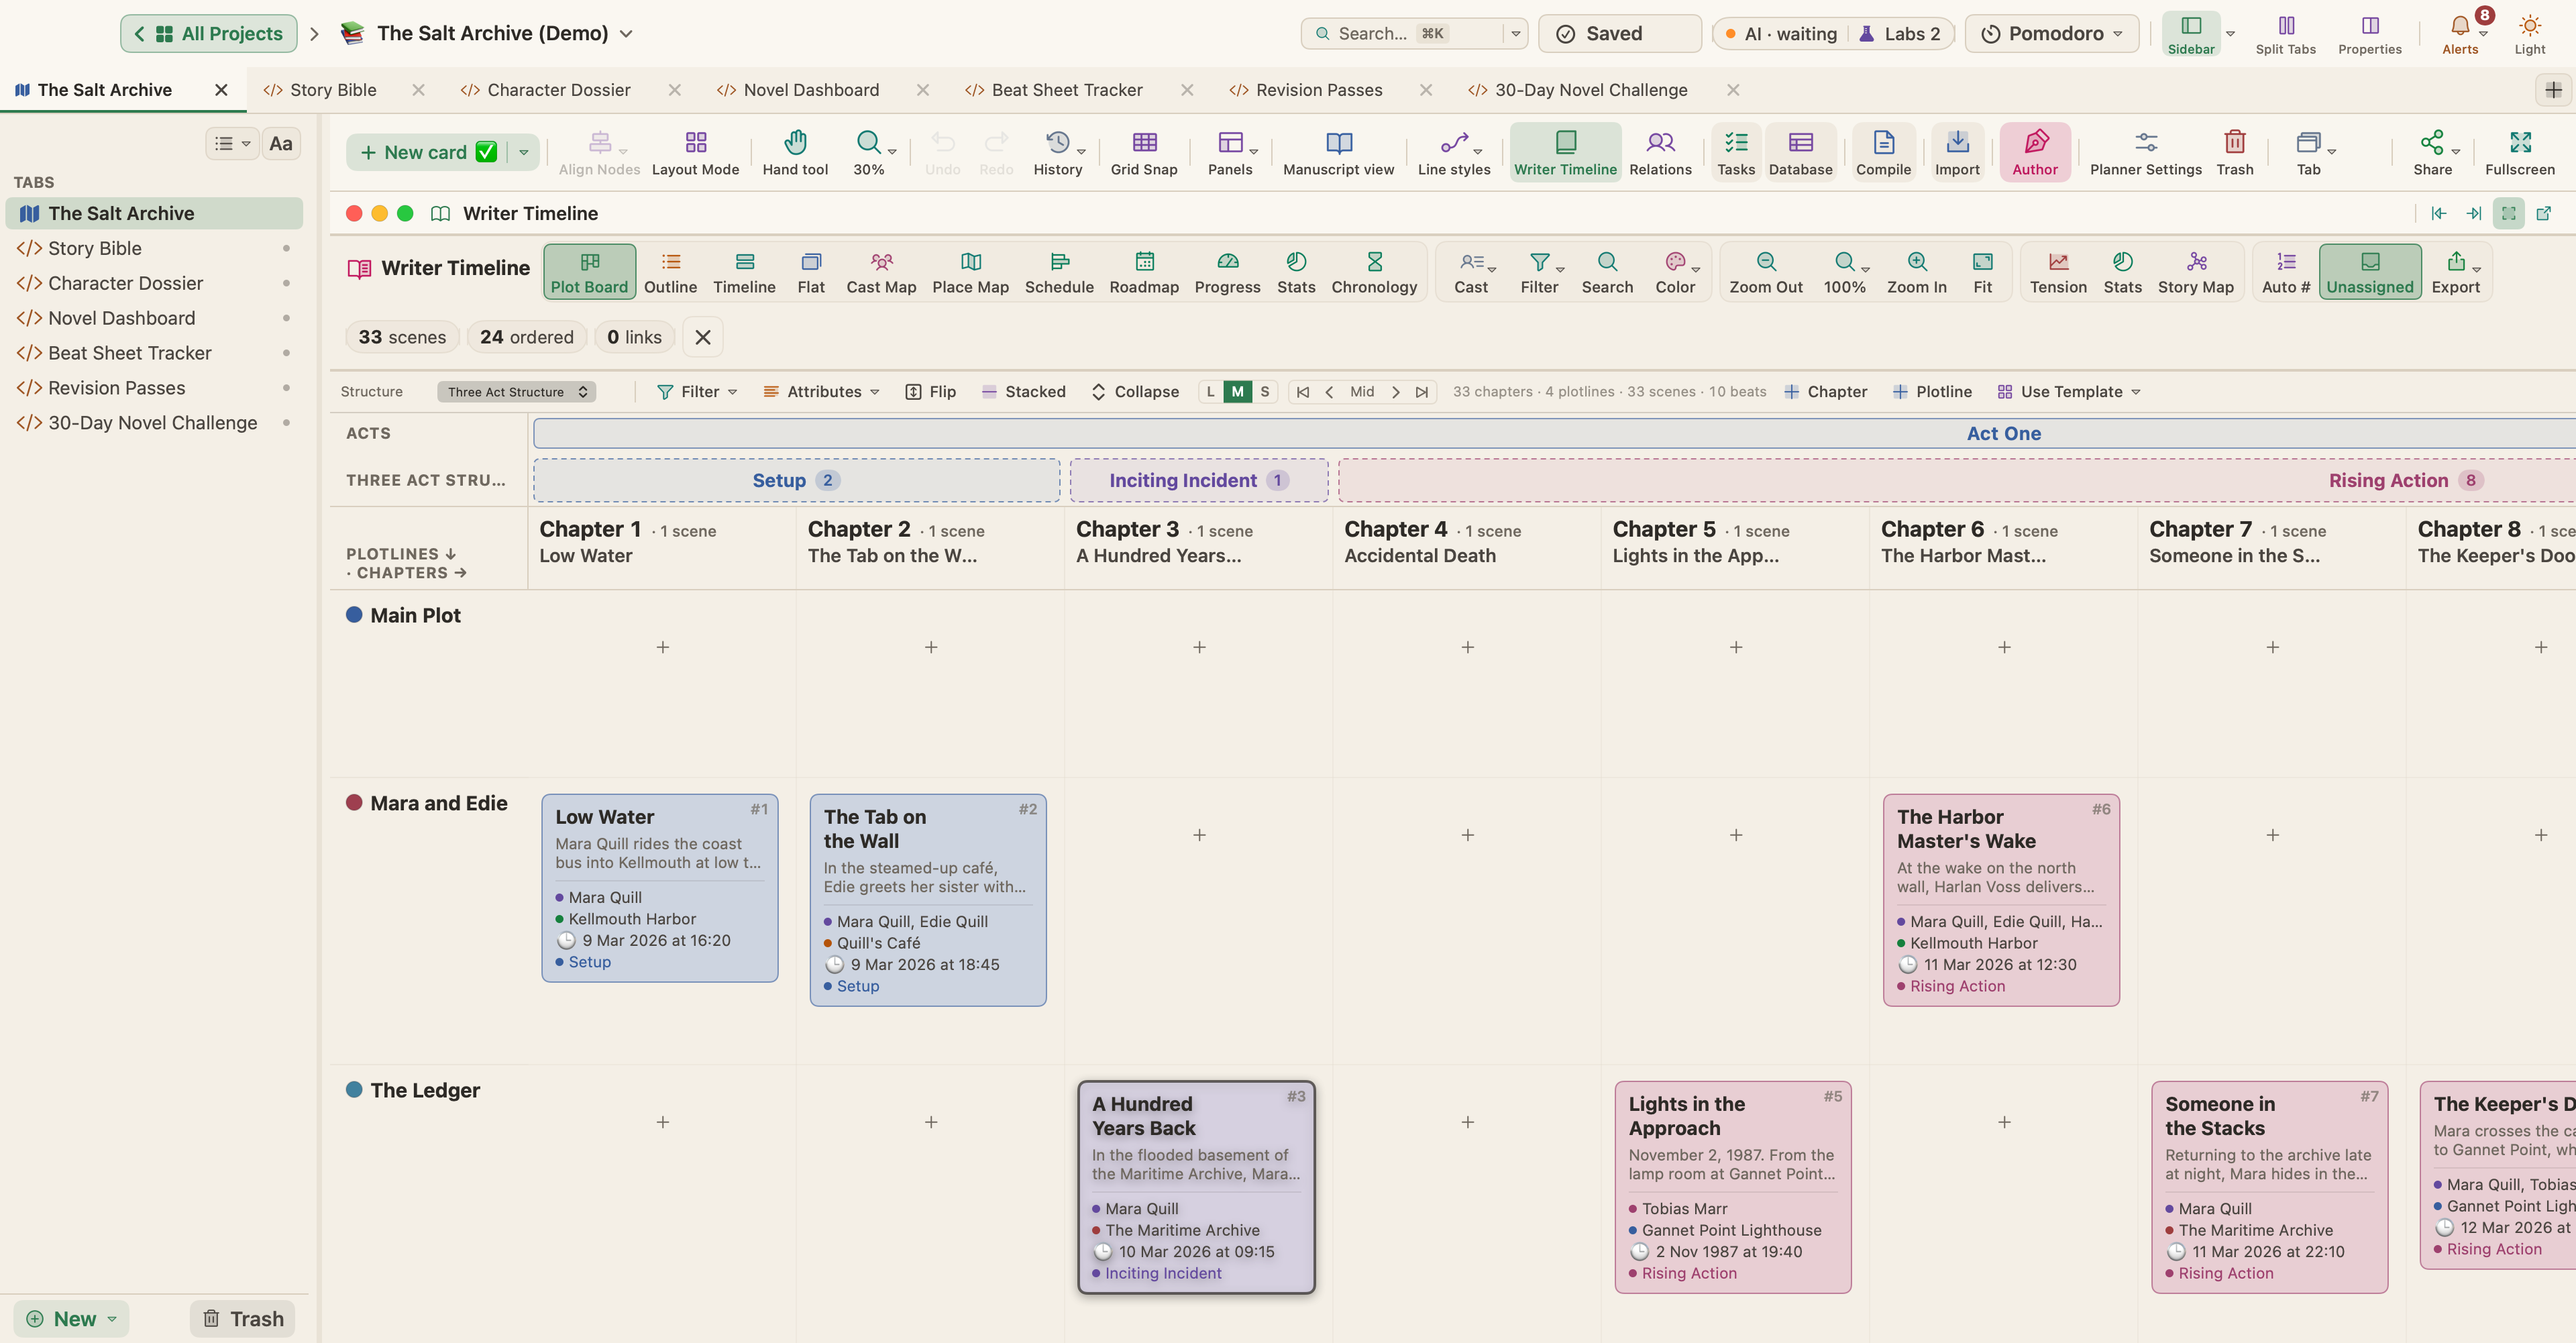
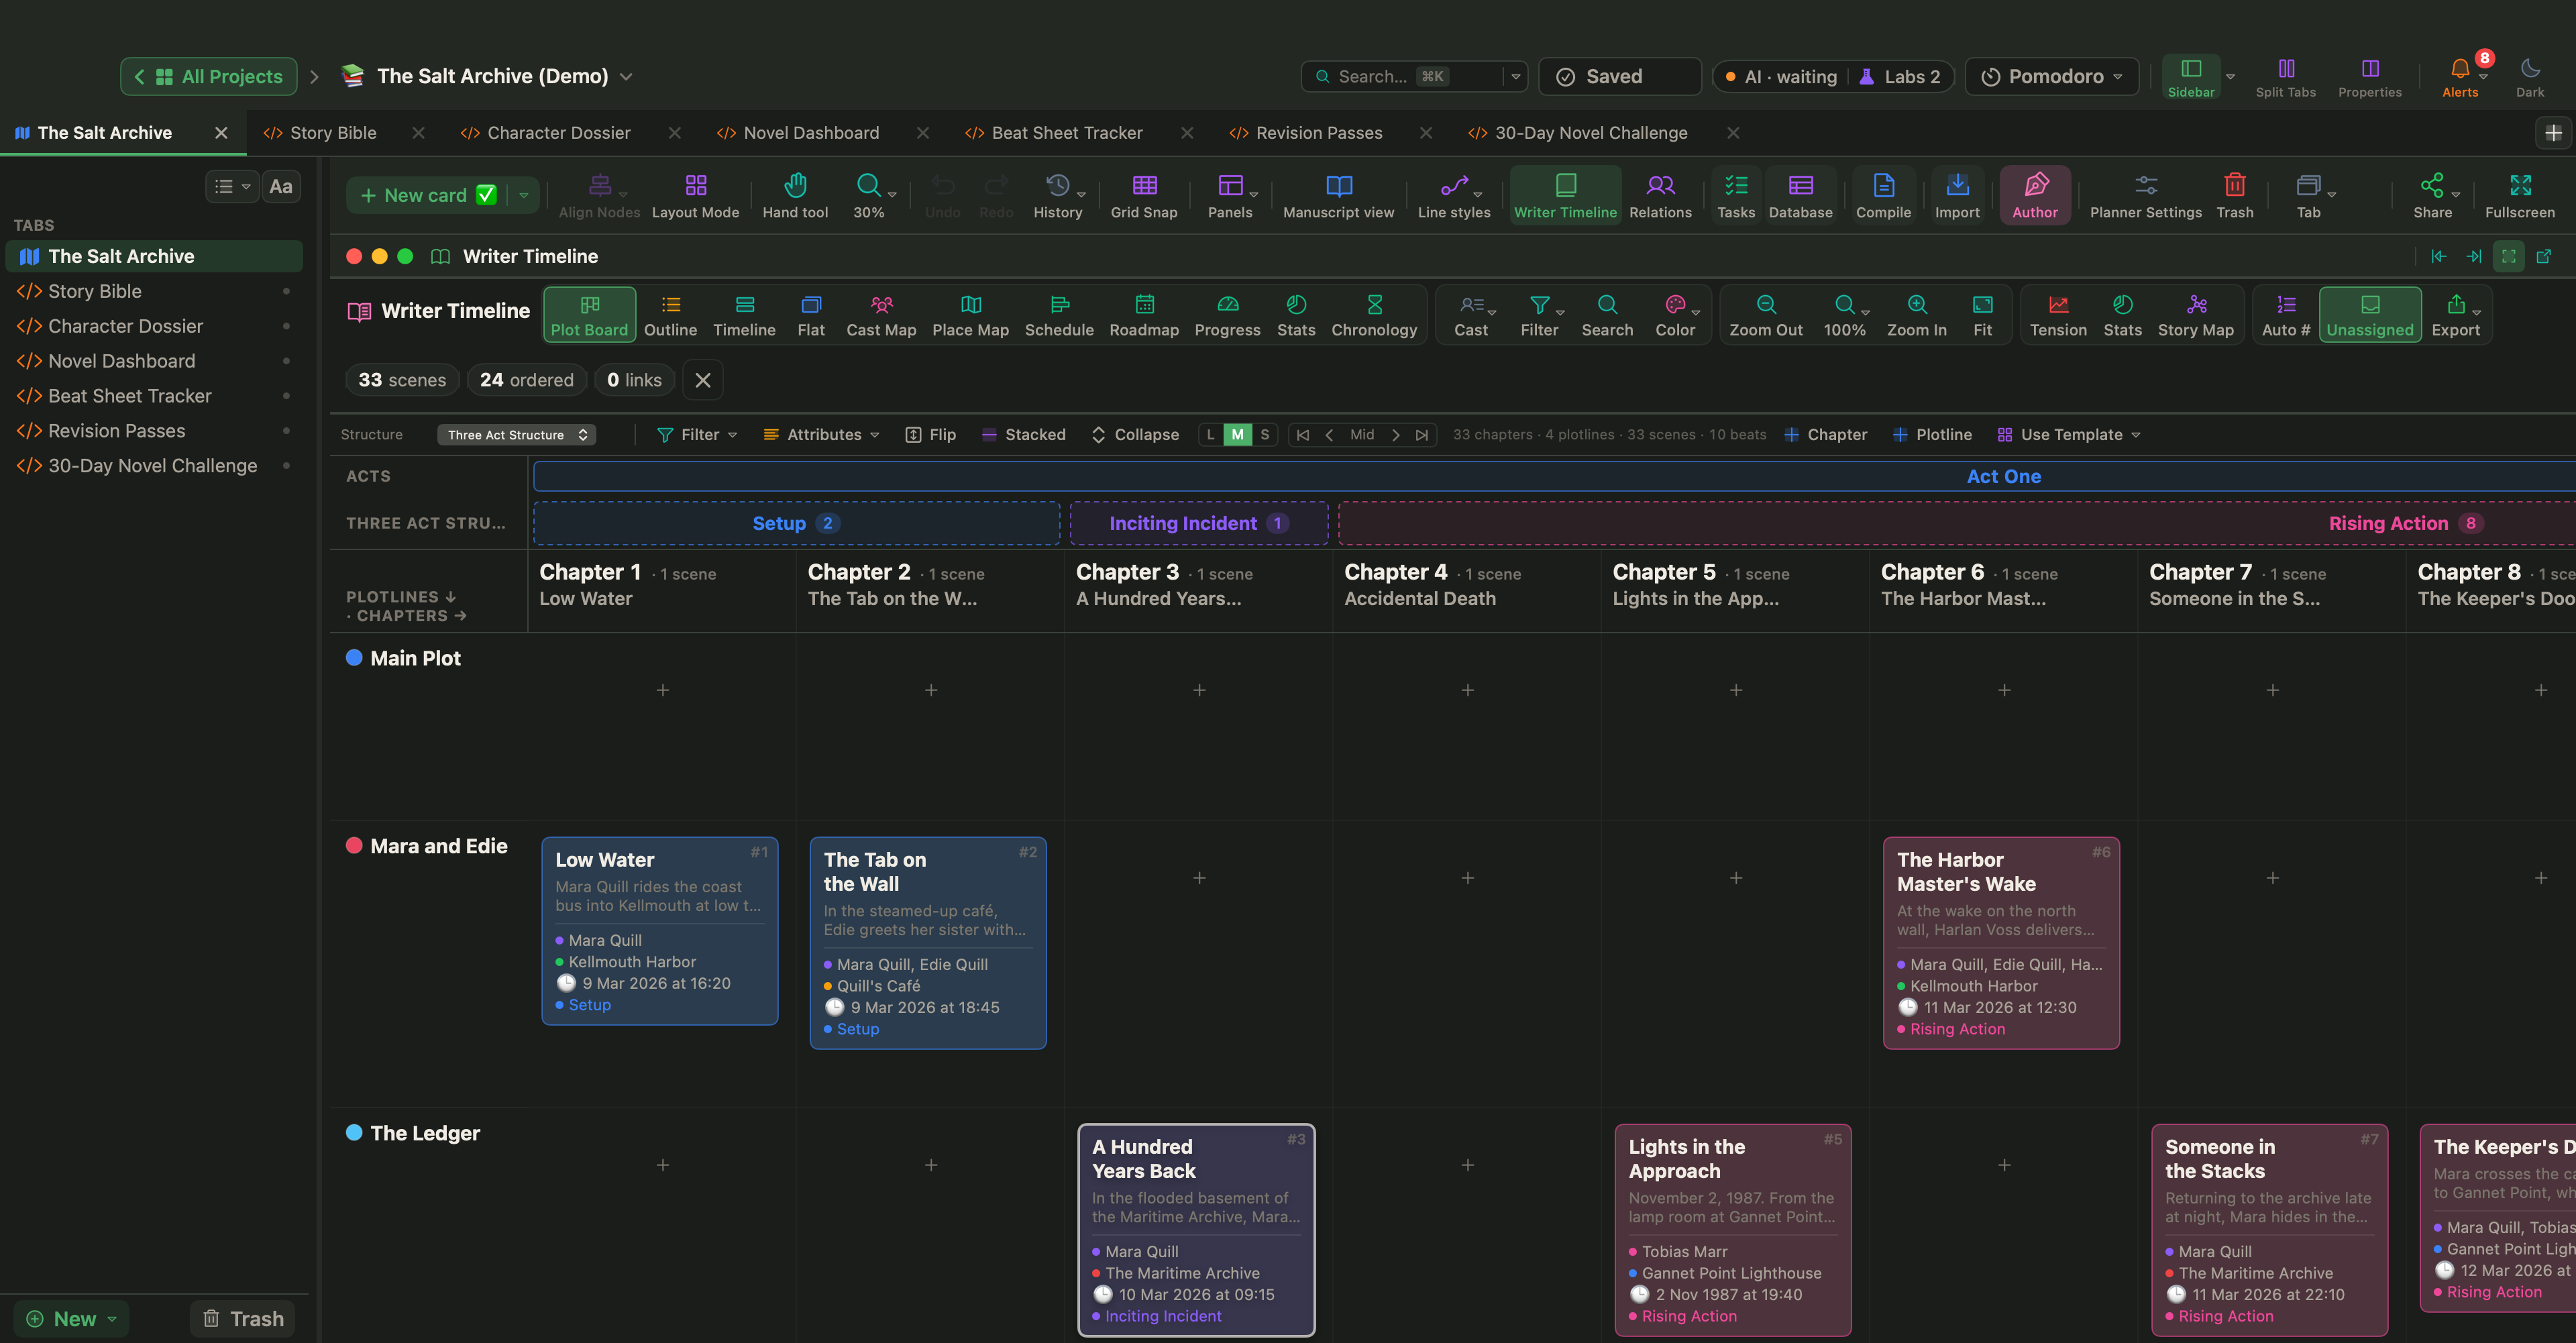
View › Writer Timeline (⌥⌘T) turns your scene cards into story views: a Plot Board with chapters across and plotlines down, a Chronology in story time, a Cast Map, a tension curve and Book Stats. It reads the facts each scene carries, such as point of view, place, beat, tension and story time, which sit above the scene's text. The timeline needs Author mode. Fiction and script templates turn it on; for other projects, turn it on in Project › Project Settings… under Canvas › Writing, or with the Author button in the planner toolbar. The guide to keeping a novel's timeline straight shows it at work.
One project, one file
A WriterMorph project is a single .wmorph file. In Finder it looks like one document; inside, it holds your planners, manuscript text, images, attachments and internal backups. WriterMorph saves automatically shortly after you stop typing, and automatic backups are on from the start: a complete, compressed copy each time you open the project and each time you close it or quit. Your projects live in a library on your Mac, in iCloud Drive or in a folder you choose, with no account. More in Projects, Files and Backups.
Compiling starts from a preset
Compile Studio opens with four presets, Manuscript, Paperback, E-book and Screenplay, and a live preview of the pages. Section types (Part, Chapter, Scene, Heading, Front Matter, Back Matter or your own) decide how each kind of document is laid out. The whole route from draft to finished file is in the guide to formatting and compiling your manuscript.
Your first hour after the import
- Read the binder. Open the new folder and check that chapters and scenes are in the order you expect. Drag a row to move it.
- Check two columns in the Outliner. Press ⌘3, and in View › Outliner Options turn on Section Type and Include in Compile. A document without a chosen section type takes one from its place in the binder.
- Take a snapshot before big changes. Documents › Snapshots › Take Snapshot with Title… (⇧⌘5) saves a named copy of a document, such as "As imported".
- Set your targets. Project › Show Project Targets sets a manuscript target and a session target. Add a deadline and your writing days, and WriterMorph can work out the session target for you.
- Compile once. Choose Project › Compile… (⌥⌘E), pick the Manuscript preset and page through the preview.
Then write a chapter the way you normally would, with the Inspector open or in Composition Mode. A few ordinary sessions will show you where everything is faster than any table, and your Scrivener project stays on your disk, unchanged, the whole time.