 WriterMorph

A twelve-week plan to finish your novel: set it up before the new year
A week-by-week plan from a messy draft to a manuscript in first readers' hands, with honest room for missed days. Set it up in December, start on the first Monday of January, and keep it on a calendar in WriterMorph.
Many novelists end the year with half a book: a November draft that stopped at 30,000 words, or an old manuscript that needs one more serious pass. A year is too long to plan in detail and a month is too short to finish. Twelve weeks is a useful length in between: long enough to write and revise a draft, short enough that the end date stays in view.
This article gives the plan week by week, then shows how to set it up in WriterMorph in an evening in December, so that on the first Monday of January you only have to start.
Why twelve weeks, and when to start
A plan needs an end date you can see from the start. Twelve weeks gives you that, plus room for a short structural phase at the beginning and a real revision at the end, which month-long challenges leave out.
The dates below assume you start on Monday 4 January 2027 and finish on Sunday 28 March. Move them to suit your own calendar; the shape stays the same. Before you begin, choose which of two jobs you are doing:
- Finishing: the draft is incomplete, and the seven writing weeks add new words.
- Rewriting: the draft is complete but wrong, and the writing weeks rebuild it scene by scene.
Both fit the same twelve weeks. Only the daily measure changes: words for finishing, scenes for rewriting.
The plan at a glance
| Weeks | Dates (2027) | Job | Done when |
|---|---|---|---|
| 1–2 | 4–17 Jan | Map the draft and decide | Every scene still to write has a one-line synopsis and a place in the order |
| 3–9 | 18 Jan – 7 Mar | Write or rewrite to a daily target | The draft is complete from first page to last |
| 10–11 | 8–21 Mar | Revise in passes | A structure pass and a scene pass are done |
| 12 | 22–28 Mar | Proofread, compile, send | The file is with your first readers, with questions |
The phases are fixed; how you split the time inside each one is up to you.
Weeks 1–2: map the draft and decide
Don't write new prose in the first two weeks. Read what you have and write down what happens in it, one line per scene. Then decide what the finished book is: the ending, the main storyline, and what to cut. Every scene still to be written gets a one-line synopsis that says what happens, and its place in the order.
If you are coming out of a November draft, the mapping method in After the first draft does this job in detail. If you are starting from notes, the outline article does.
End week 2 with three numbers: how many words or scenes remain, how many writing days you really have in weeks 3–9, and what that means per day.
Weeks 3–9: write to a daily target
Seven weeks is 49 days. Don't plan to write on all of them. A plan that survives real life has five writing days a week plus one catch-up day, so 35 writing days and seven spare days.
- Finishing: 35,000 new words over 35 days is 1,000 a day.
- Rewriting: 70 scenes over 35 days is two a day.
Write the number down and check it against your speed before week 3 starts. If 1,000 words takes you three hours and you have one, change the total or the date now. How to set a target, time your sessions and keep a streak is covered in How to hit your daily word count; here the point is what to do when the plan slips.
A missed day goes to the catch-up day, not to tomorrow. Writing two days' words the next day is how one missed day becomes three. If the catch-up day is already used, spread the shortfall over the days left in the phase.
Check the plan at the end of week 6. You should be about four sevenths of the way through. If you are more than a week behind, choose one of three options and write it down: lower the total (cut a subplot you were unsure of), move the end of the phase into week 10 and run one revision pass instead of two, or move the whole end date. A changed plan is fine; a quietly abandoned one is the problem.
Don't revise during these weeks. If you notice a problem in chapter 4 while writing chapter 19, write a note and keep going. The notes become the to-do list for week 10.
Weeks 10–11: revise in passes
A pass works through the whole book with one question. Two weeks gives you time for two passes:
- Structure (week 10). Does each scene earn its place, and is it in the right order? Work through your notes from the writing weeks. Move, merge and cut scenes; write the bridges that are missing.
- Scenes and lines (week 11). Inside each scene: is the point of view clear, does the scene turn, does the dialogue sound like these people, is the timeline consistent?
Before a pass that changes a lot, save a copy of every scene as it is, so that nothing you cut is gone for good. More on passes and what to look for in How to edit a novel.
Week 12: compile and send to first readers
Spend the first half of the week on a proofreading pass, and do it in a different form from the one you wrote in: a PDF, a printout or a tablet. Then make one clean file and send it to three to five readers.
Give them a deadline and two or three questions, such as "Where did you stop wanting to read?" and "Who did you not believe?". Questions get you answers you can use; "What did you think?" gets you politeness. Their replies are the start of the next draft, not part of these twelve weeks.
Setting up the twelve weeks in WriterMorph
Targets and the deadline
Choose Project › Show Project Targets (⇧⌘T) and enter a Manuscript target. Turn on Deadline, set it to the last day of week 9 and click your Writing days. WriterMorph tells you how many words a day you need, and with Set the session target from the deadline on, the Session target becomes words left divided by writing days left. A missed day is then spread over the days that remain, without you doing the sum.
For a rewrite, give each scene a word target instead: any card or document can have one, with a progress bar on the card, in the Outliner and in the Properties panel.
The phases on a calendar
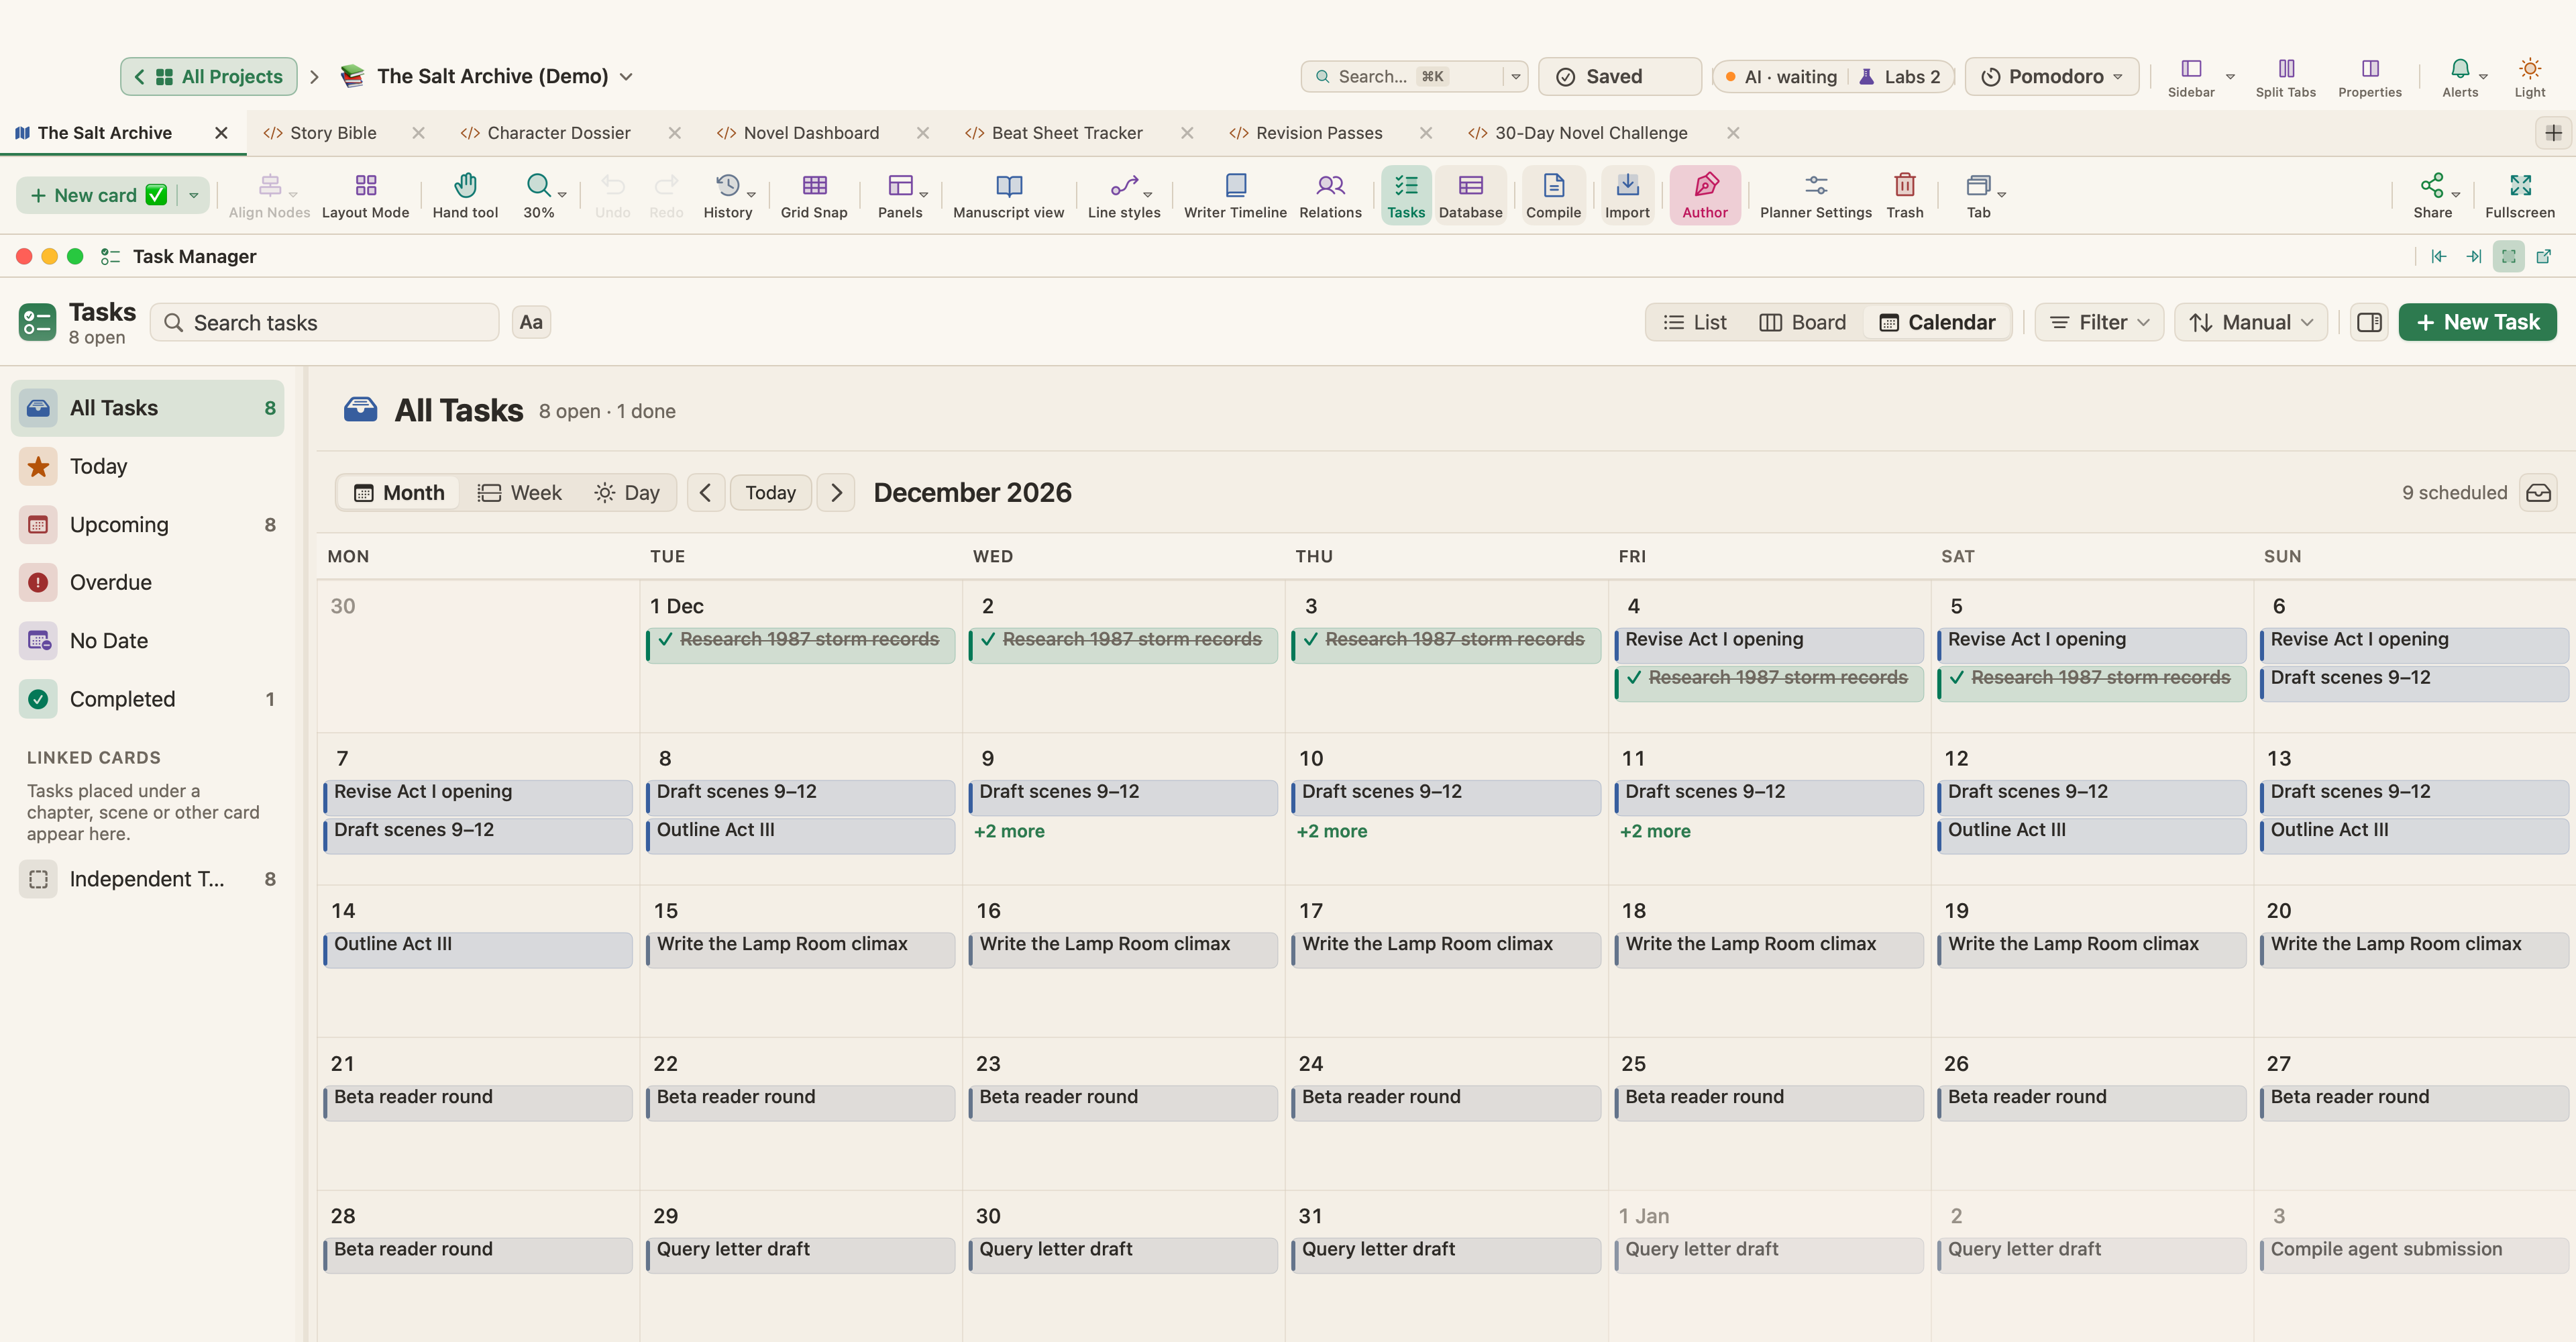
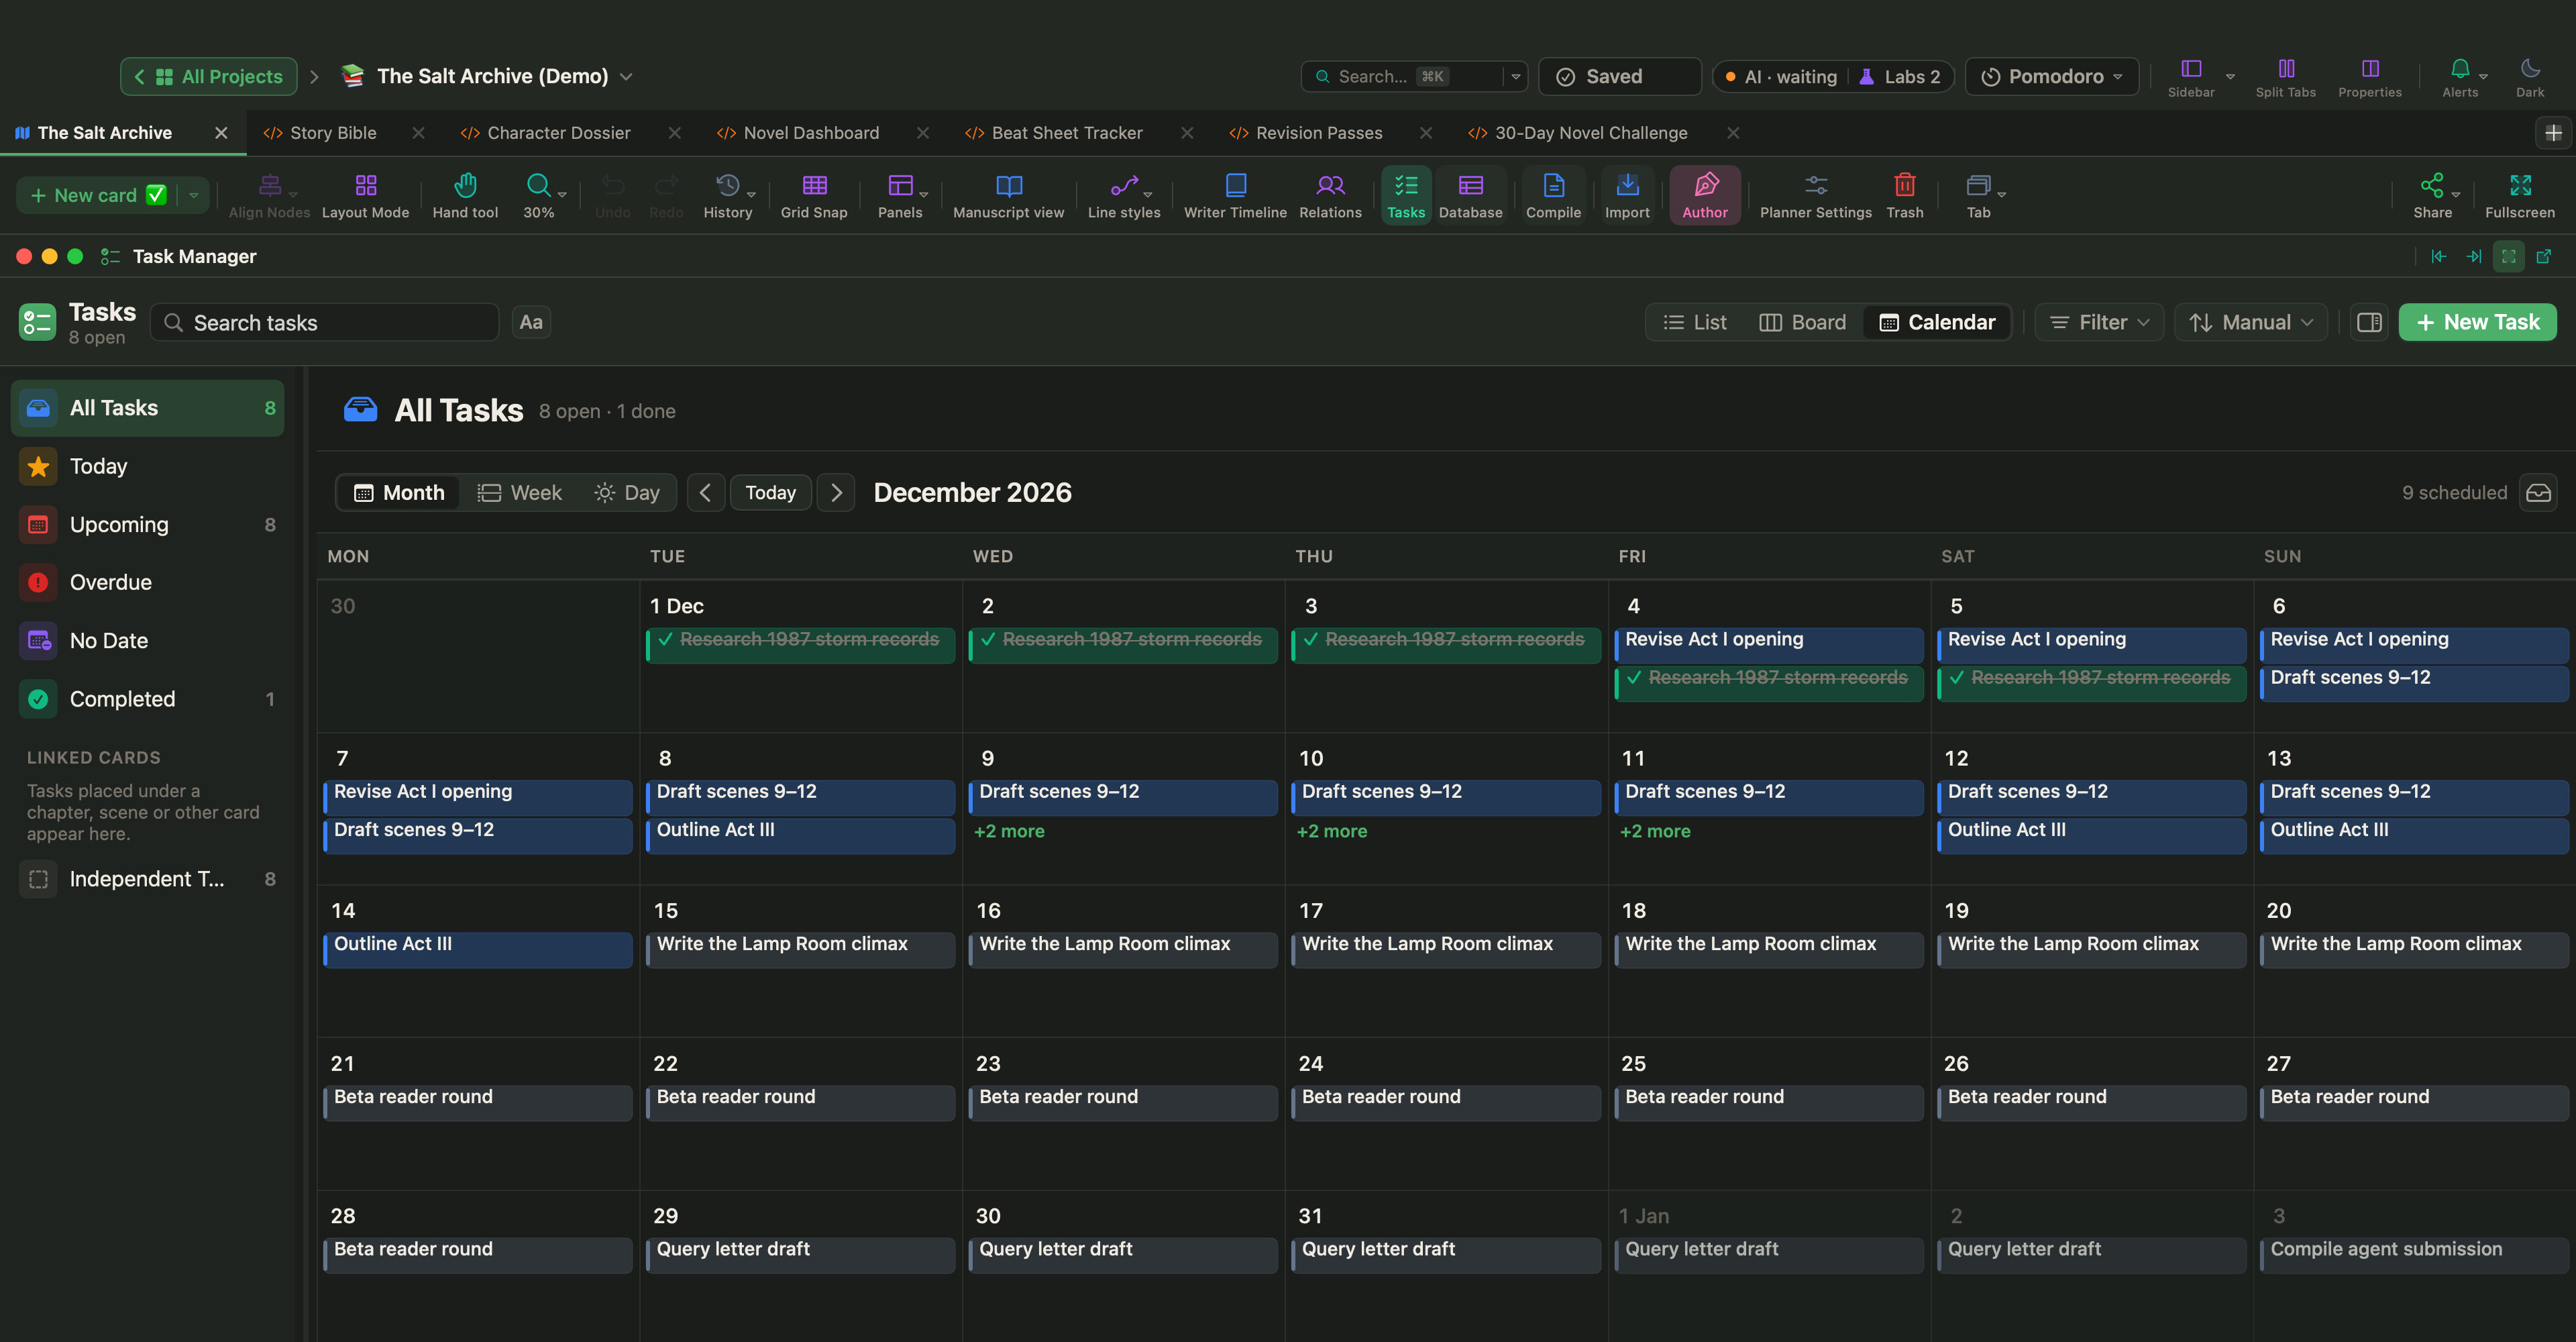
Make each phase a task: choose Insert › New Task Card, give it a type such as Milestone, Edit, Review or Deadline, and set its Start and Due dates. Smaller tasks, such as "Draft scenes 9–12", can be linked to their chapter. The Task Manager (View › Task Manager, ⌃⌘K) shows them as a List, a Board or a Calendar, as in the picture at the top; drag a task from the unscheduled tray onto a day to schedule it.
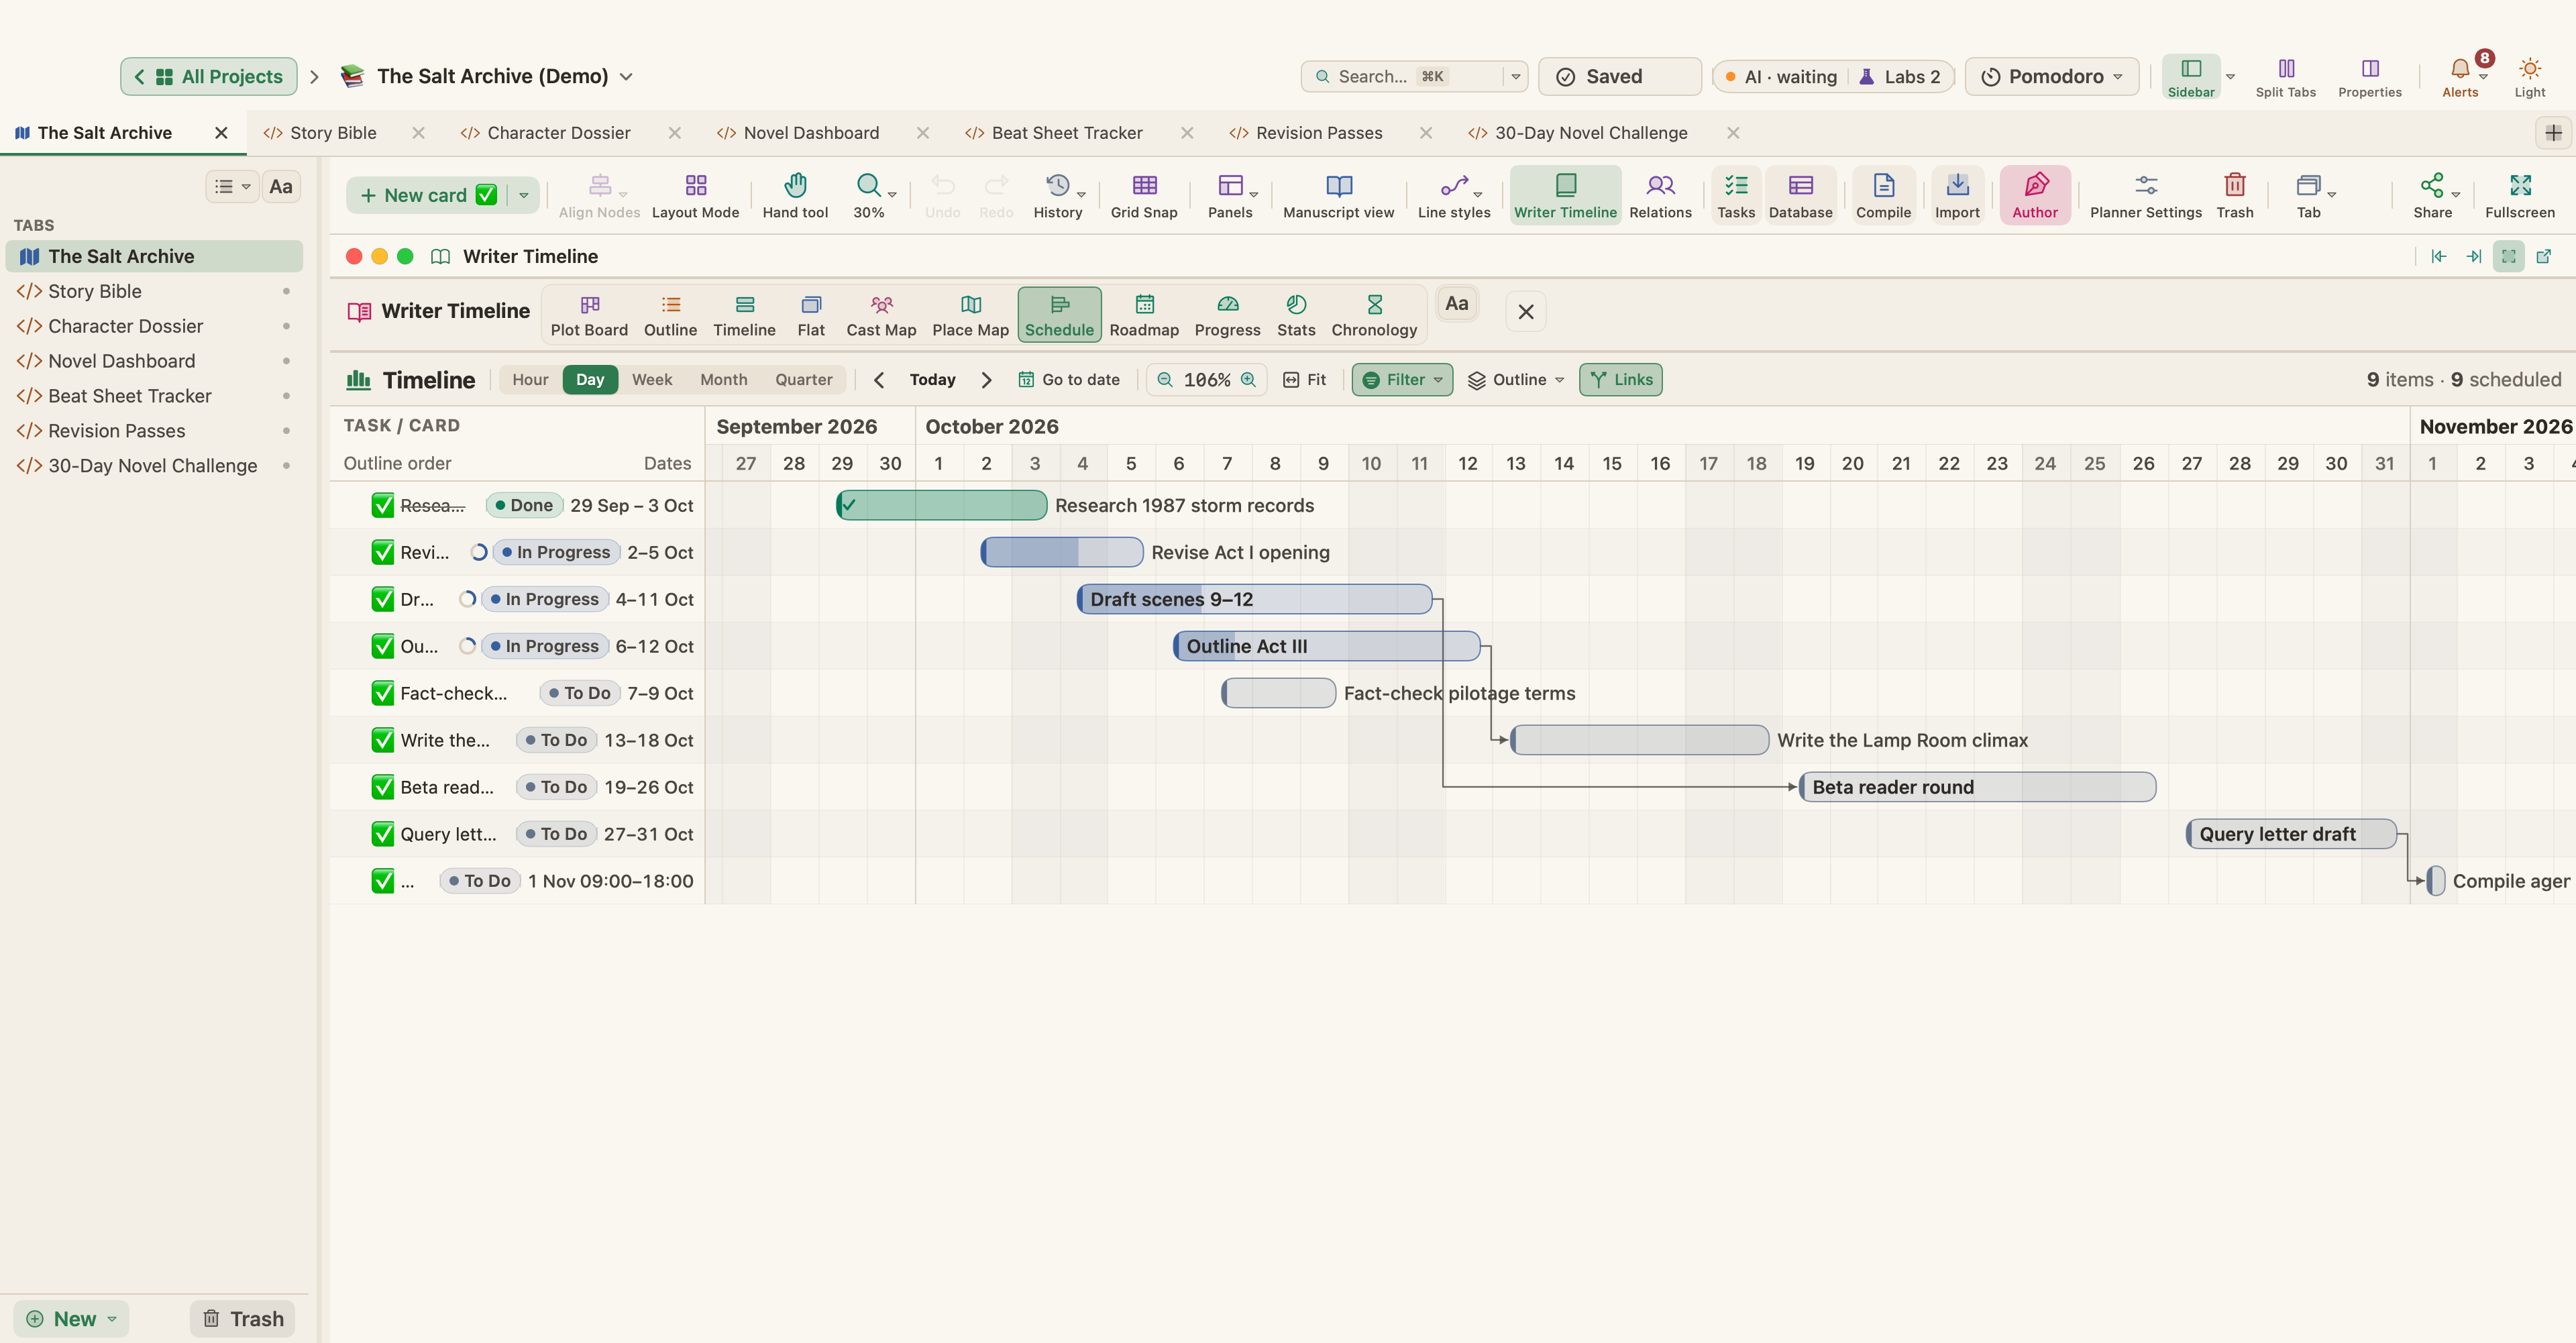
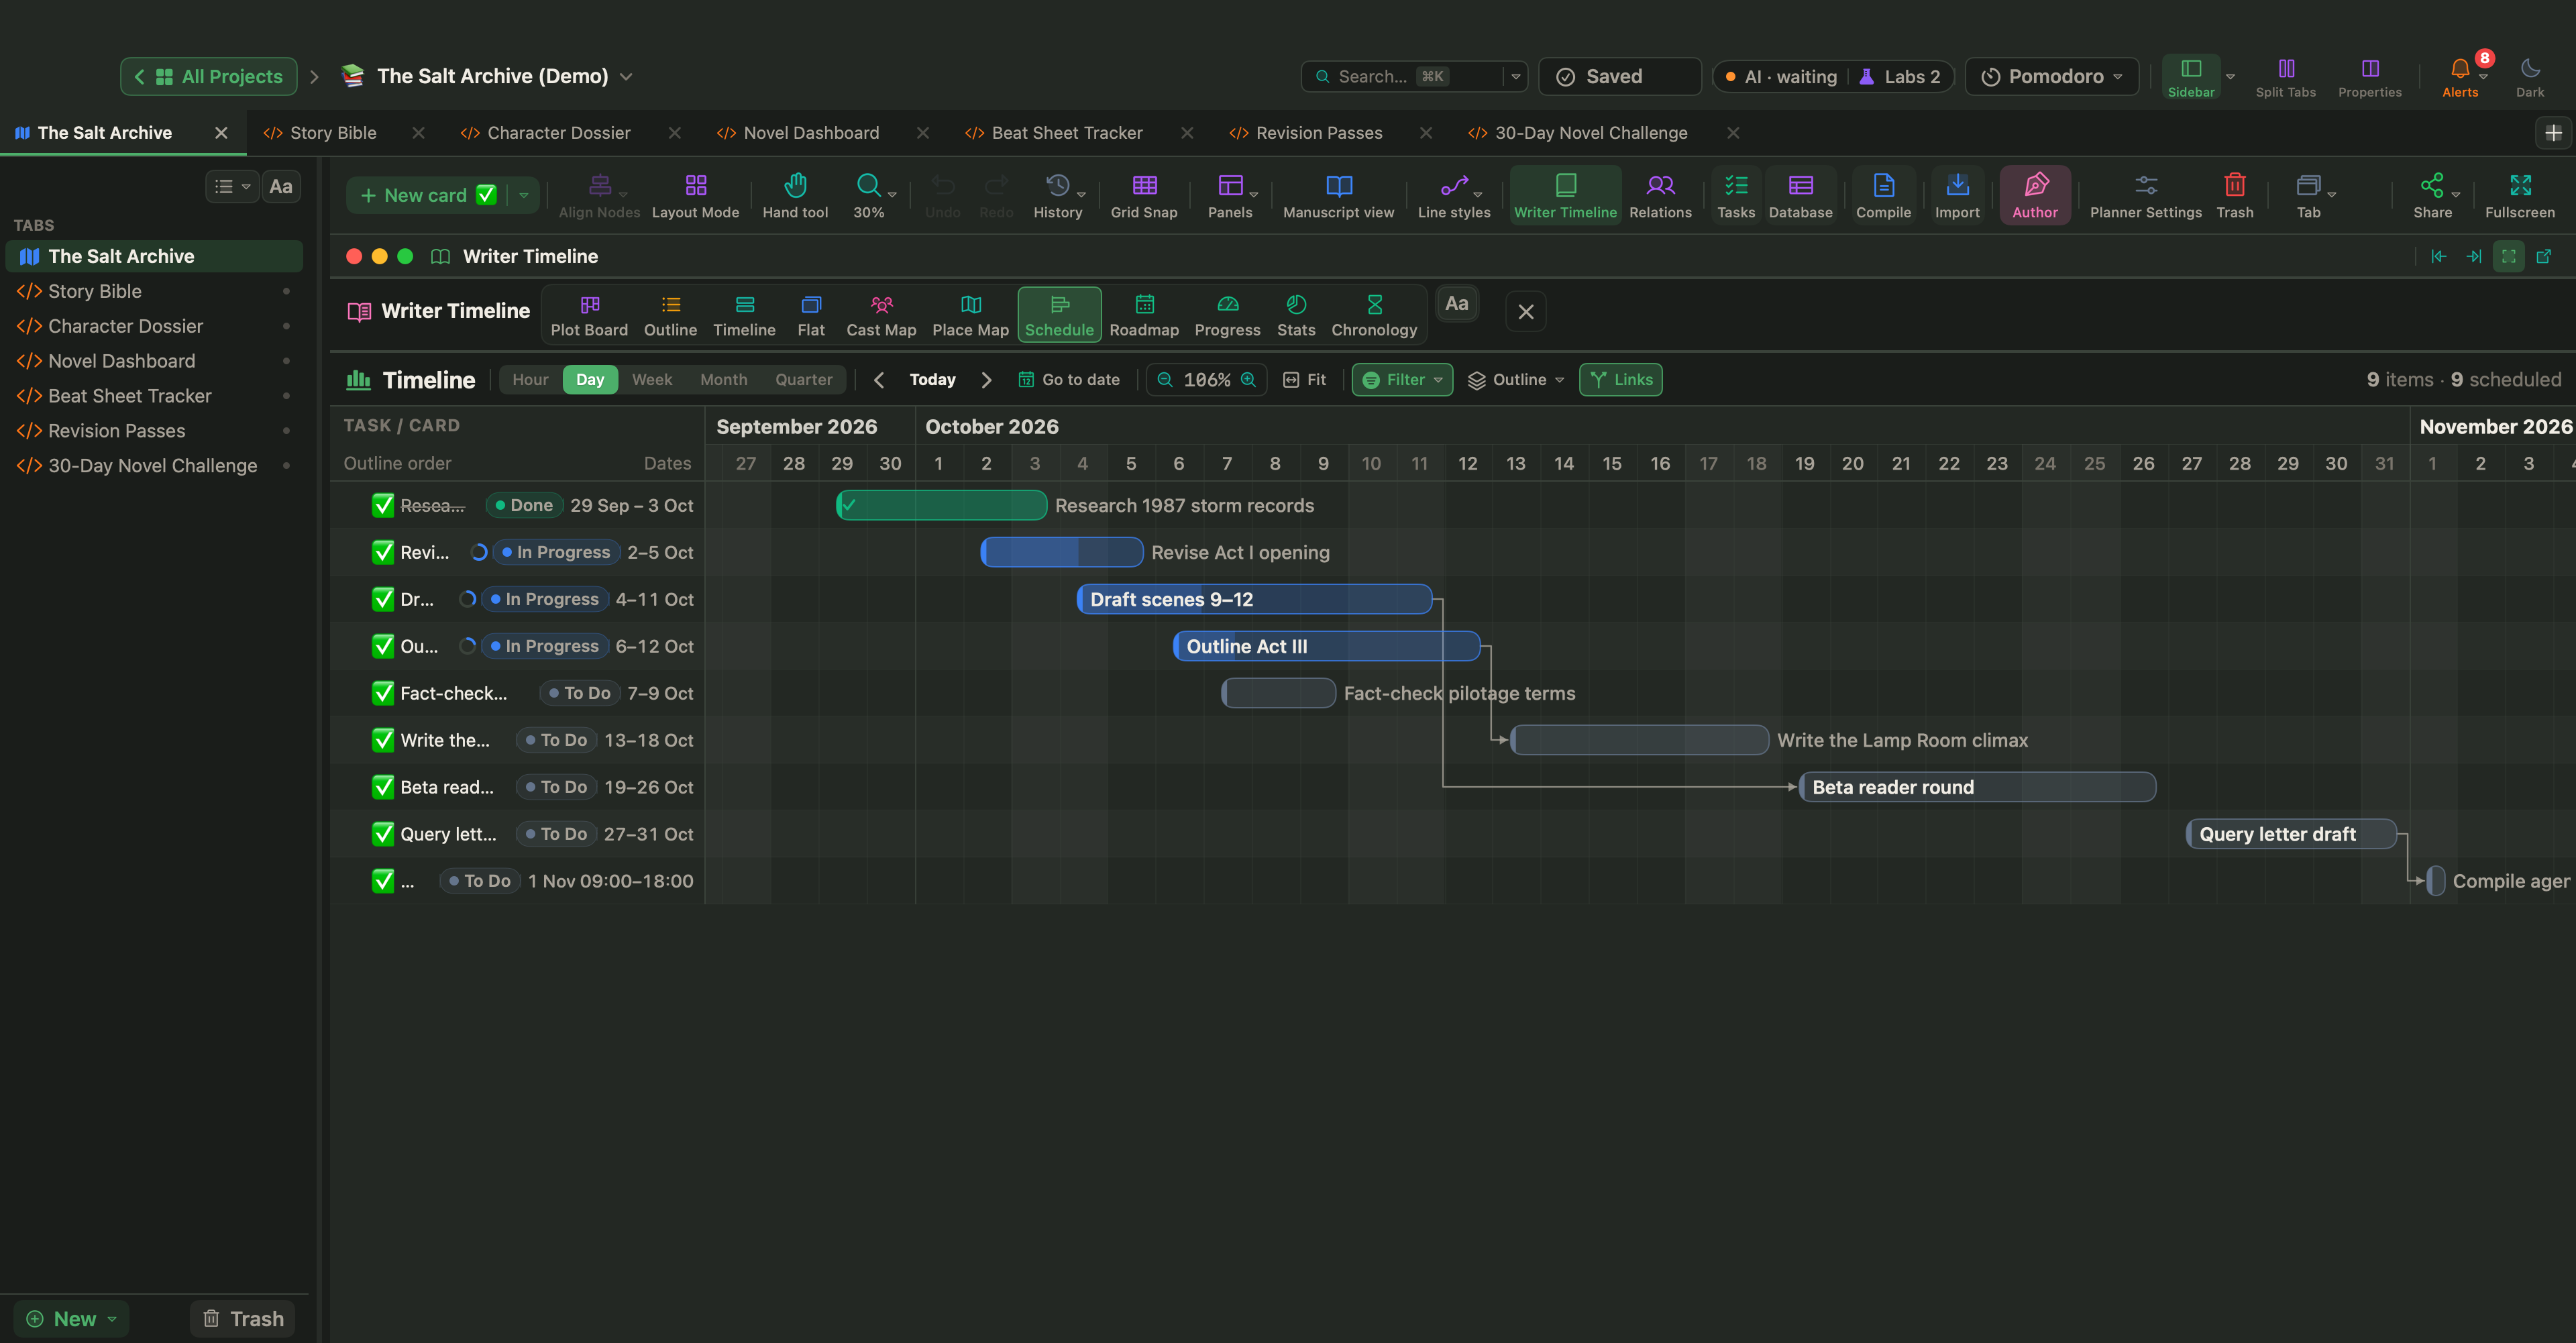
Choose View › Writer Timeline (⌥⌘T) and click Schedule to see the same work as a Gantt chart. Add Dependencies in a task's Properties, so that "Revise in passes" starts when "Draft complete" finishes. With Settings › Tasks › Move dependent tasks automatically on, moving the end of the writing phase moves everything after it, which is exactly what the week-6 check needs.
If your scenes already have word targets, the Roadmap view has Plan Chapters…: give it the first and last day of the writing phase, choose By word target, and it spreads the chapters between the two dates. In a task's Properties, turn on Reminder to get a macOS notification before a phase is due, while WriterMorph is running.
Sessions and progress
For the writing itself, click the Pomodoro pill in the top bar and start a focus session; the defaults are 25 minutes of focus and a 5-minute break. The Writer Timeline's Progress view shows every chapter against its target, and Project › Writing History… lists the words you wrote each day, with your average per writing day. That average, not your best day, is the number to look at in the week-6 check.
A snapshot before every pass
At the start of weeks 10 and 11, select all your scenes in the binder (click the first, Shift-click the last), right-click and choose Take Snapshots. Each scene keeps a copy of its text as it is that day. For one document, Documents › Snapshots › Take Snapshot with Title… (⇧⌘5) lets you name the copy, such as "Before structure pass". The Inspector's Snapshots tab lists them, and you can compare a snapshot with the current text or restore it.
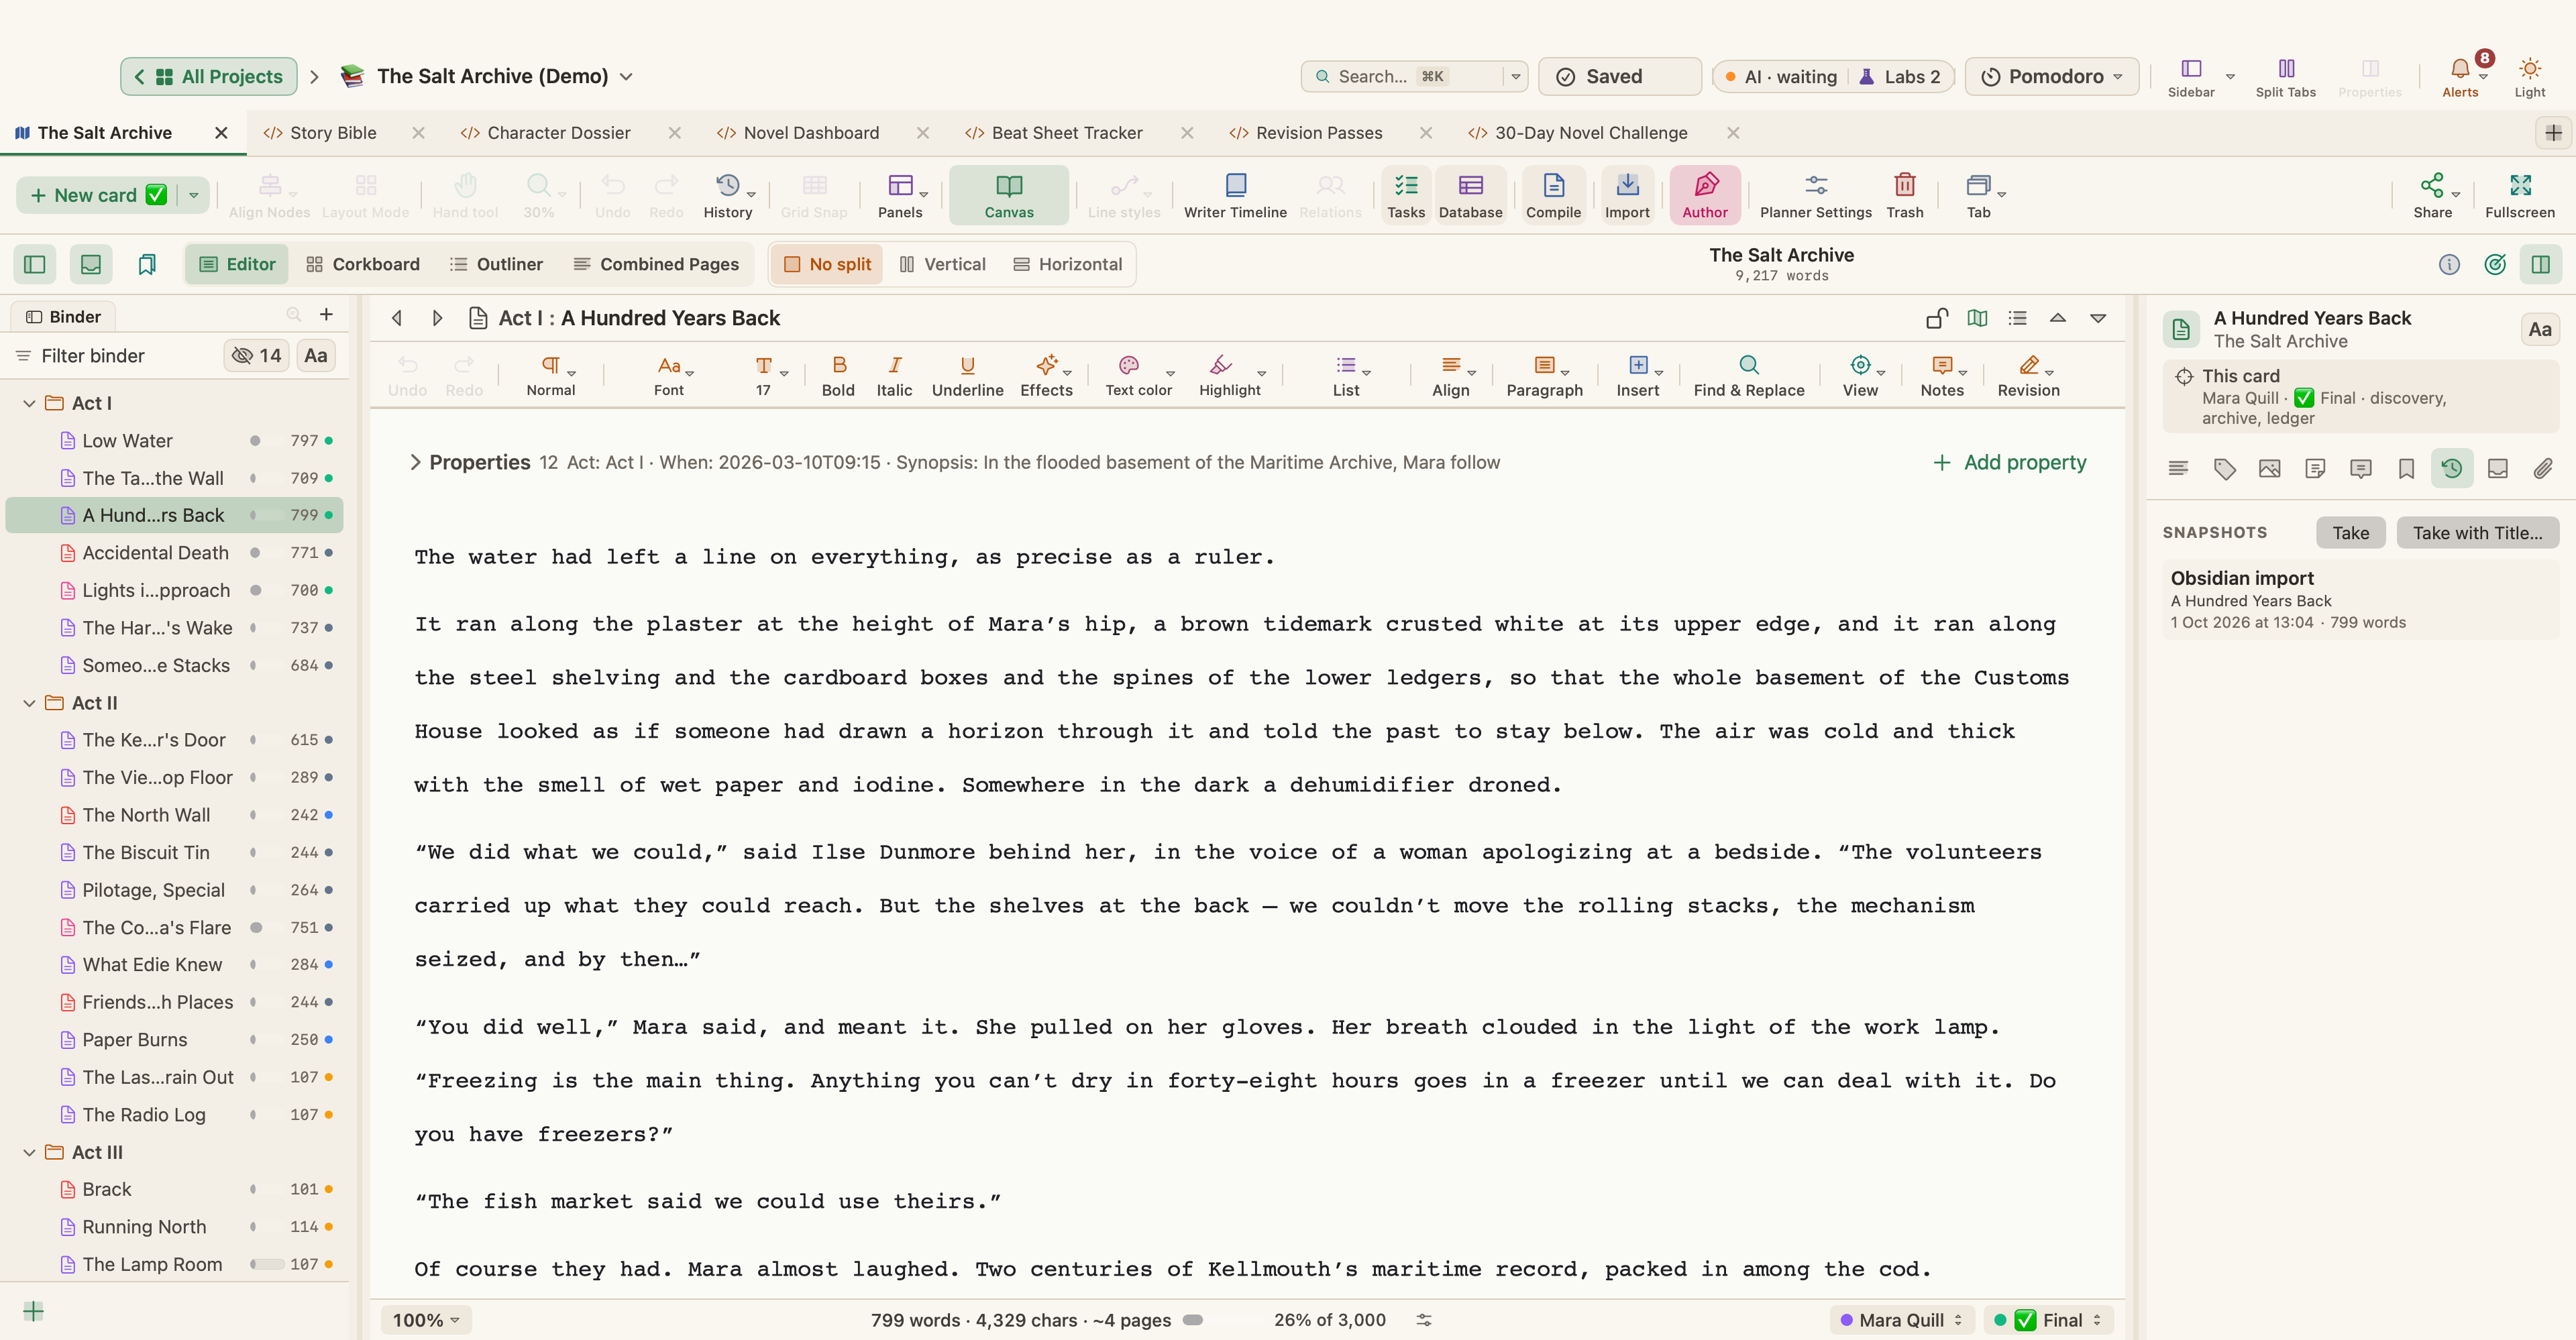
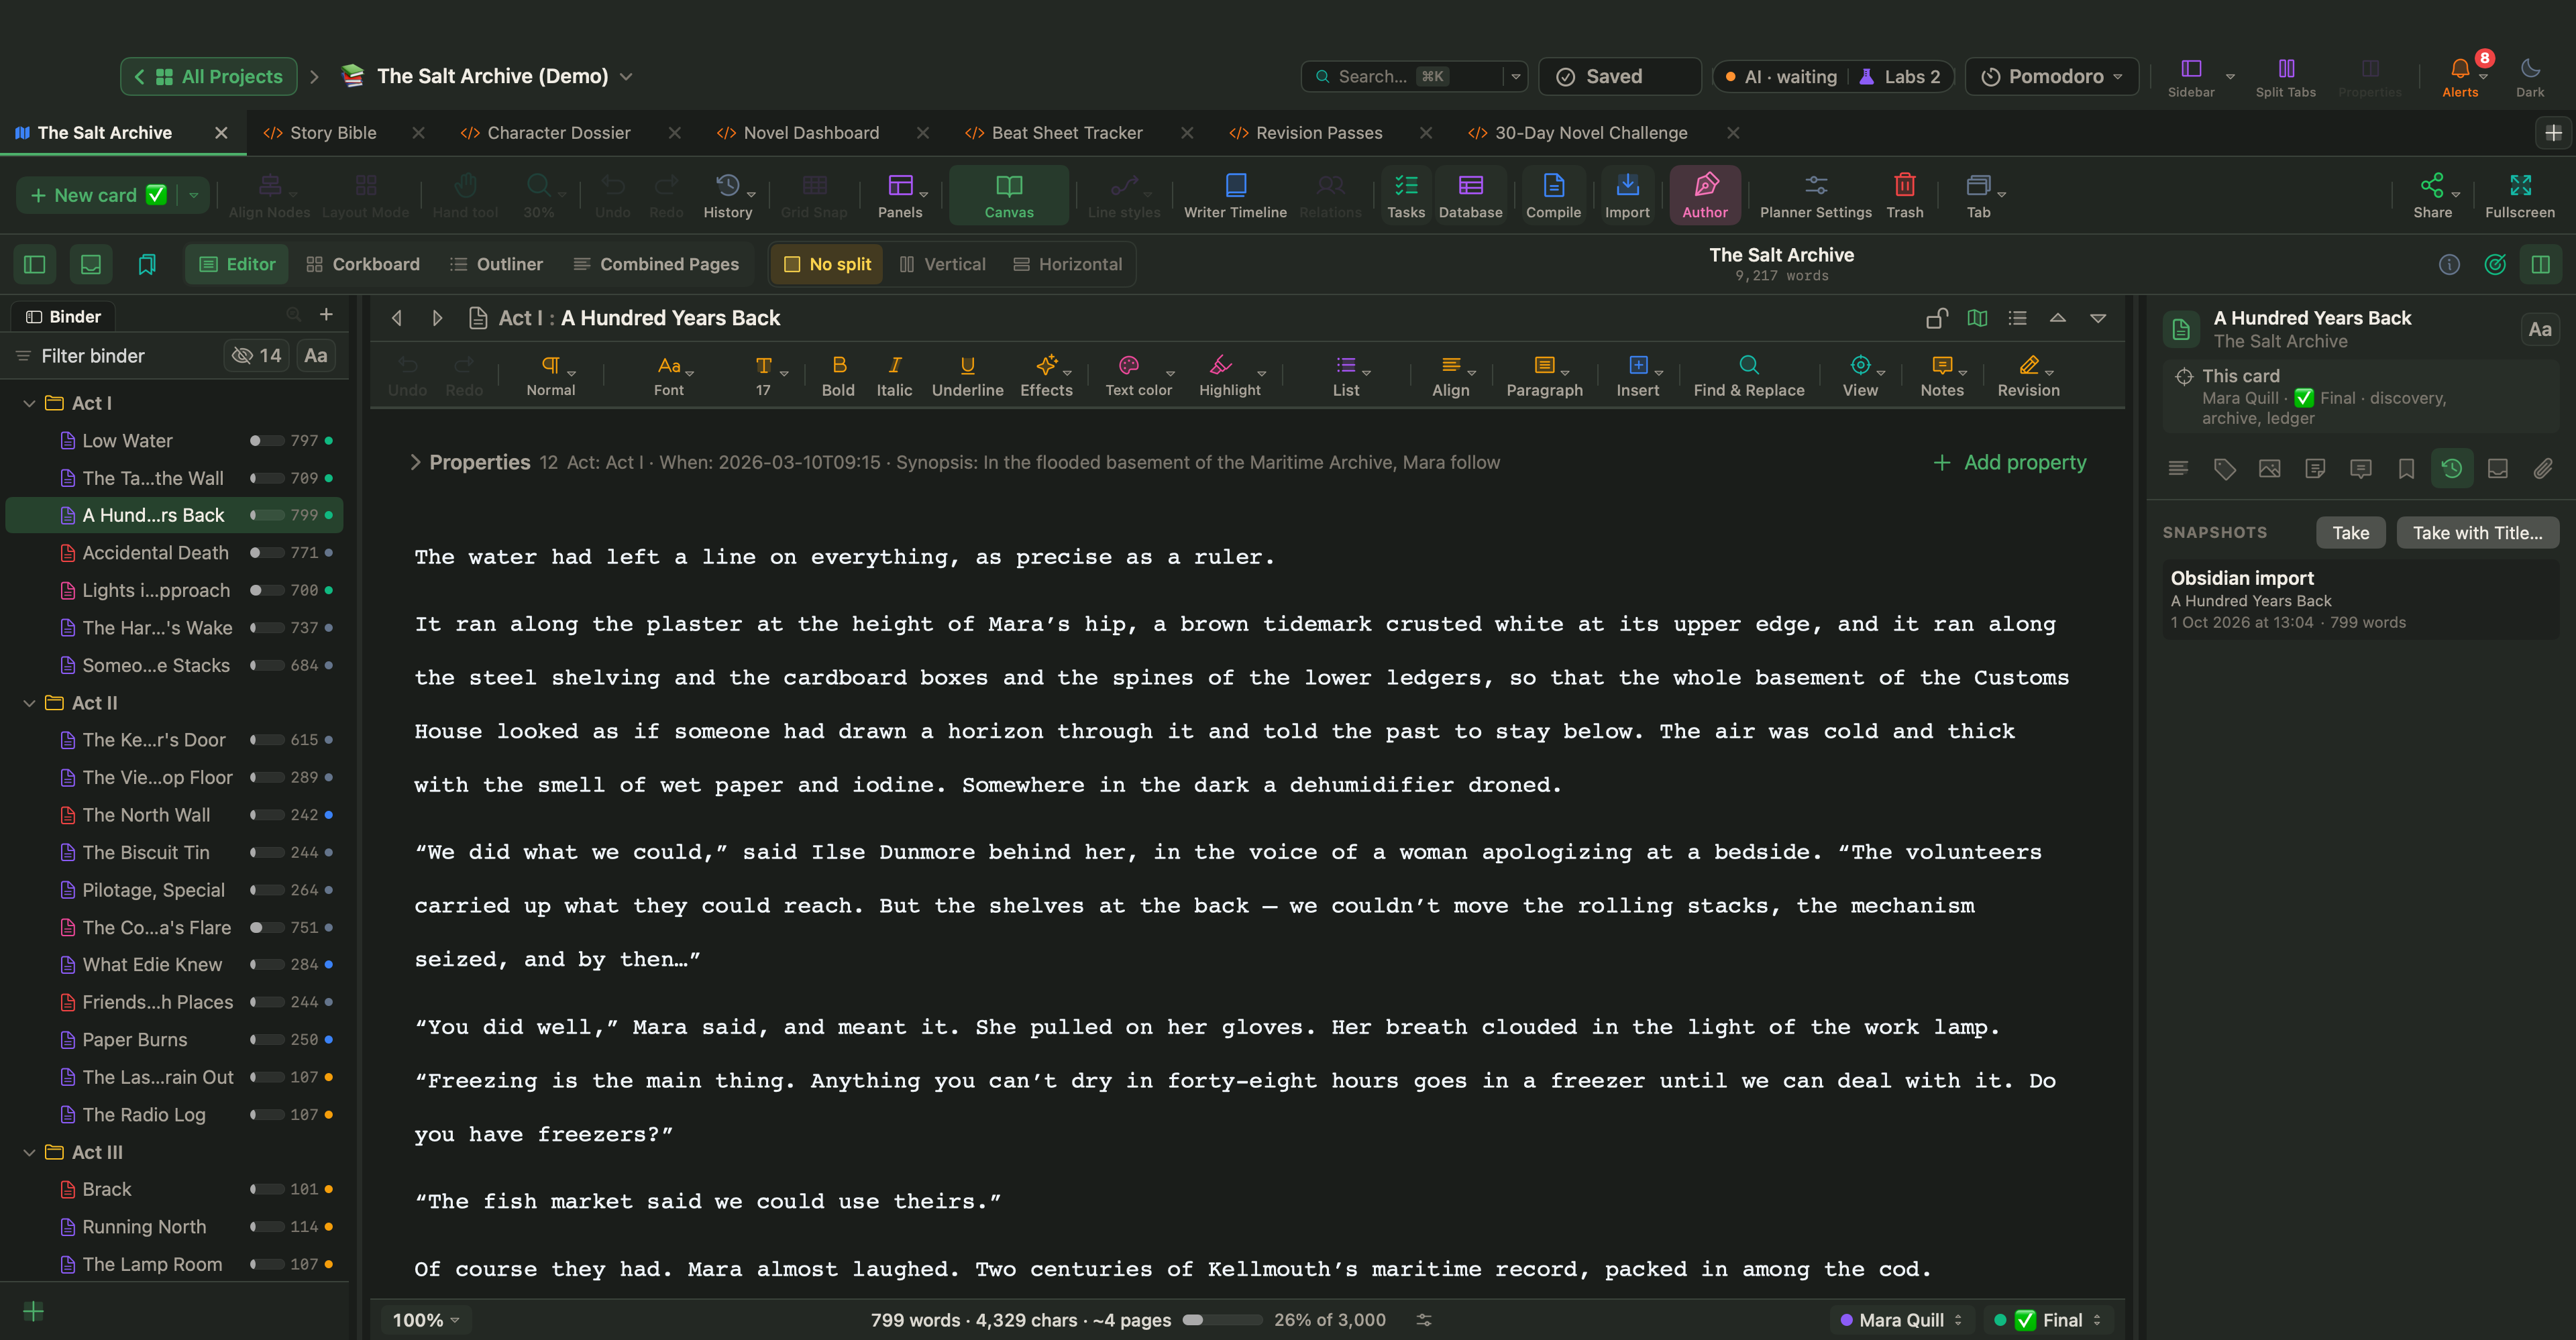
To see what each pass changed, choose Format › Revision Mode and pick First Revision for the structure pass and Second Revision for the scene pass: new text appears in that level's color. With Mark Deletions on, deleted text stays visible, struck through, until you accept or reject it. See Revisions, History and Snapshots.
For a pass-by-pass checklist across every scene, the Revision Passes Live Page is in the Writing & Publishing examples. Live Pages are a Labs feature: turn on Turn HTML pages into small apps (Live Pages) in Settings › Labs, then choose New ▾ › Live Page ▸ › Examples ▸ in the sidebar.
Compile for your readers
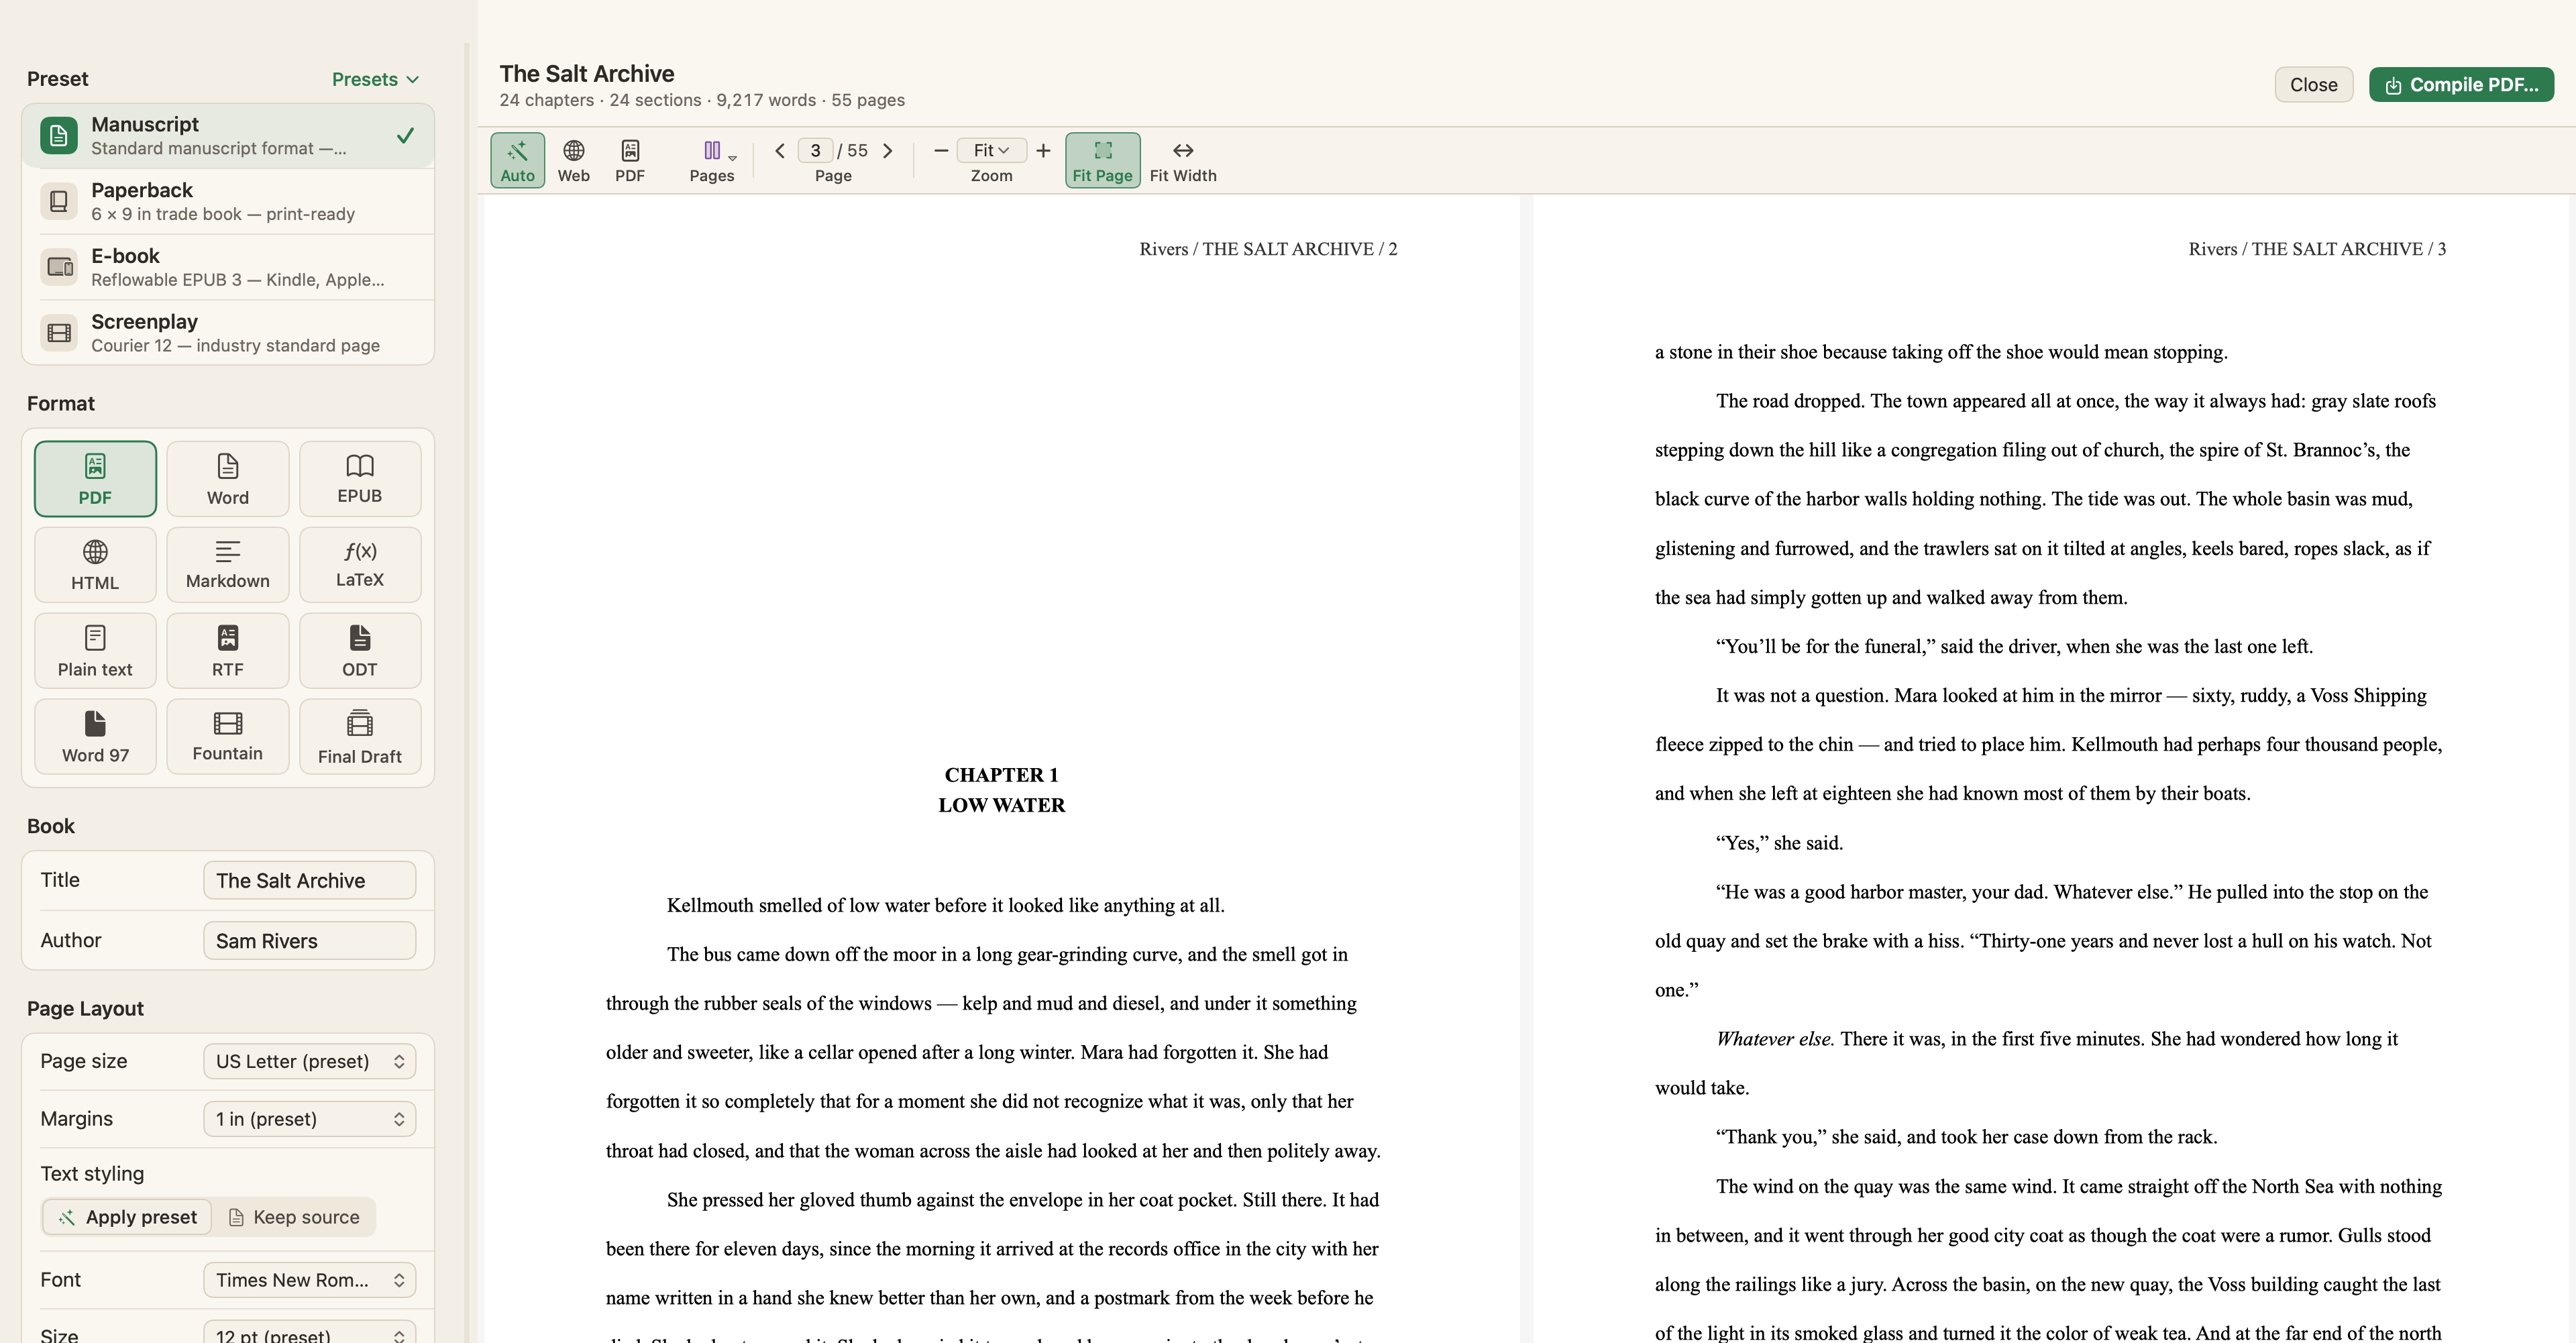
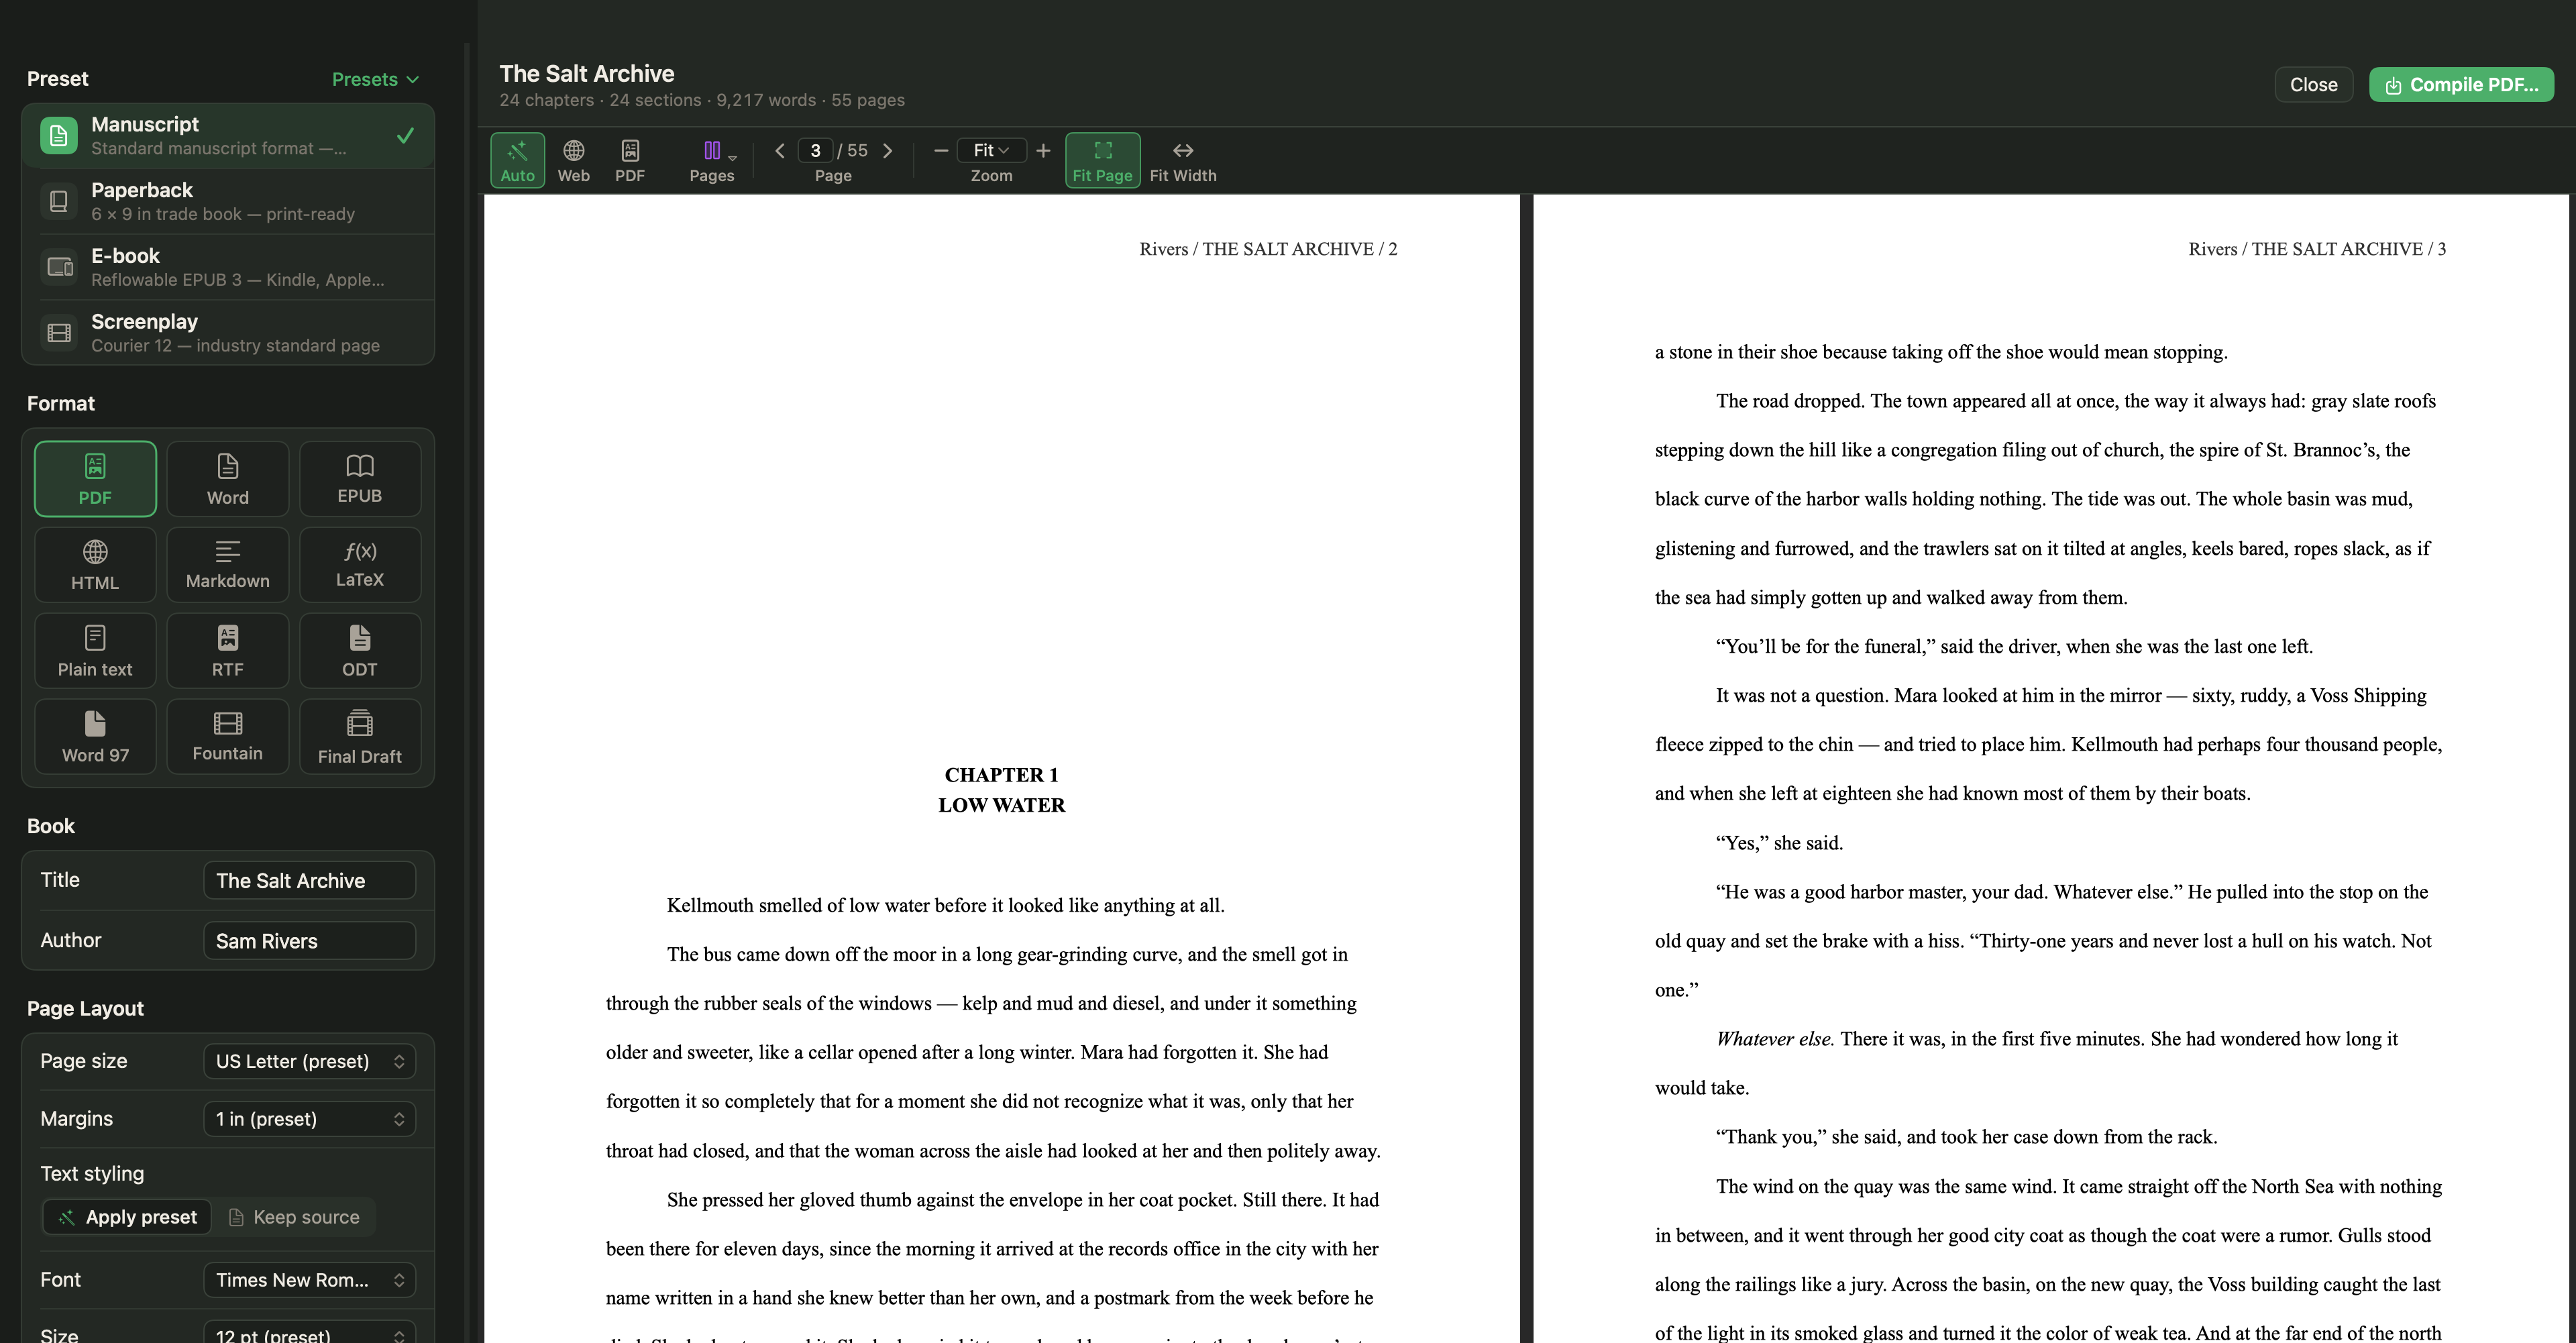
In week 12, choose Project › Compile… (⌥⌘E) and pick the Manuscript preset: US Letter, Times New Roman 12 pt, double-spaced, with each chapter on a new page. Choose PDF for readers who read on screen, or Word (DOCX) for readers who will comment in Word. When their files come back, File › Import Files › Word, OpenDocument or RTF into the Book… brings Word comments in as comments, so the notes sit beside the scenes they are about. The settings are explained in How to format and compile your manuscript.
Set it up in one evening in December: the targets, the four phases as tasks, the dependencies between them. Then, on the first Monday of January, open the project and write the first session.