 WriterMorph

From draft to submission: how to format and compile your manuscript
What to check before you compile, the manuscript format agents and publishers expect, which file to send, and how Compile Studio turns your binder into it.
Typing the last sentence of a draft is one milestone. Sending the book out is another, and between the two lie a few jobs that have nothing to do with story: a final cleanup, pages laid out the way the reader expects, and a file in the format they asked for.
This guide follows that path, craft first, then the steps in WriterMorph.
Before you compile: a last pass
A compiled file holds whatever is in the manuscript, including what you meant to delete. Before you make one:
- Clear out notes to yourself. Comments, highlights and bracketed reminders hide easily in a long book.
- Settle revision marks. Accept or reject tracked edits so the text is final.
- Make chapters consistent. Numbers, titles or both, in the same style everywhere.
- Mark scene breaks one way, so they can become one clean separator.
- Note the word count of the manuscript you are actually sending; it goes on the title page.
- Keep a copy of what went out, so you always know which version an agent read.
In WriterMorph, Edit › Find › Find by Formatting… finds Highlighted Text, Comments or Revisions across the Whole Book. Format › Revision Mode has Accept Revision Marks in Selection, Reject Revision Marks in Selection and Remove All Revision Marks. Project › Text Statistics & Word Frequency… counts the Whole Manuscript. File › Back Up › Back Up To… saves a copy of the whole project wherever you like.
Standard manuscript format in brief
Standard manuscript format is not how the book will look in print. It is a working layout for the people who will read and edit it: plain pages, room for notes, nothing that competes with the text. These are the widely used conventions:
| Element | Convention |
|---|---|
| Type | 12-point serif such as Times New Roman, or a Courier-style font |
| Line spacing | Double |
| Margins | 1 inch (2.5 cm) all round |
| Paragraphs | First line indented, no extra space between paragraphs |
| Header | Surname / short title / page number |
| Chapters | Each on a new page, starting partway down |
| Scene breaks | A centered # on its own line |
| Title page | Name and contact details, title, byline and word count |
| Word count | Rounded, not exact |
Treat these as defaults: an agency's or publisher's own submission guidelines always come first. If they ask for a different font, another file type or only the opening chapters, do what they ask.
PDF, Word or EPUB
Each format suits a different reader:
| Format | Send it to | Why |
|---|---|---|
| Agents who ask for PDF, printers, anyone who should see fixed pages | The pages look the same on every screen and printer | |
| Word (.docx) | Editors, and agents who prefer Word | They can edit, comment and track changes in the file |
| EPUB | Beta readers and e-book stores | The text reflows to fit an e-reader, tablet or phone |
You may need all three. Compiling makes each of them from the same manuscript, whenever you need it.
Compiling in WriterMorph
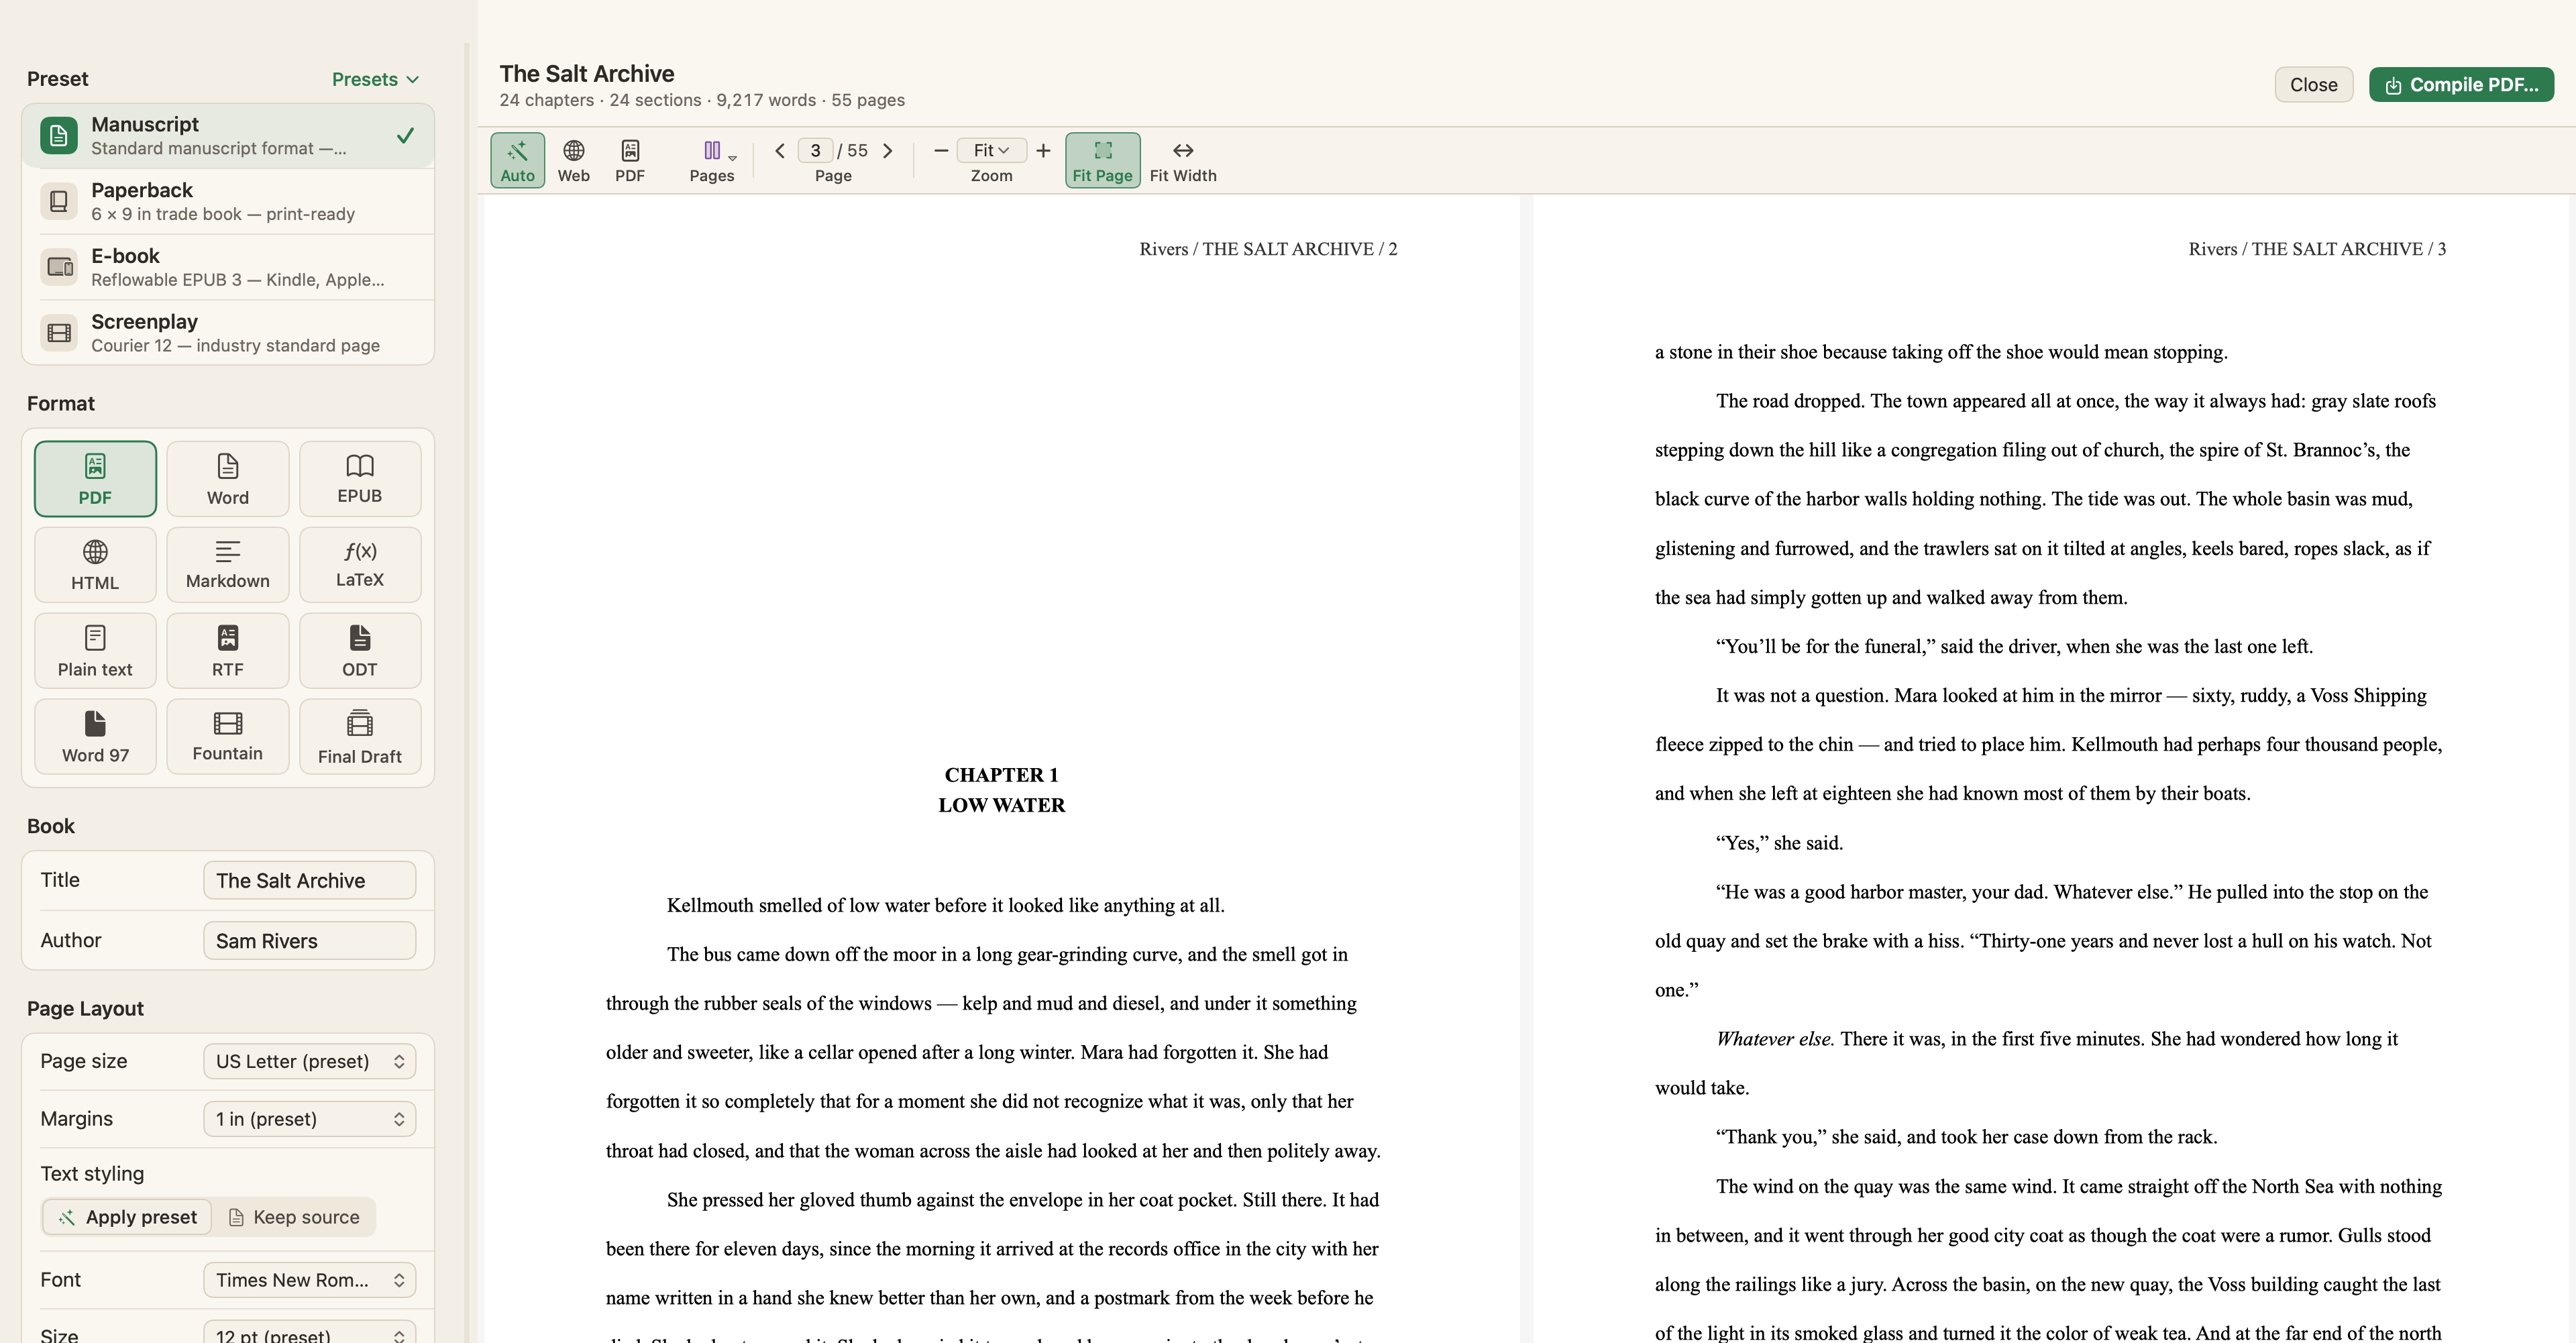
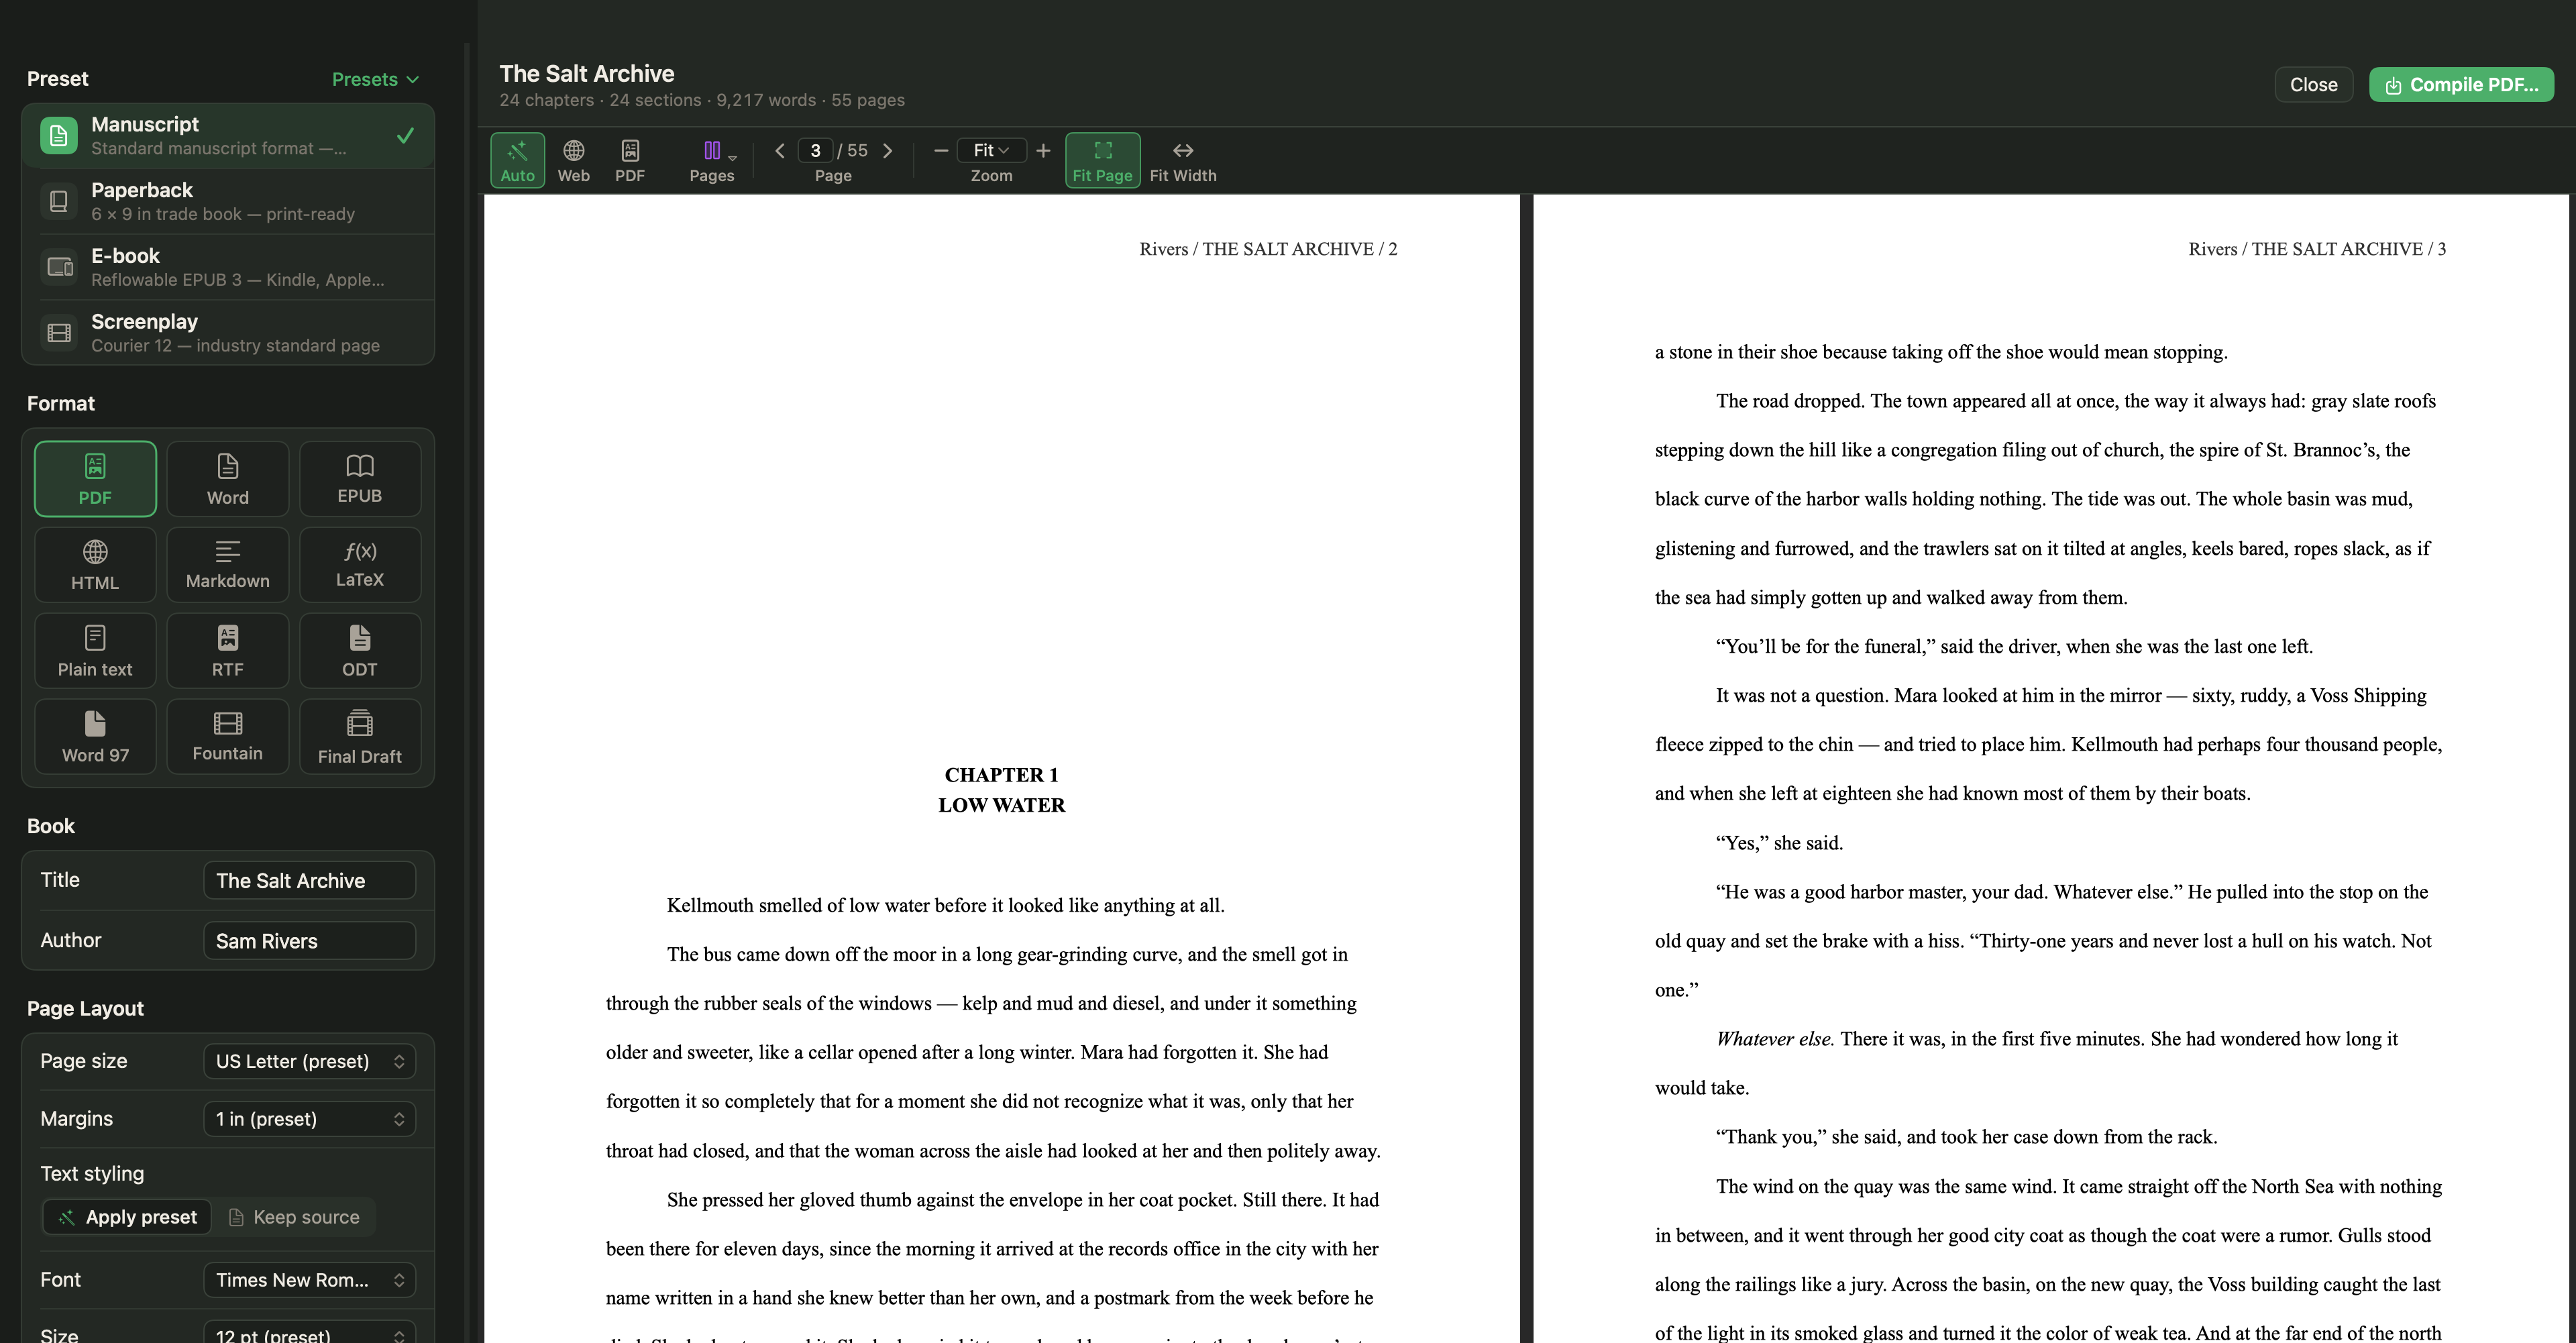
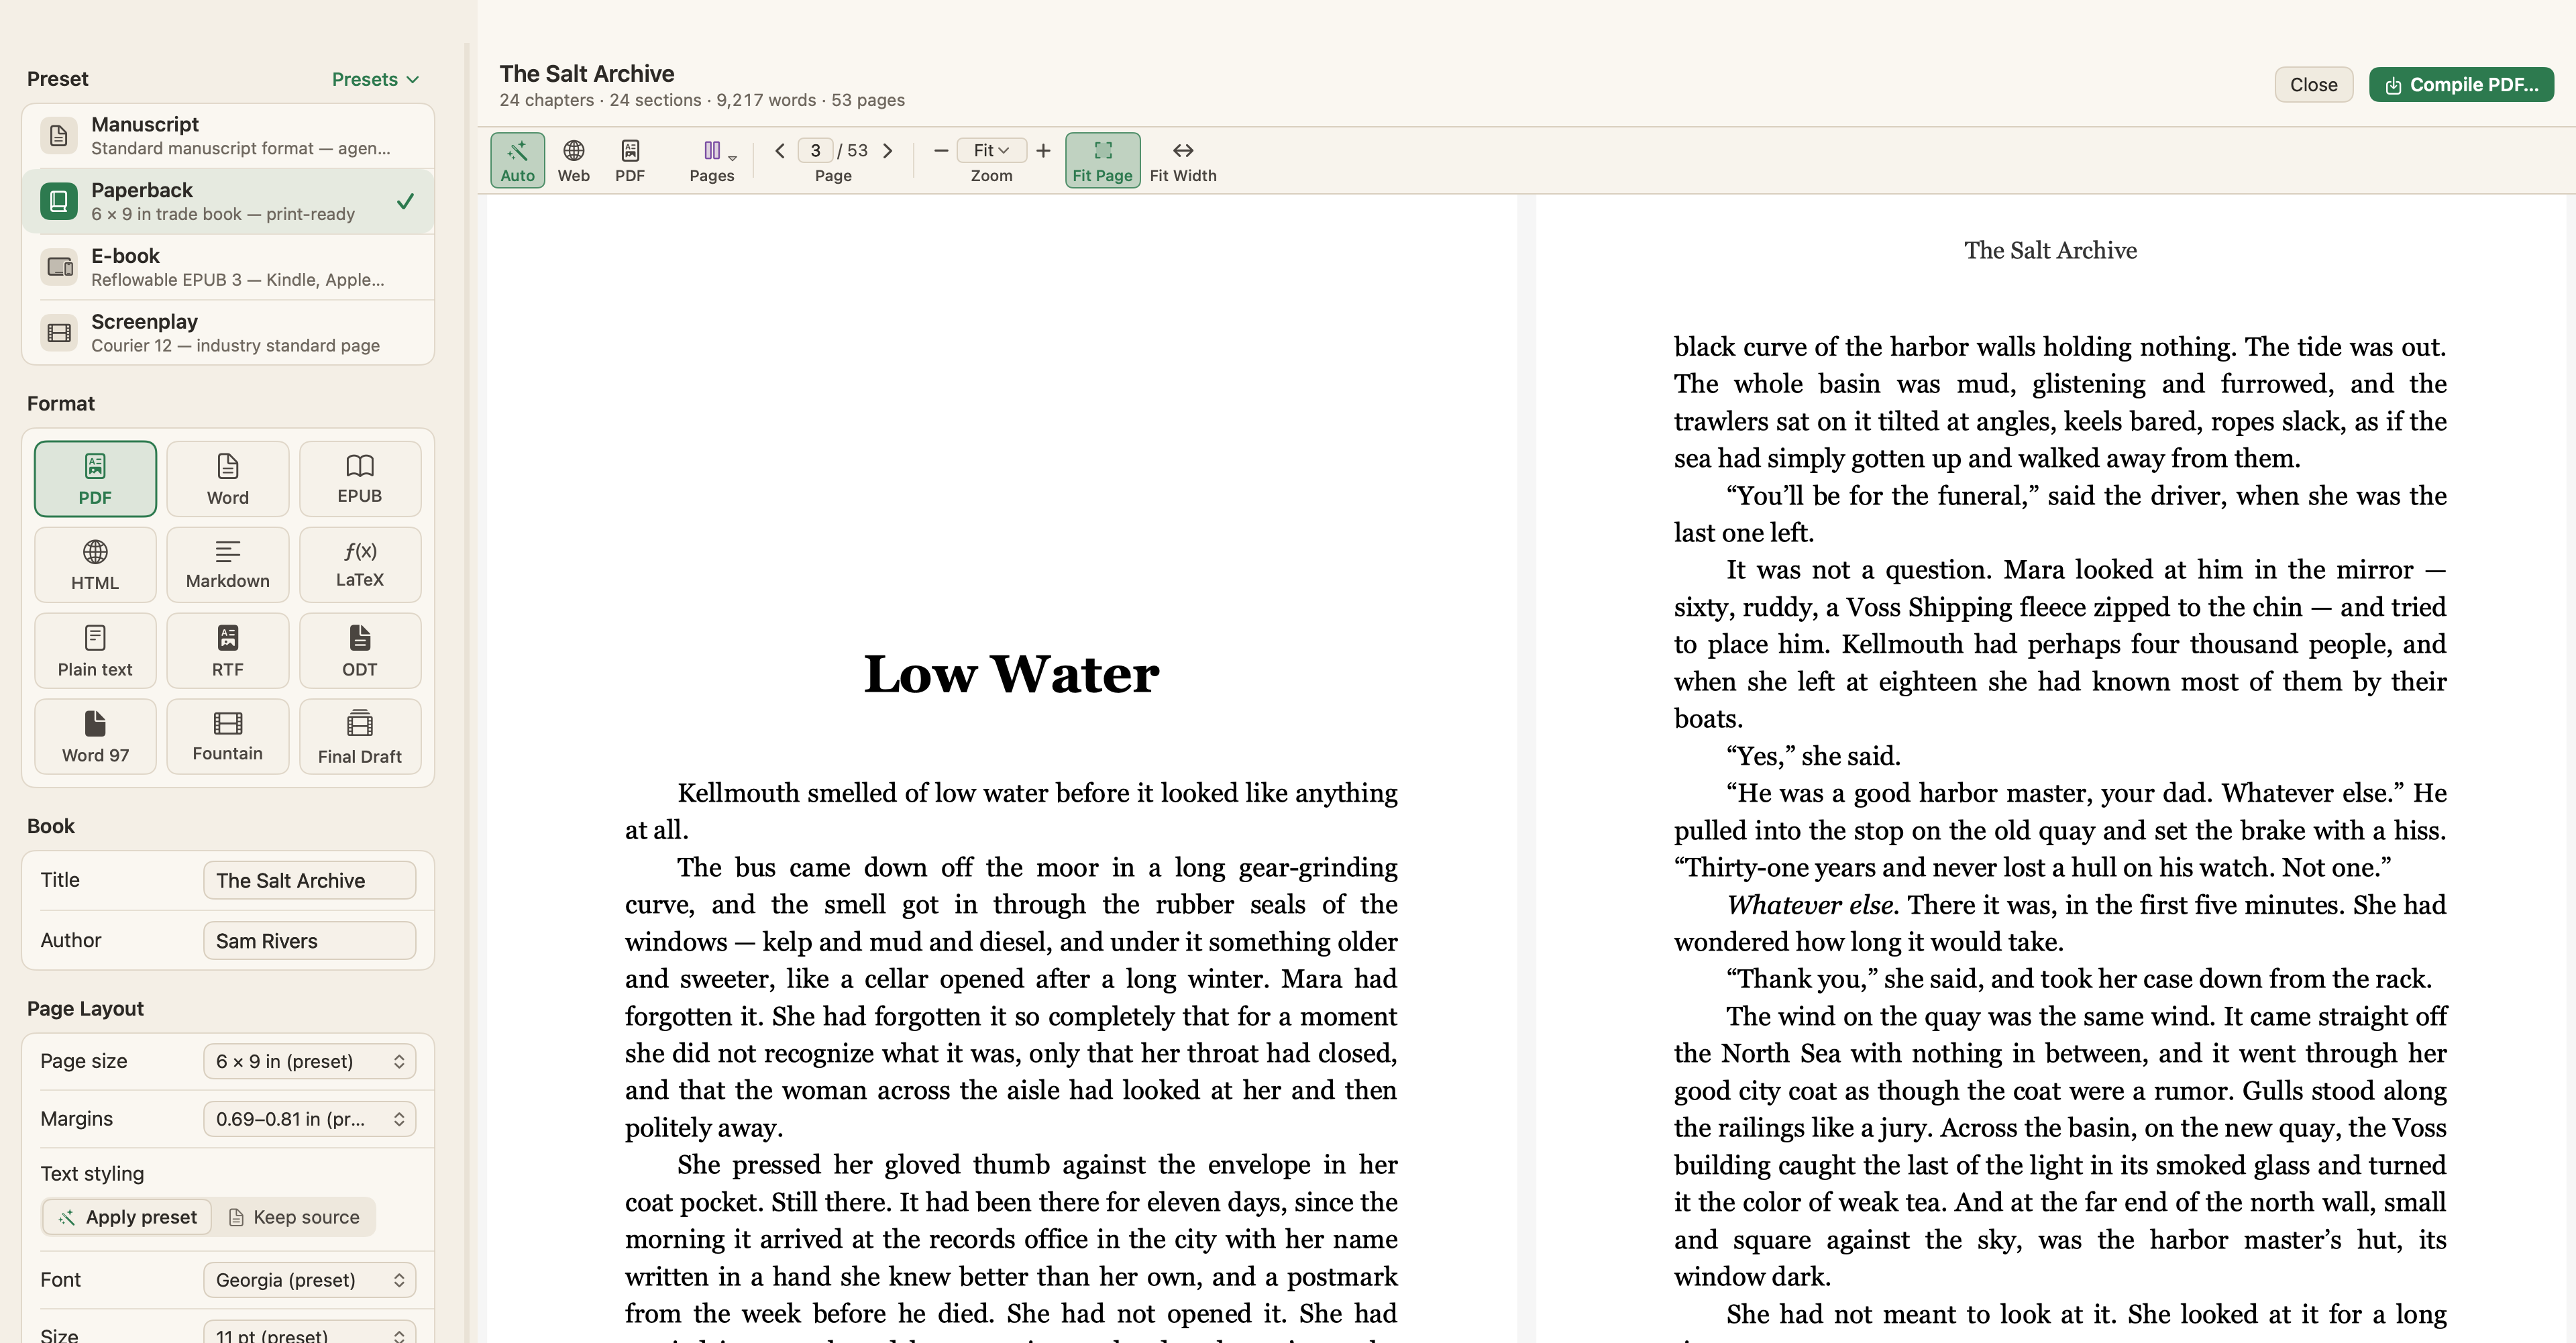
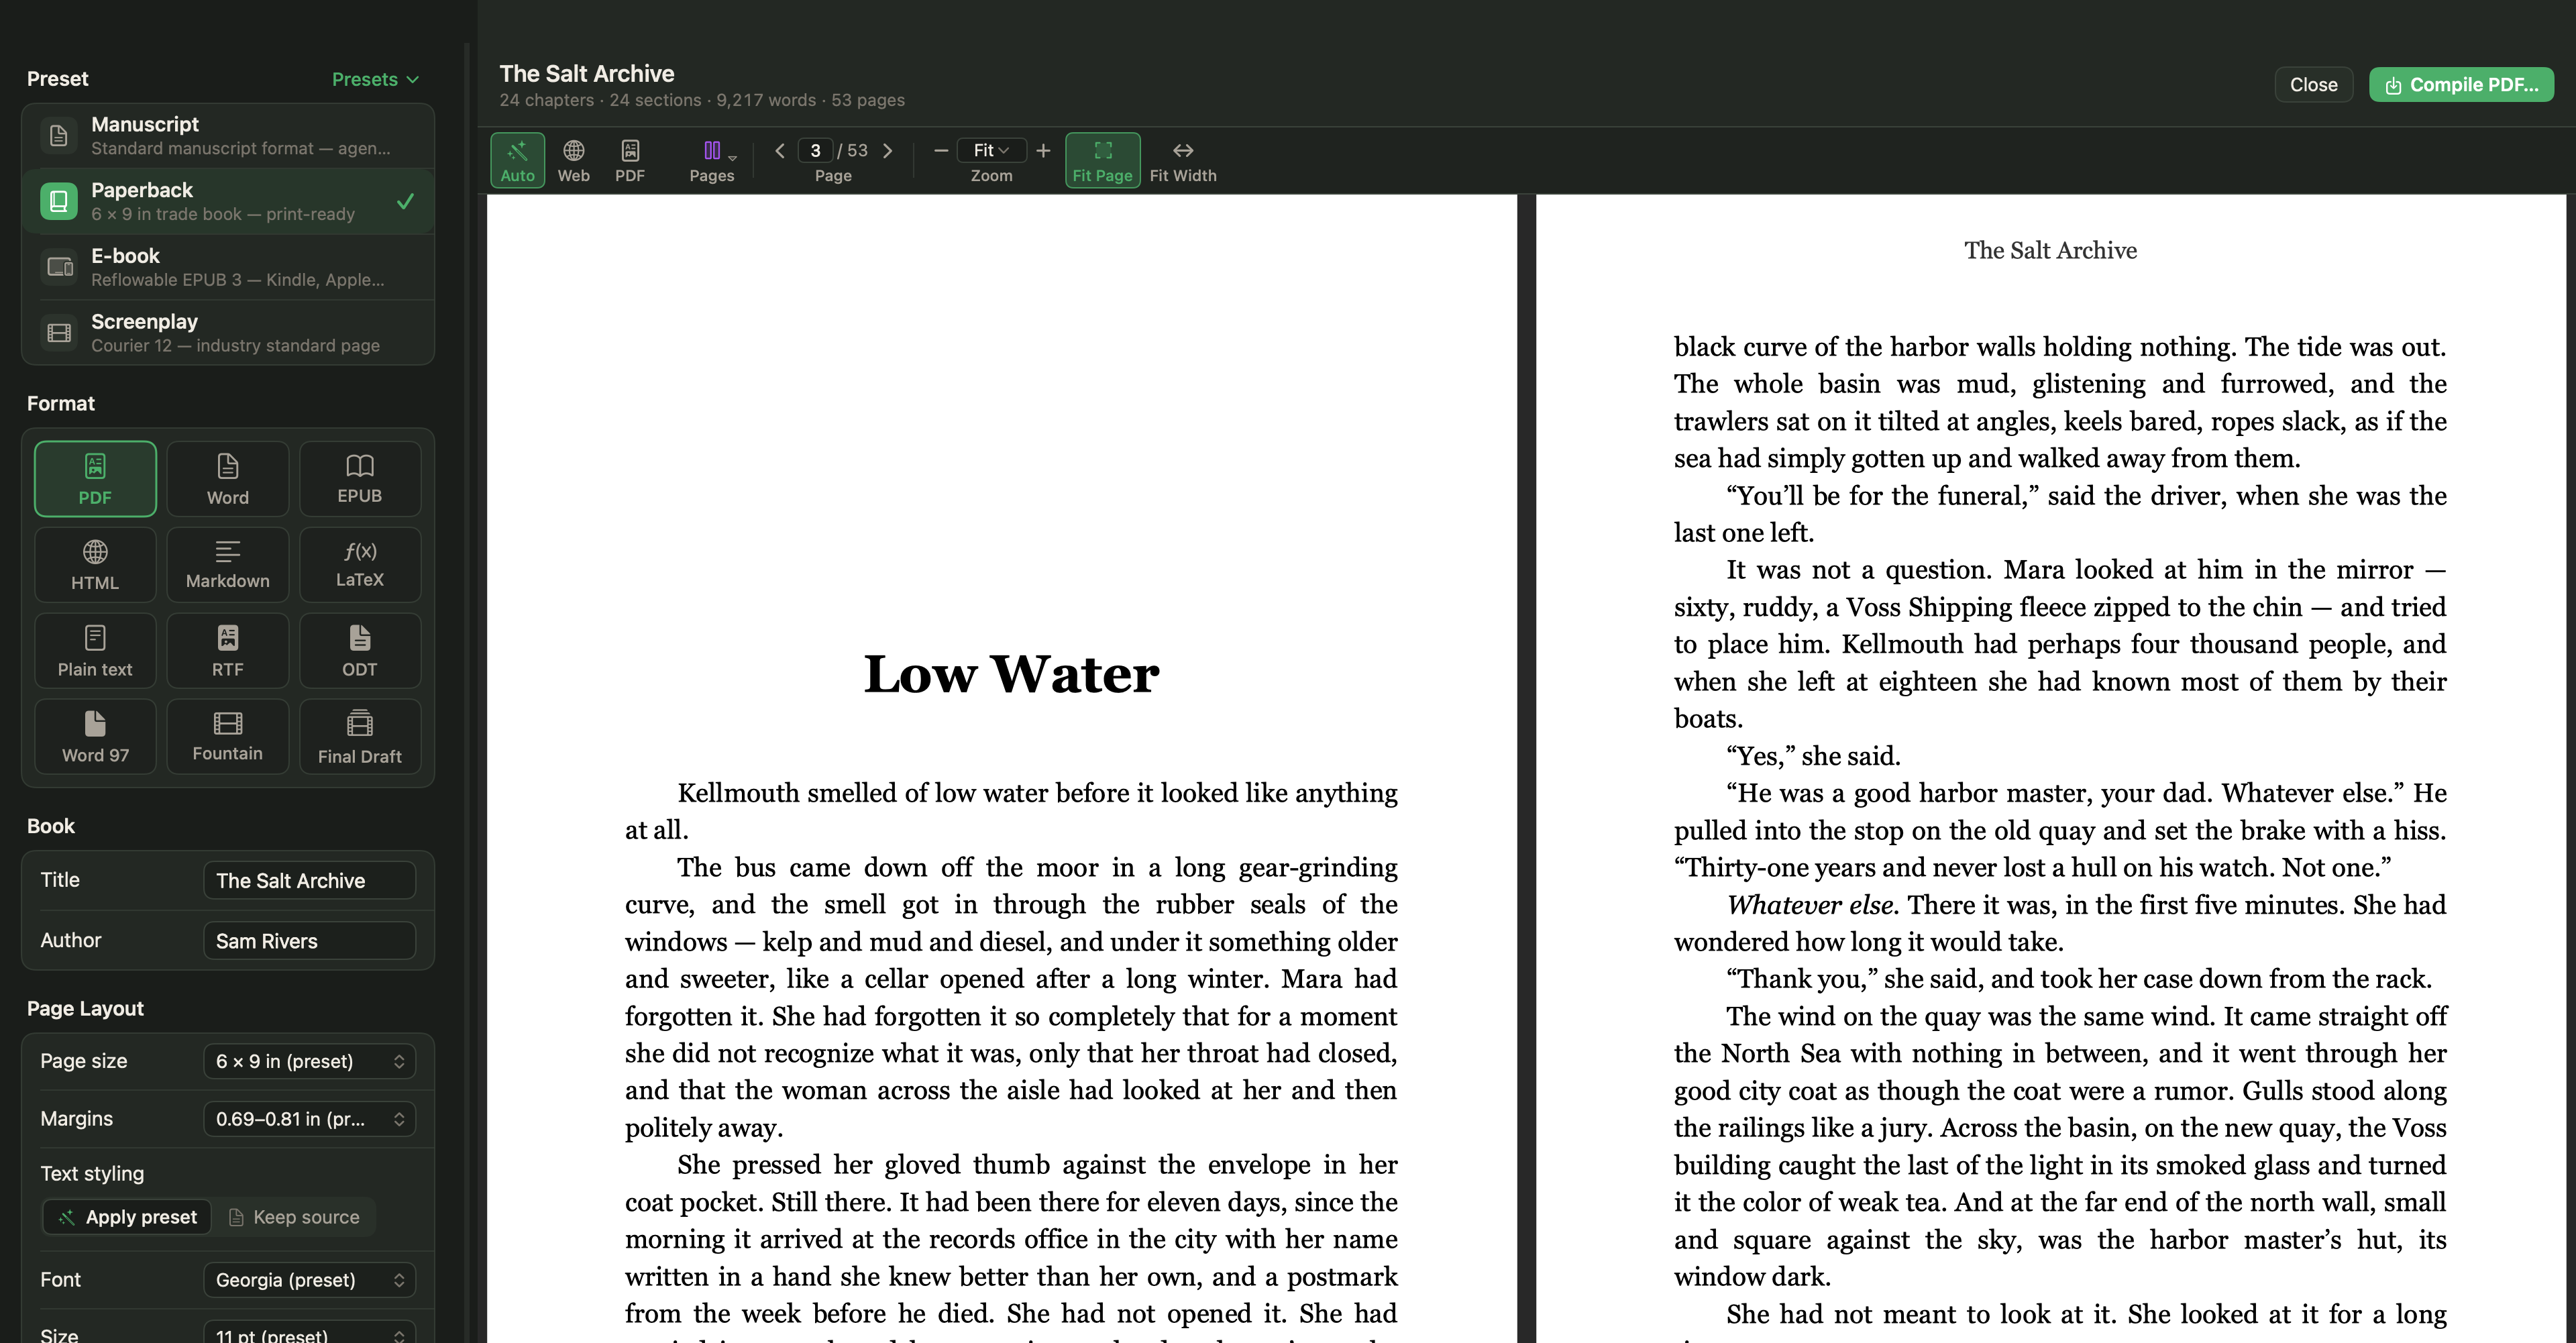
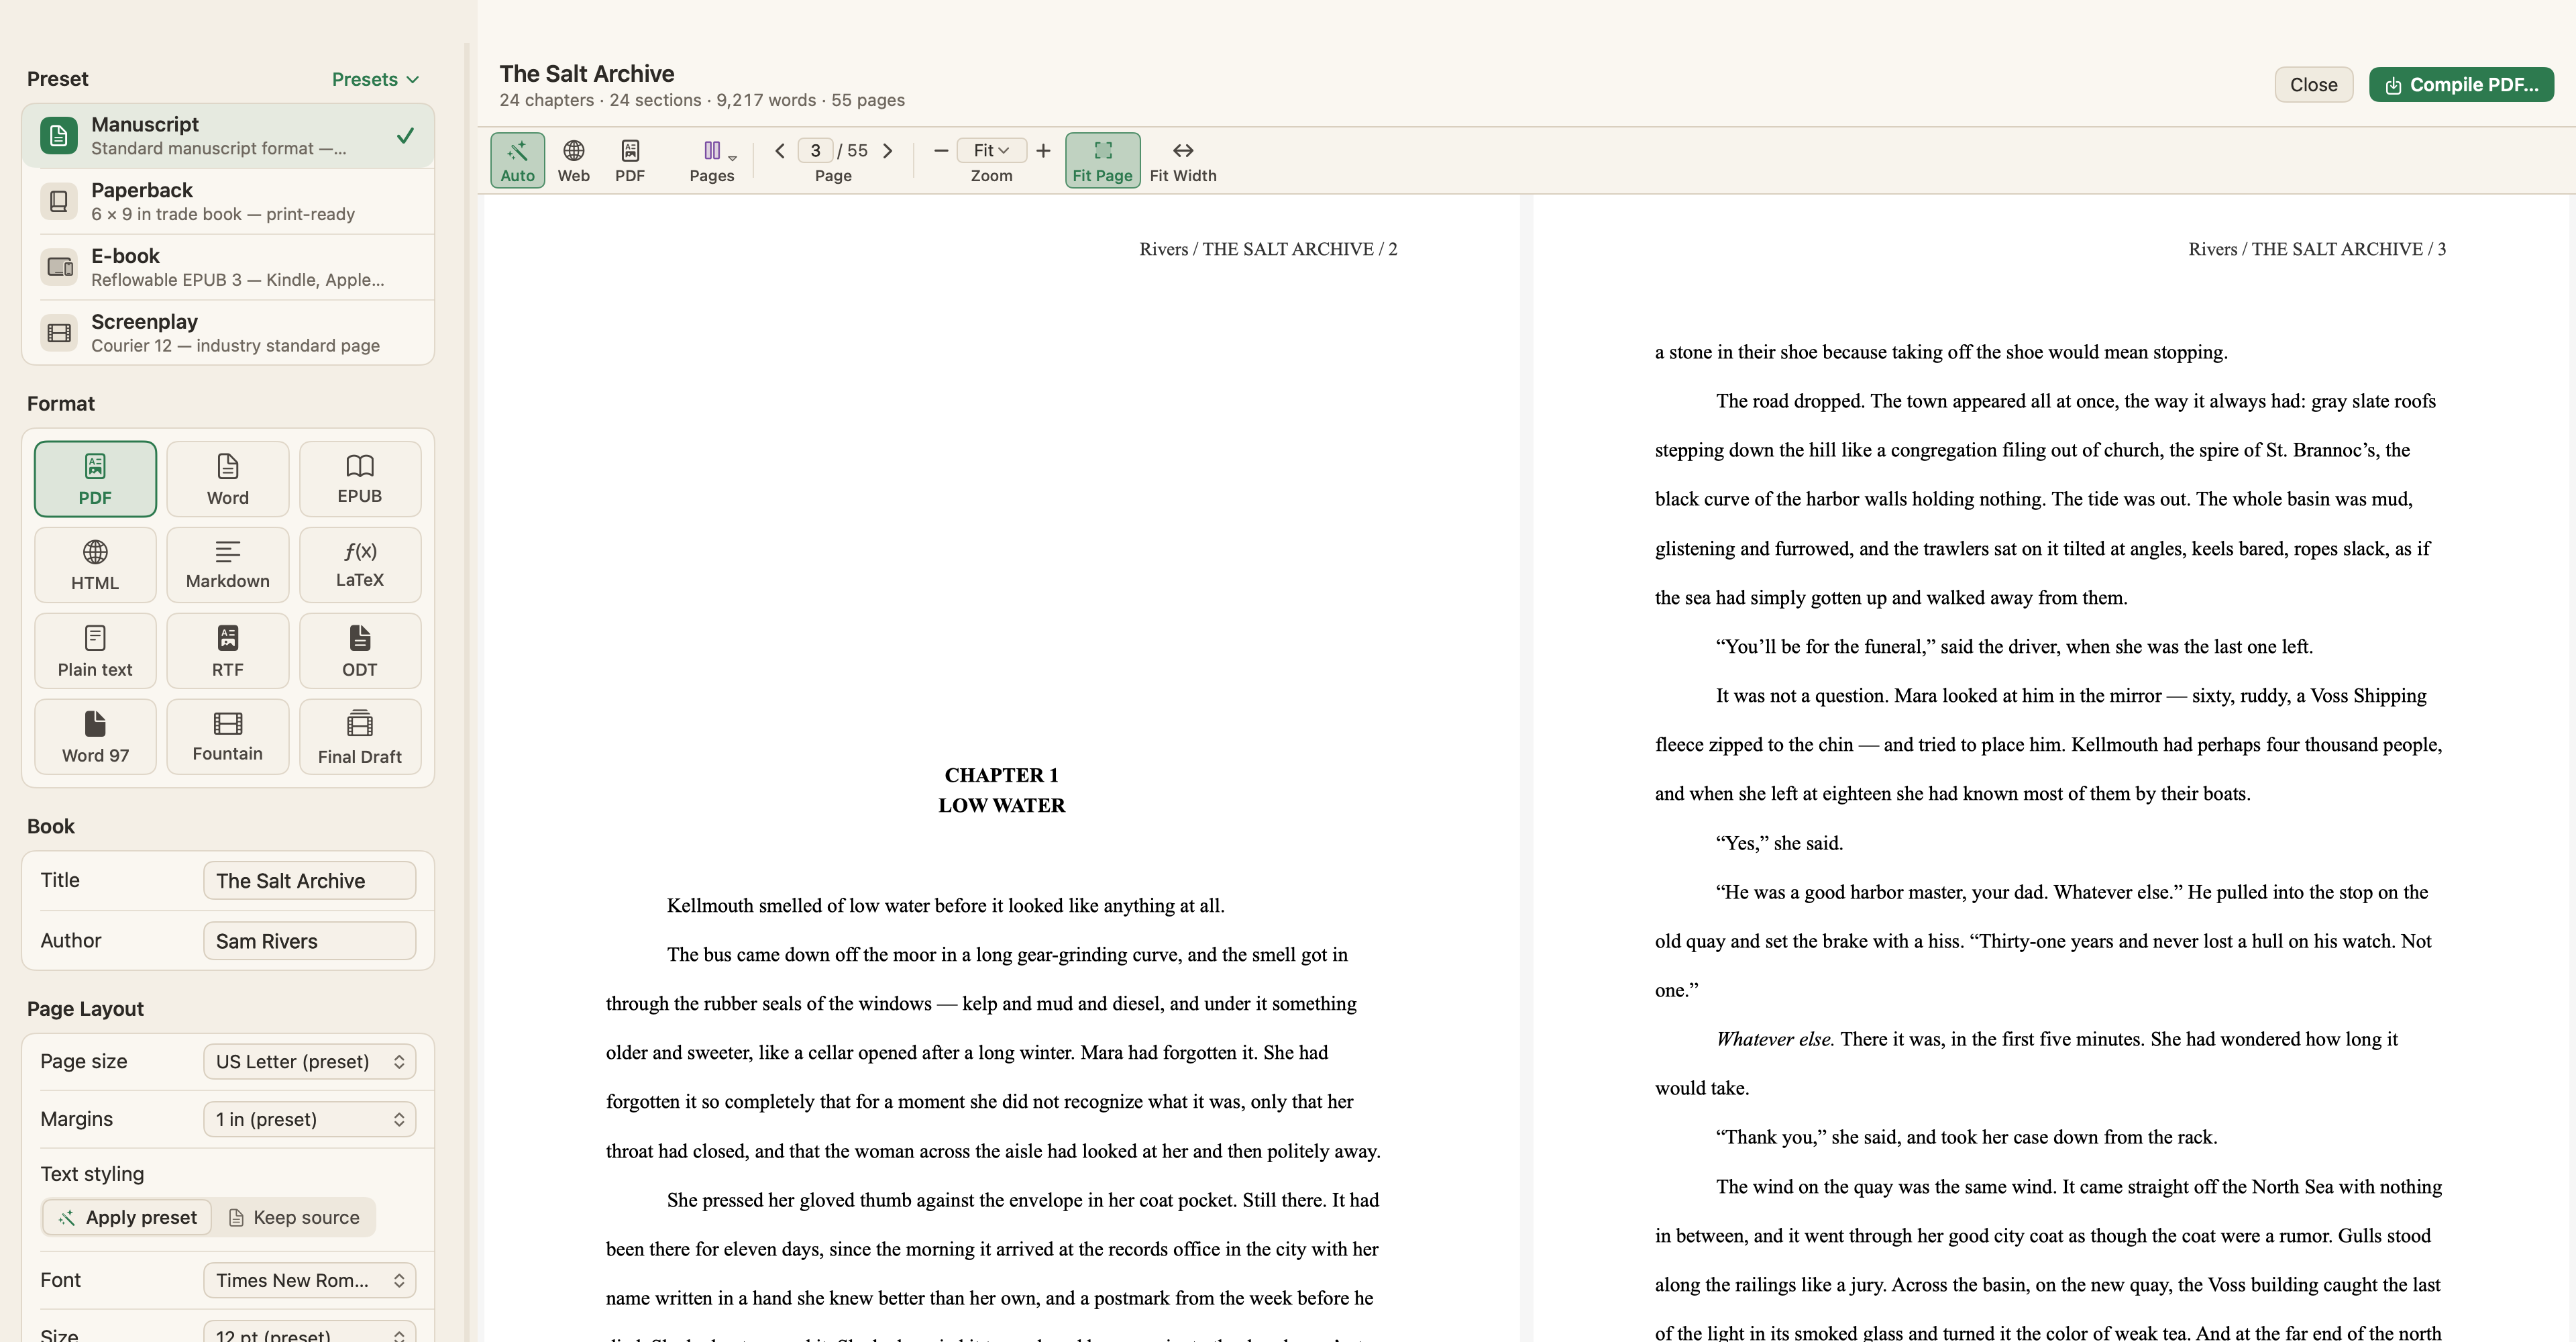
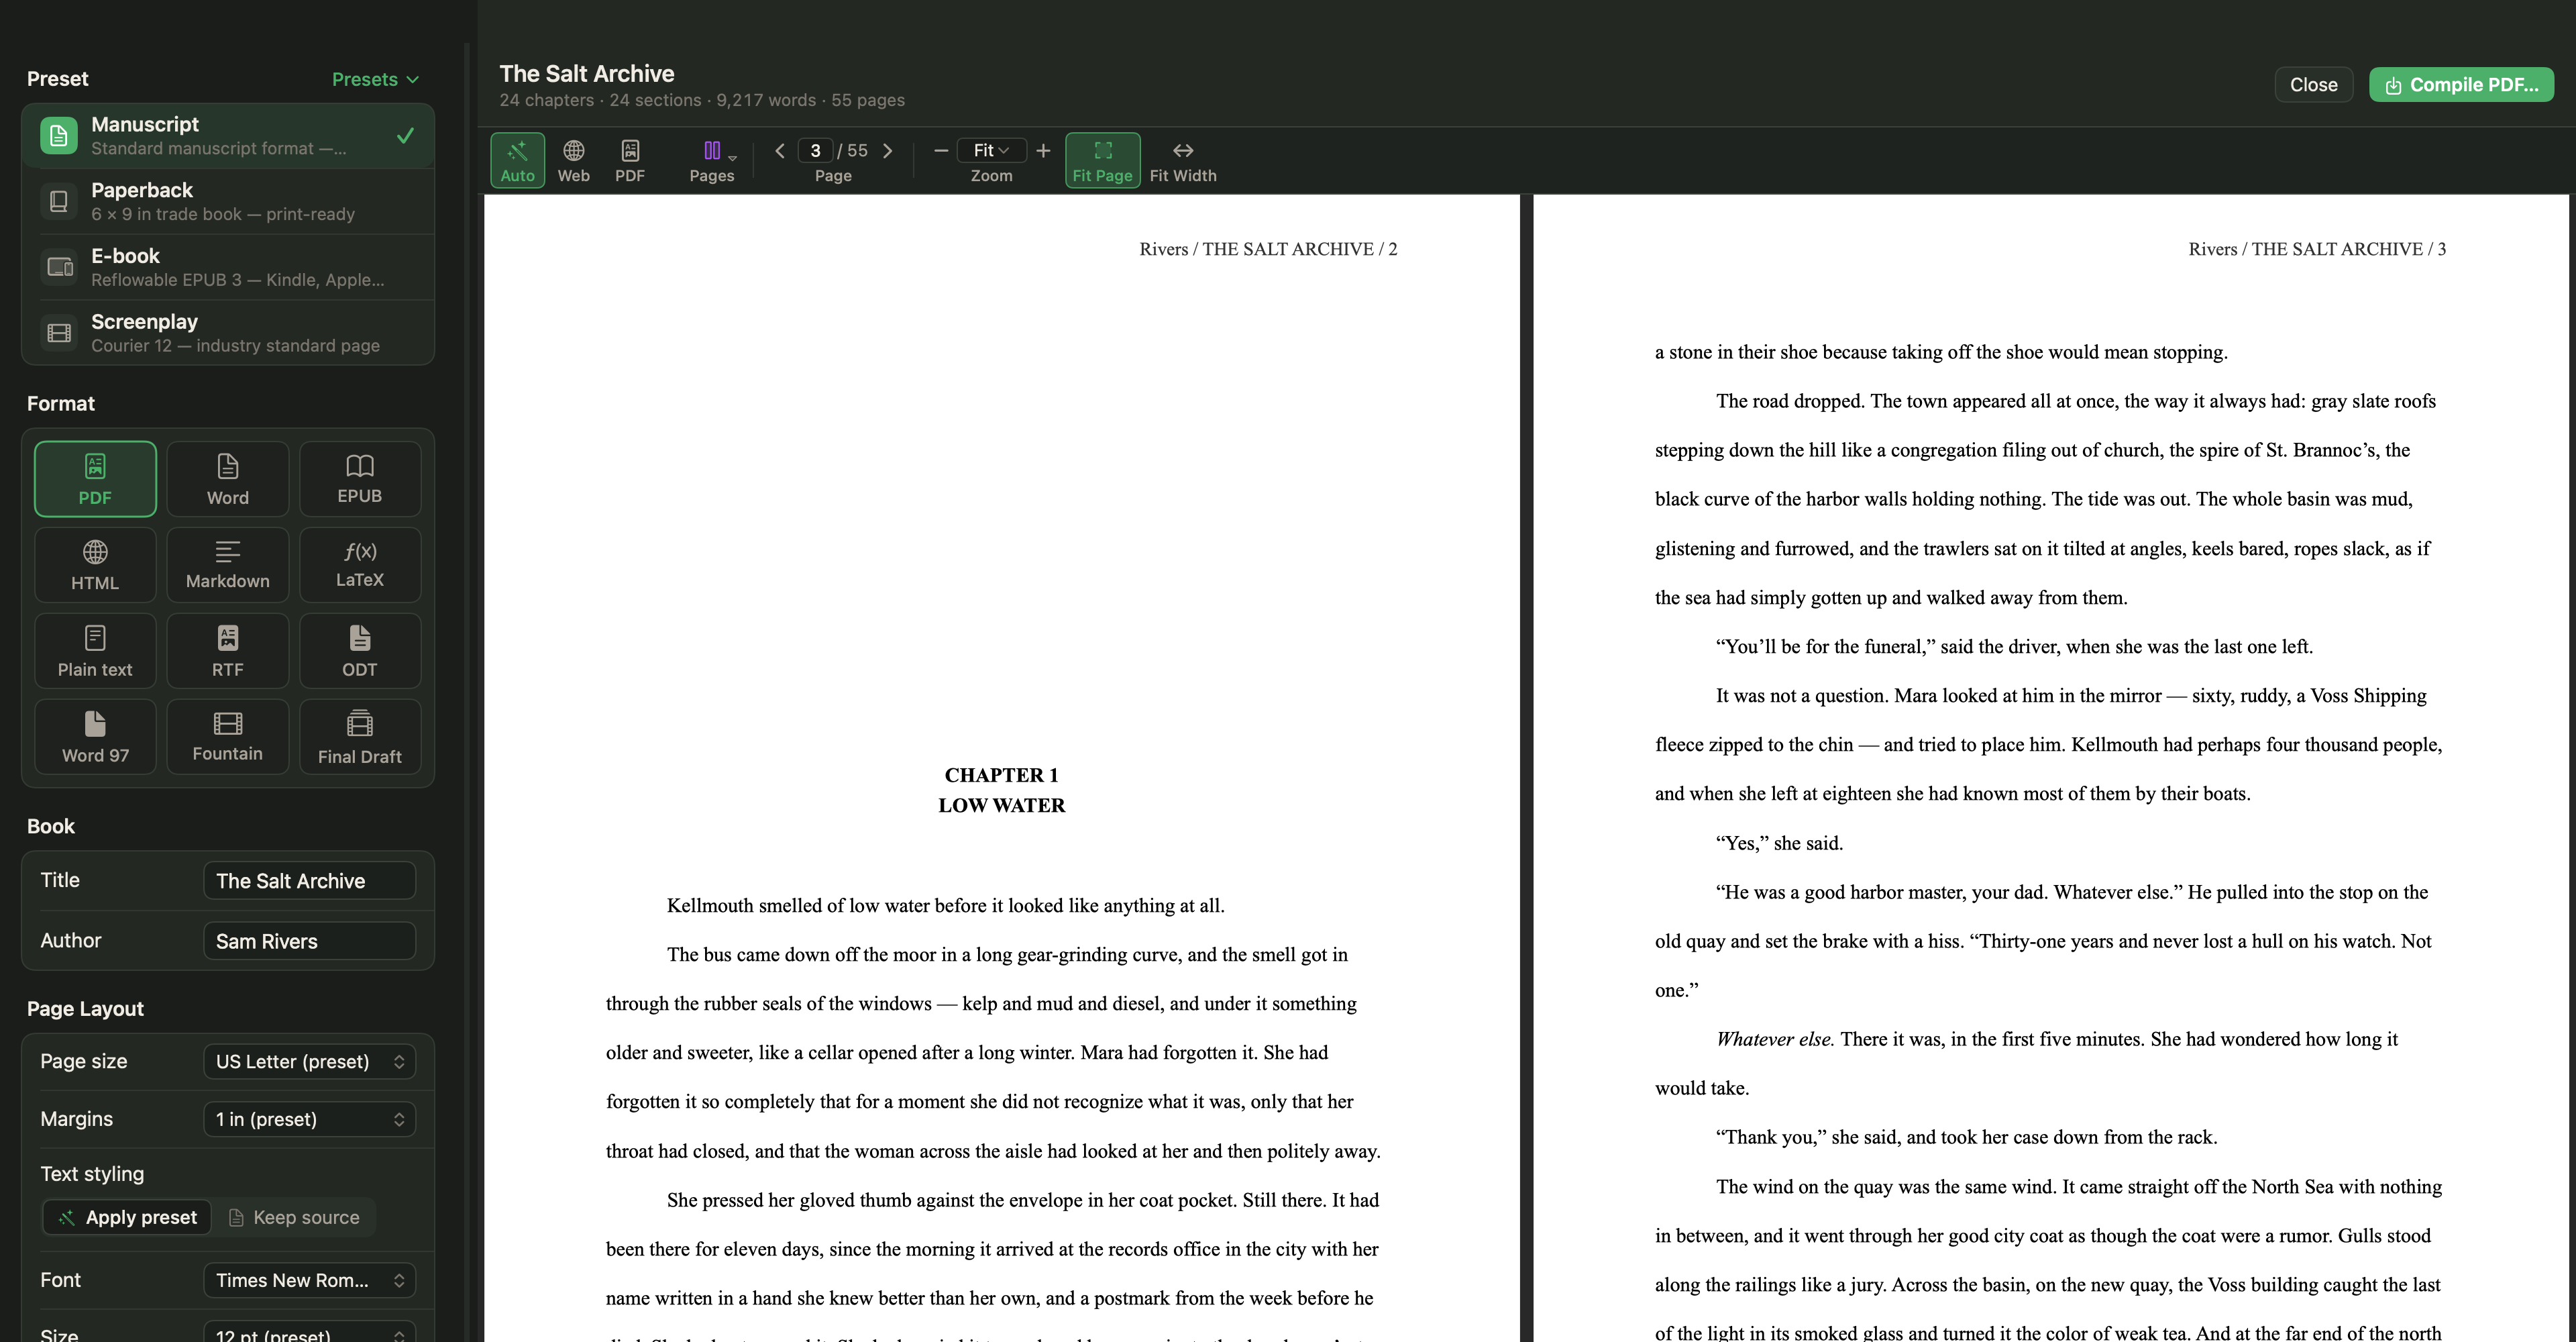
Choose Project › Compile… (⌥⌘E) or File › Export › Compile…. Compile Studio opens with settings on the left and a live preview on the right, with chapter, word and page counts. Compiling never changes your text. The full reference is in Compile and Export.
Choose a preset and a format
Start from one of four presets:
- Manuscript, for agents and editors: US Letter, Times New Roman 12 pt, double-spaced, 1" margins, "#" scene breaks, chapters on a new page.
- Paperback, a print-ready 6 × 9 in trade book in Georgia 11 pt, justified.
- E-book, a reflowable EPUB 3 for Kindle, Apple Books and Kobo.
- Screenplay, the industry-standard Courier 12 page.
Then choose a format: PDF and Word (DOCX) with real footnotes, EPUB 3, or HTML, Markdown, LaTeX, plain text, RTF, ODT, Word 97–2004, Fountain or Final Draft. Change anything you like and choose Presets ▾ › Save as Preset… to keep it; presets can also be exported as files to share between Macs.
Title page, author and header
Enter the Title and Author. The author defaults to the name in Settings › General › Author Information, which holds your name, pen name and address. With the Manuscript preset, your address details appear on the title page. Running headers follow the preset, "Surname / SHORT TITLE / page" for Manuscript, and a Short title under Metadata sets the title part.
Page layout
Page size offers office sizes such as US Letter and A4, book trim sizes and Custom…; Margins can be 0.5, 0.75, 1 or 1.25 inches. Under Text styling, Apply preset uses the preset's typography, while Keep source keeps the fonts and spacing from your editor and takes only the page size and margins. For a submission, Apply preset is the safer choice: the pages come out in standard format whatever font you drafted in. If you submit where A4 paper is the norm, change the page size.
Chapters, scenes and section types
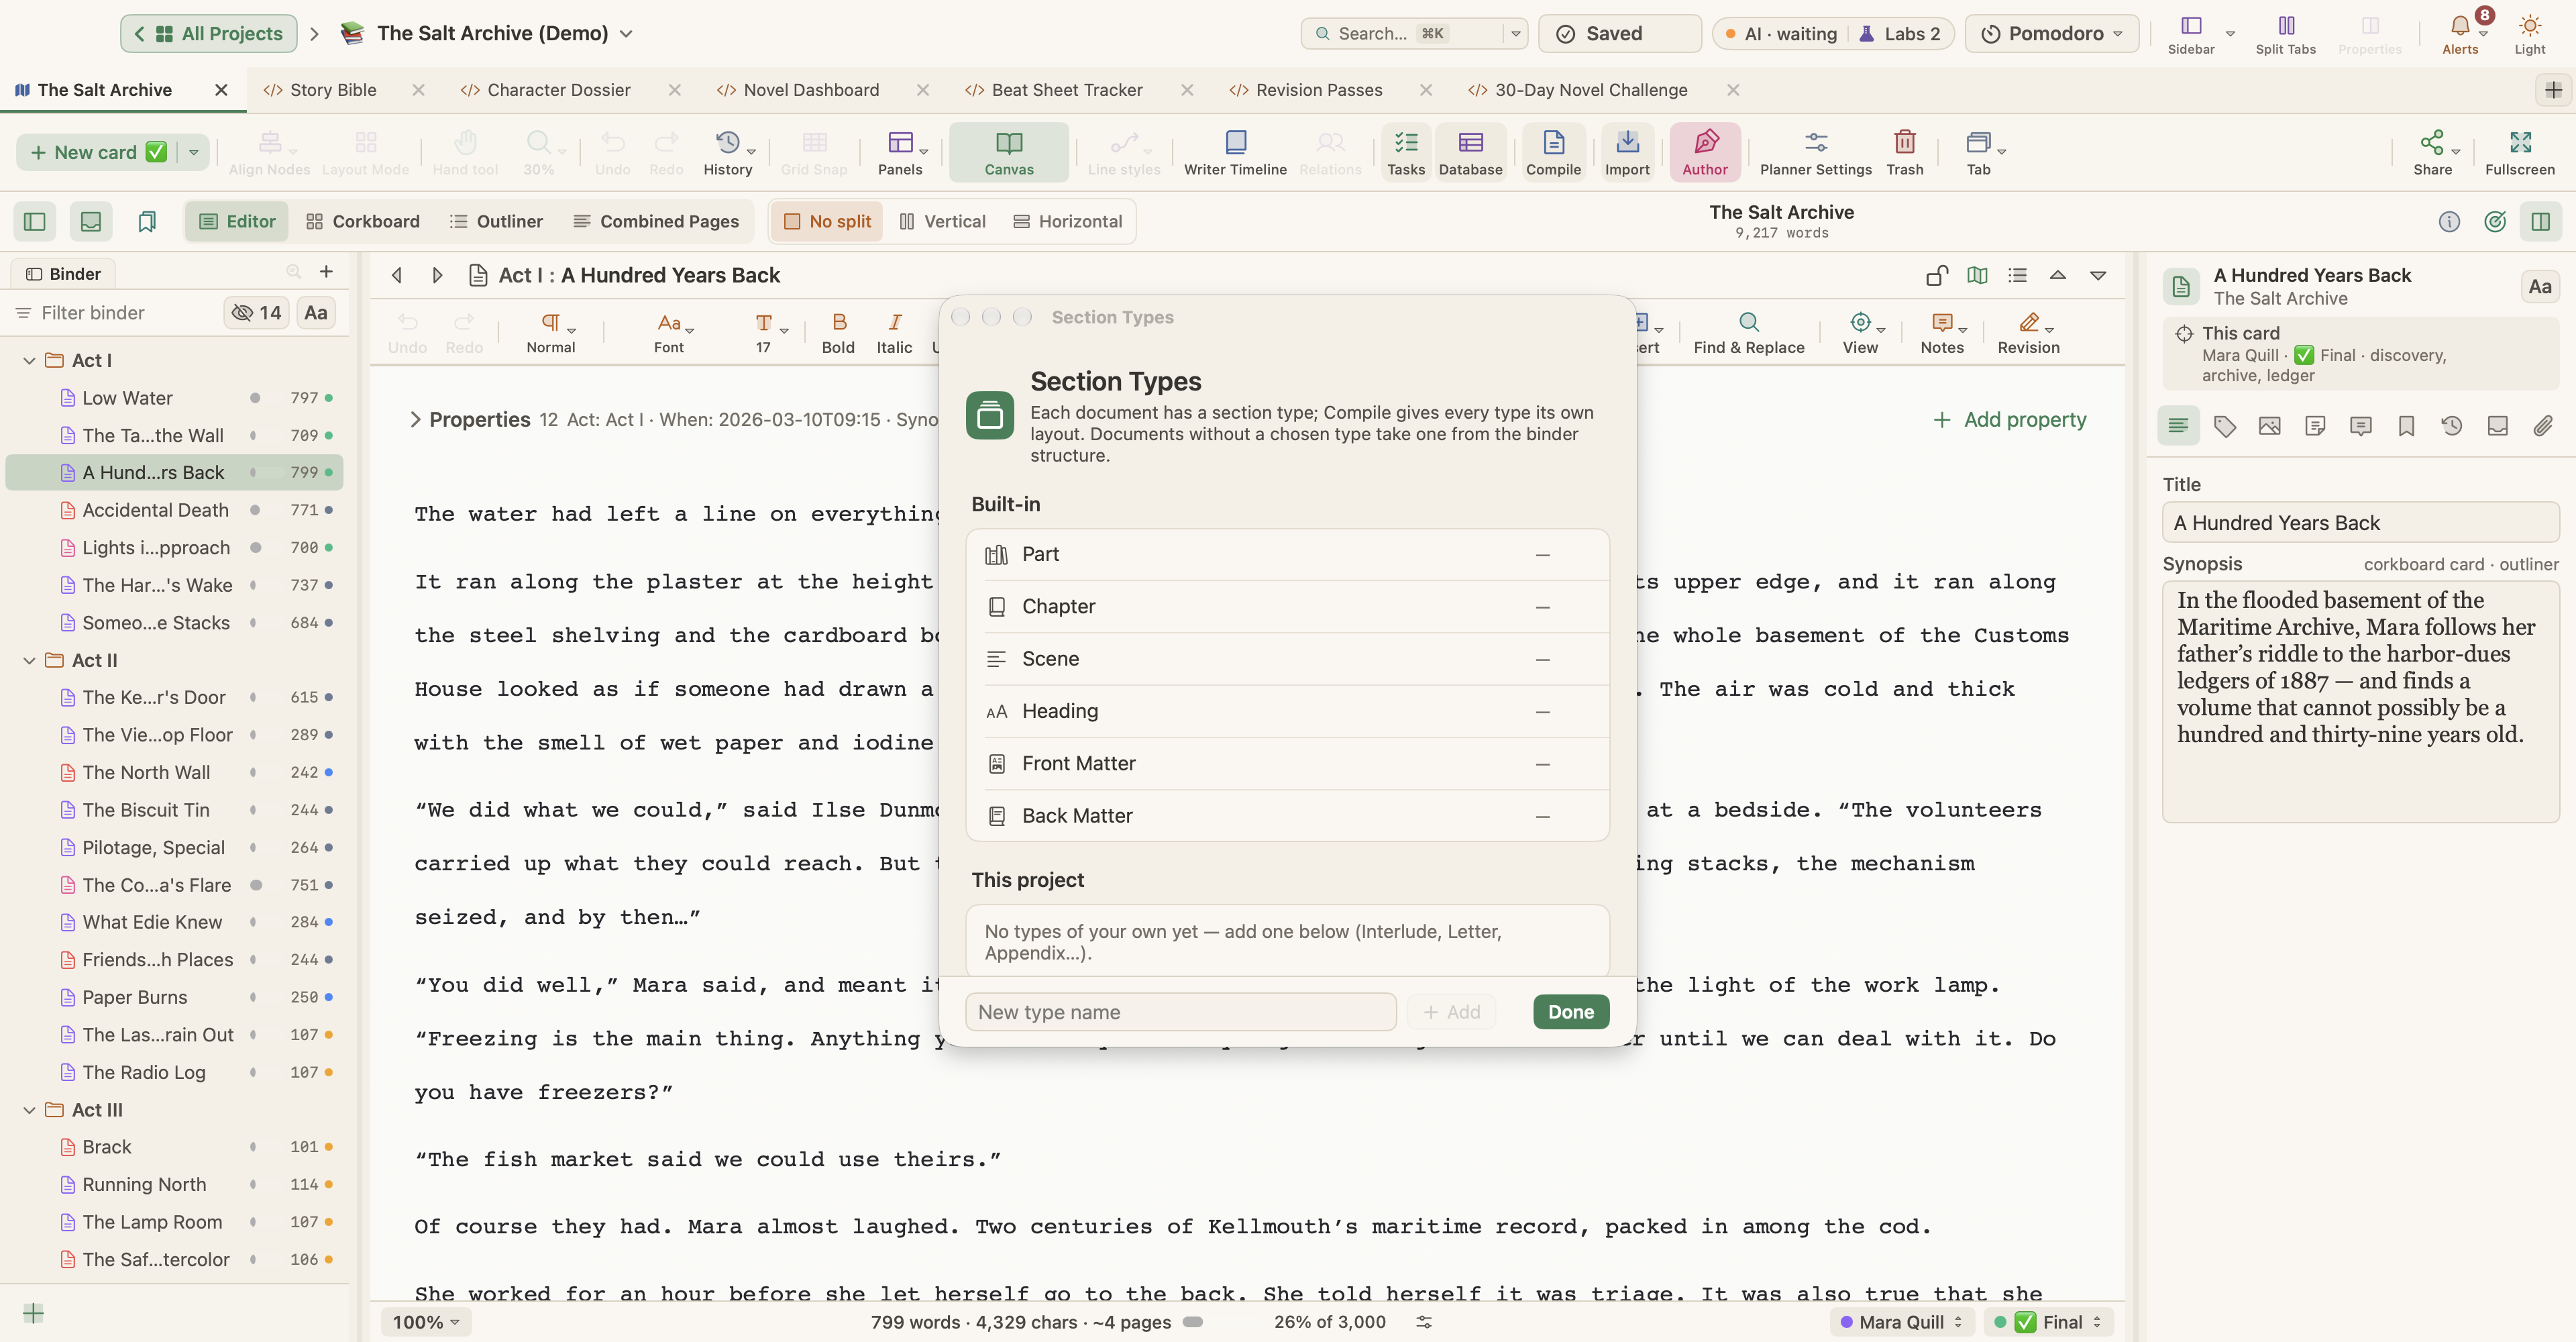
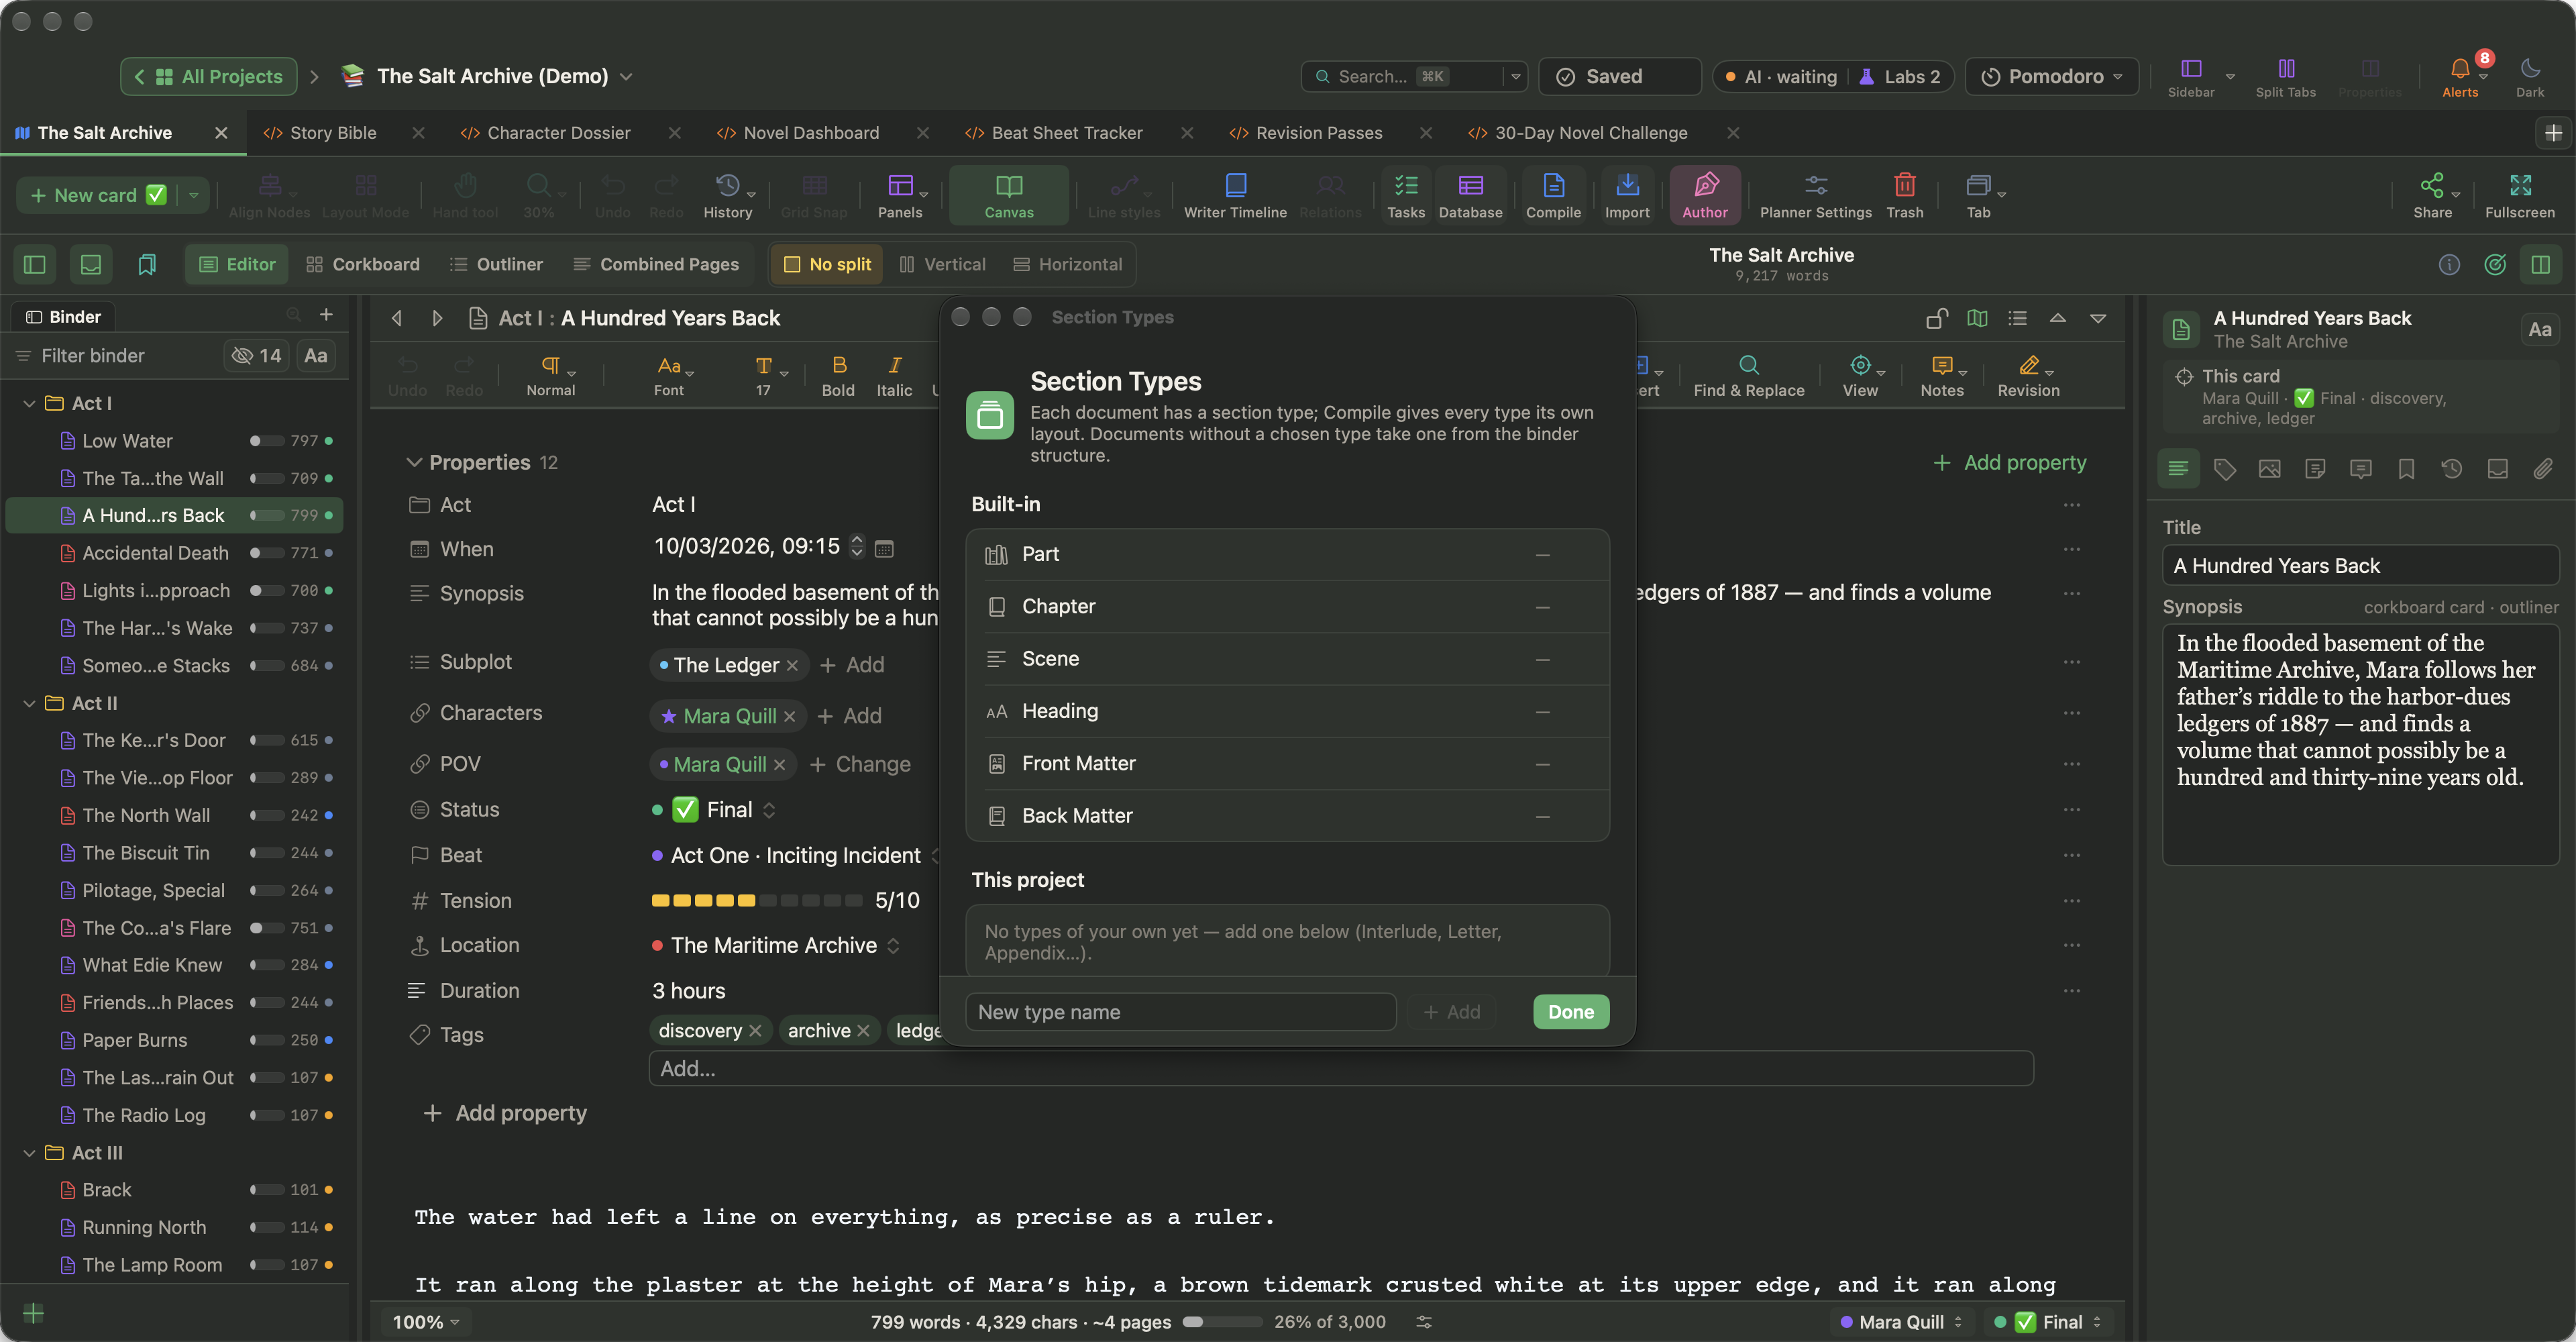
Under Section Layouts, WriterMorph reads the binder as three levels: chapters, the sections inside them, and subsections. Choose how titles look, what starts on a new page, how chapters are numbered, and the Scene separator: #, * * *, ❧, a blank line or none.
For finer control, every document has a section type: Part, Chapter, Scene, Heading, Front Matter or Back Matter. Set it in the Inspector's Metadata tab or the Outliner's Section Type column; Documents › Section Type › Edit Section Types… adds types of your own. In Compile Studio's Section Types section you design each one: its title, with a prefix such as Chapter <$n> numbered 1, 2, 3 or One, Two, Three; whether it starts a new page; and whether the first paragraph is indented.
Front matter and what goes in
Front matter and Back matter take a folder or document and place it at the start or end, without chapter numbers; a Copyright page and Dedication each get their own page. You can also include a Title page, Synopsis, Notes, Comments, line numbers and images, and a Table of contents for HTML and EPUB. For a clean submission, leave comments and notes out. When an editor works in Word, Revision marks as Word tracked changes turns your Revision Mode edits into insertions and deletions.
Under Contents, choose the Entire book, the Current selection, the Current folder or a collection, and tick documents in the checklist. That is how you answer a request for a partial: select the opening chapters and compile only those. Documents with Include in compile turned off, and research material, stay out automatically. Replacements are find-and-replace rules applied only to the compiled file, handy for a placeholder name, while the manuscript stays as it is.
Check the preview, then compile
The preview shows real pages for PDF and a web preview for other formats; view one page, a continuous scroll or two pages side by side. Look at the title page, the first chapter opening, a scene break and the last page, then click the compile button, which names your format (Compile PDF…, for example), and save the file.
Once the settings are right, save them as a preset. The next request, whether a full manuscript in Word or three chapters as a PDF, then takes a minute: choose the preset, choose what to include, check the preview and compile.