 WriterMorph

How to build a story bible for a novel or a series
What a story bible holds, how to keep it small and current, and how to use it to catch continuity errors, with the steps in WriterMorph.
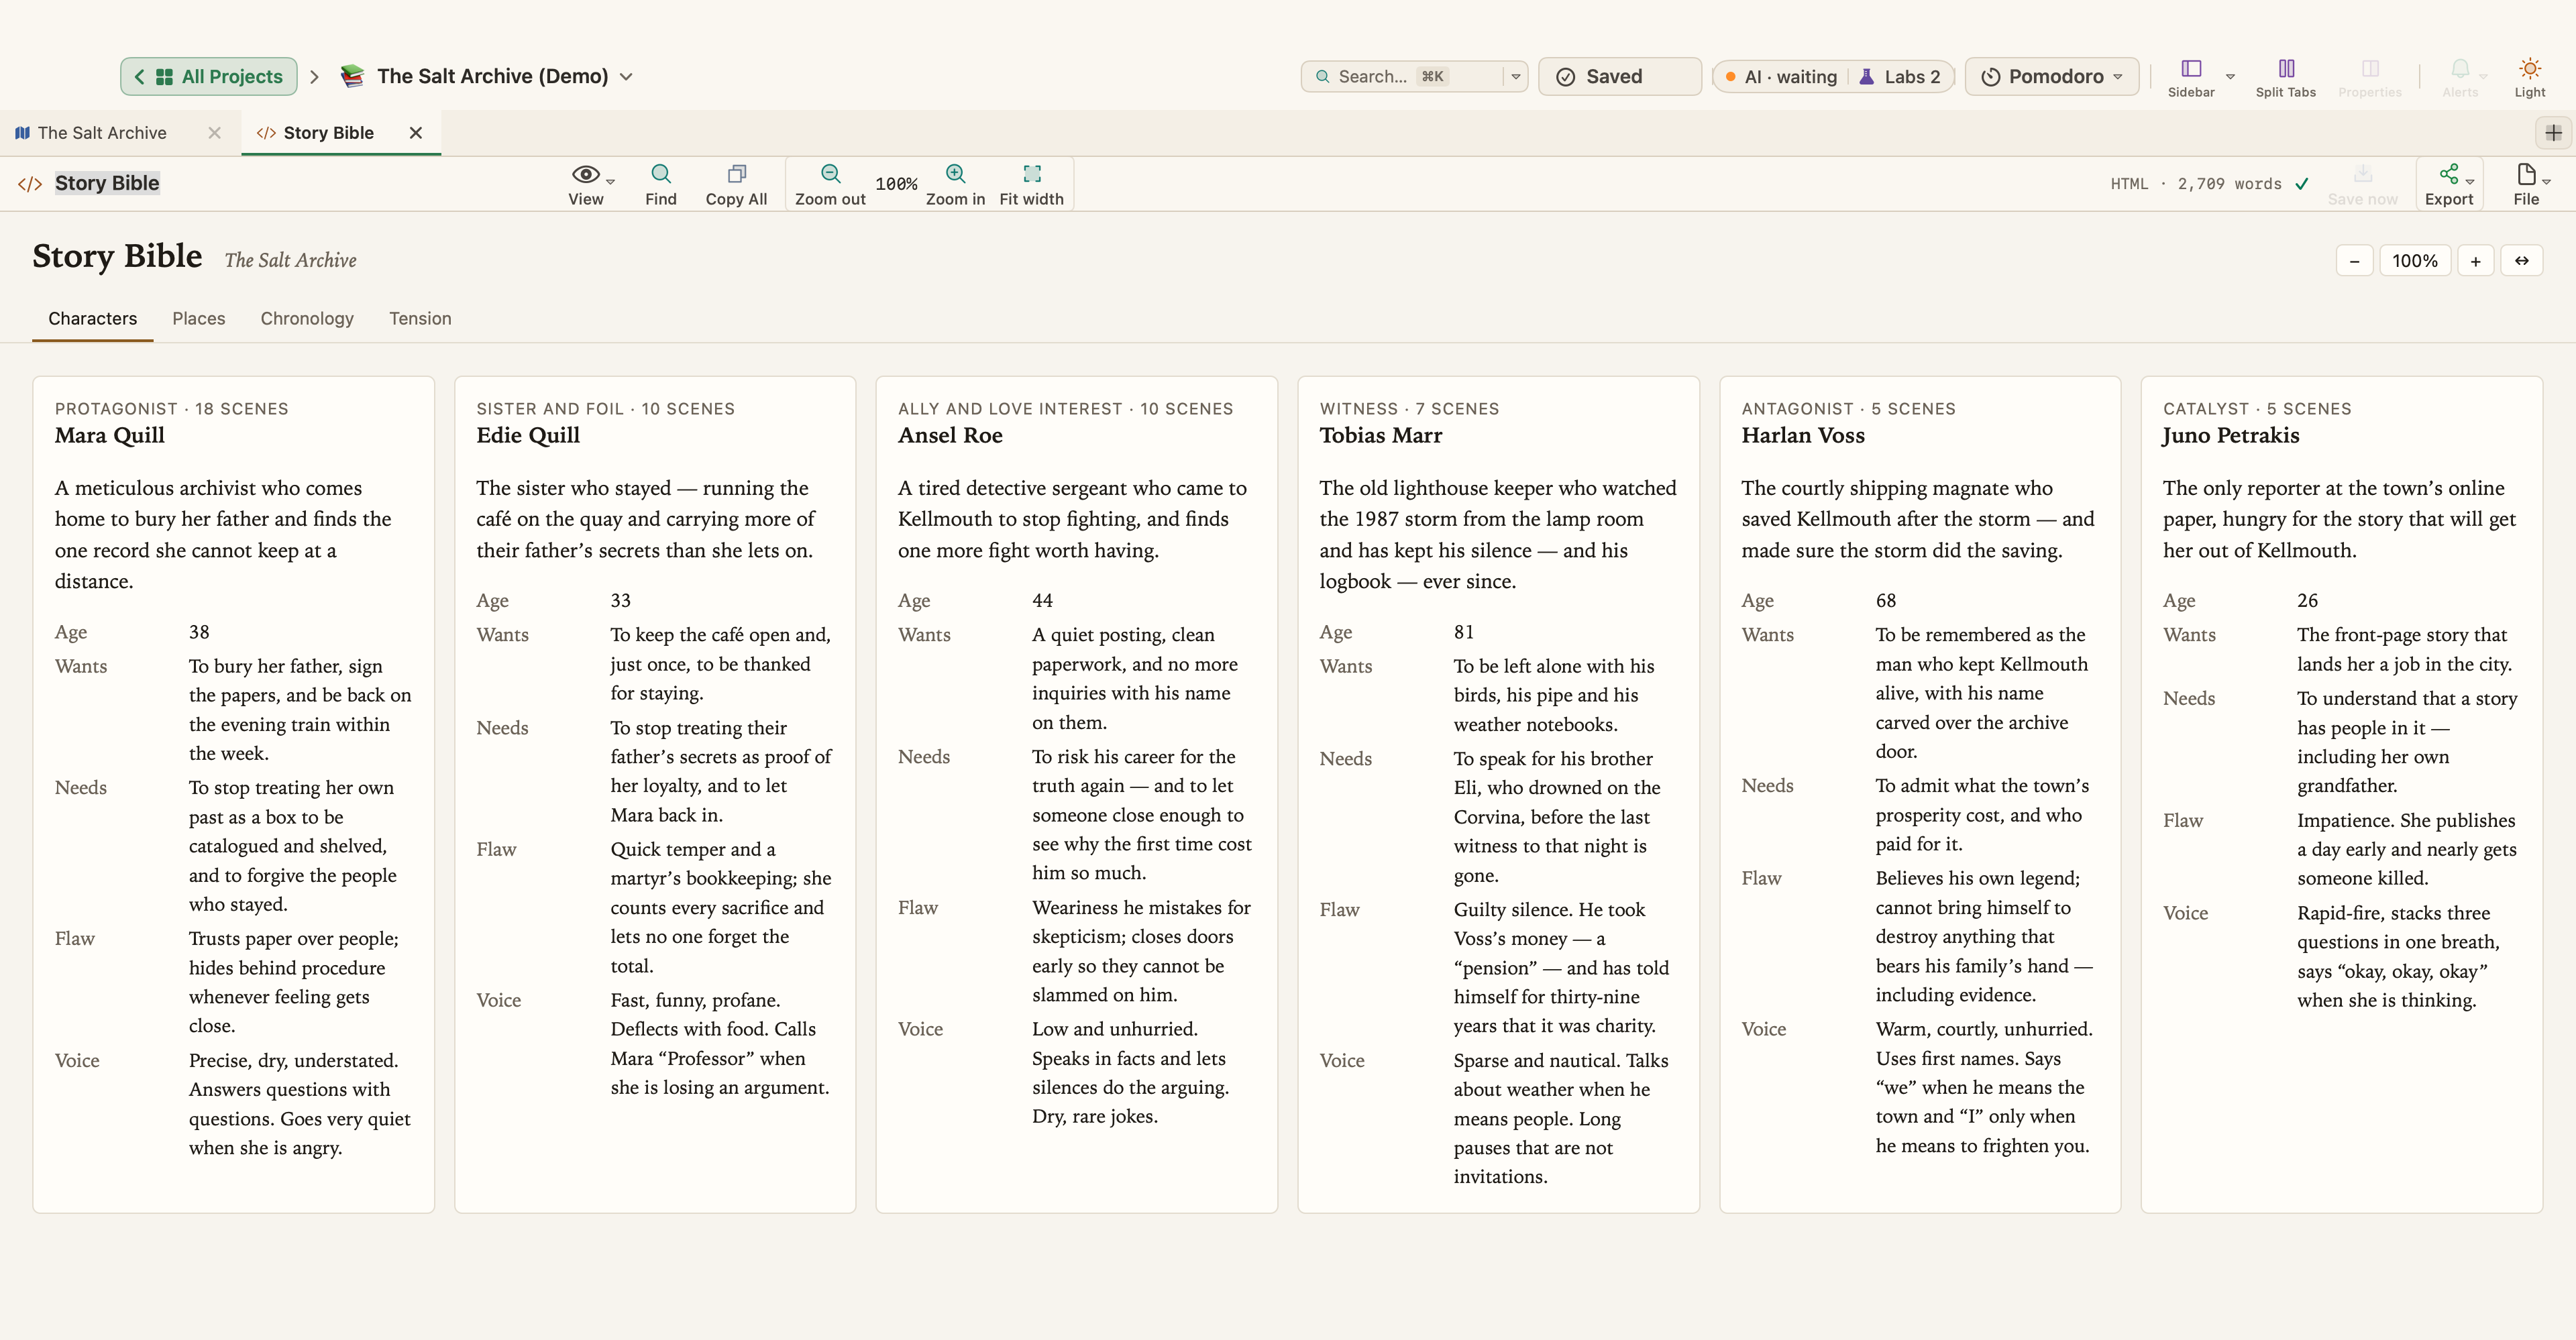
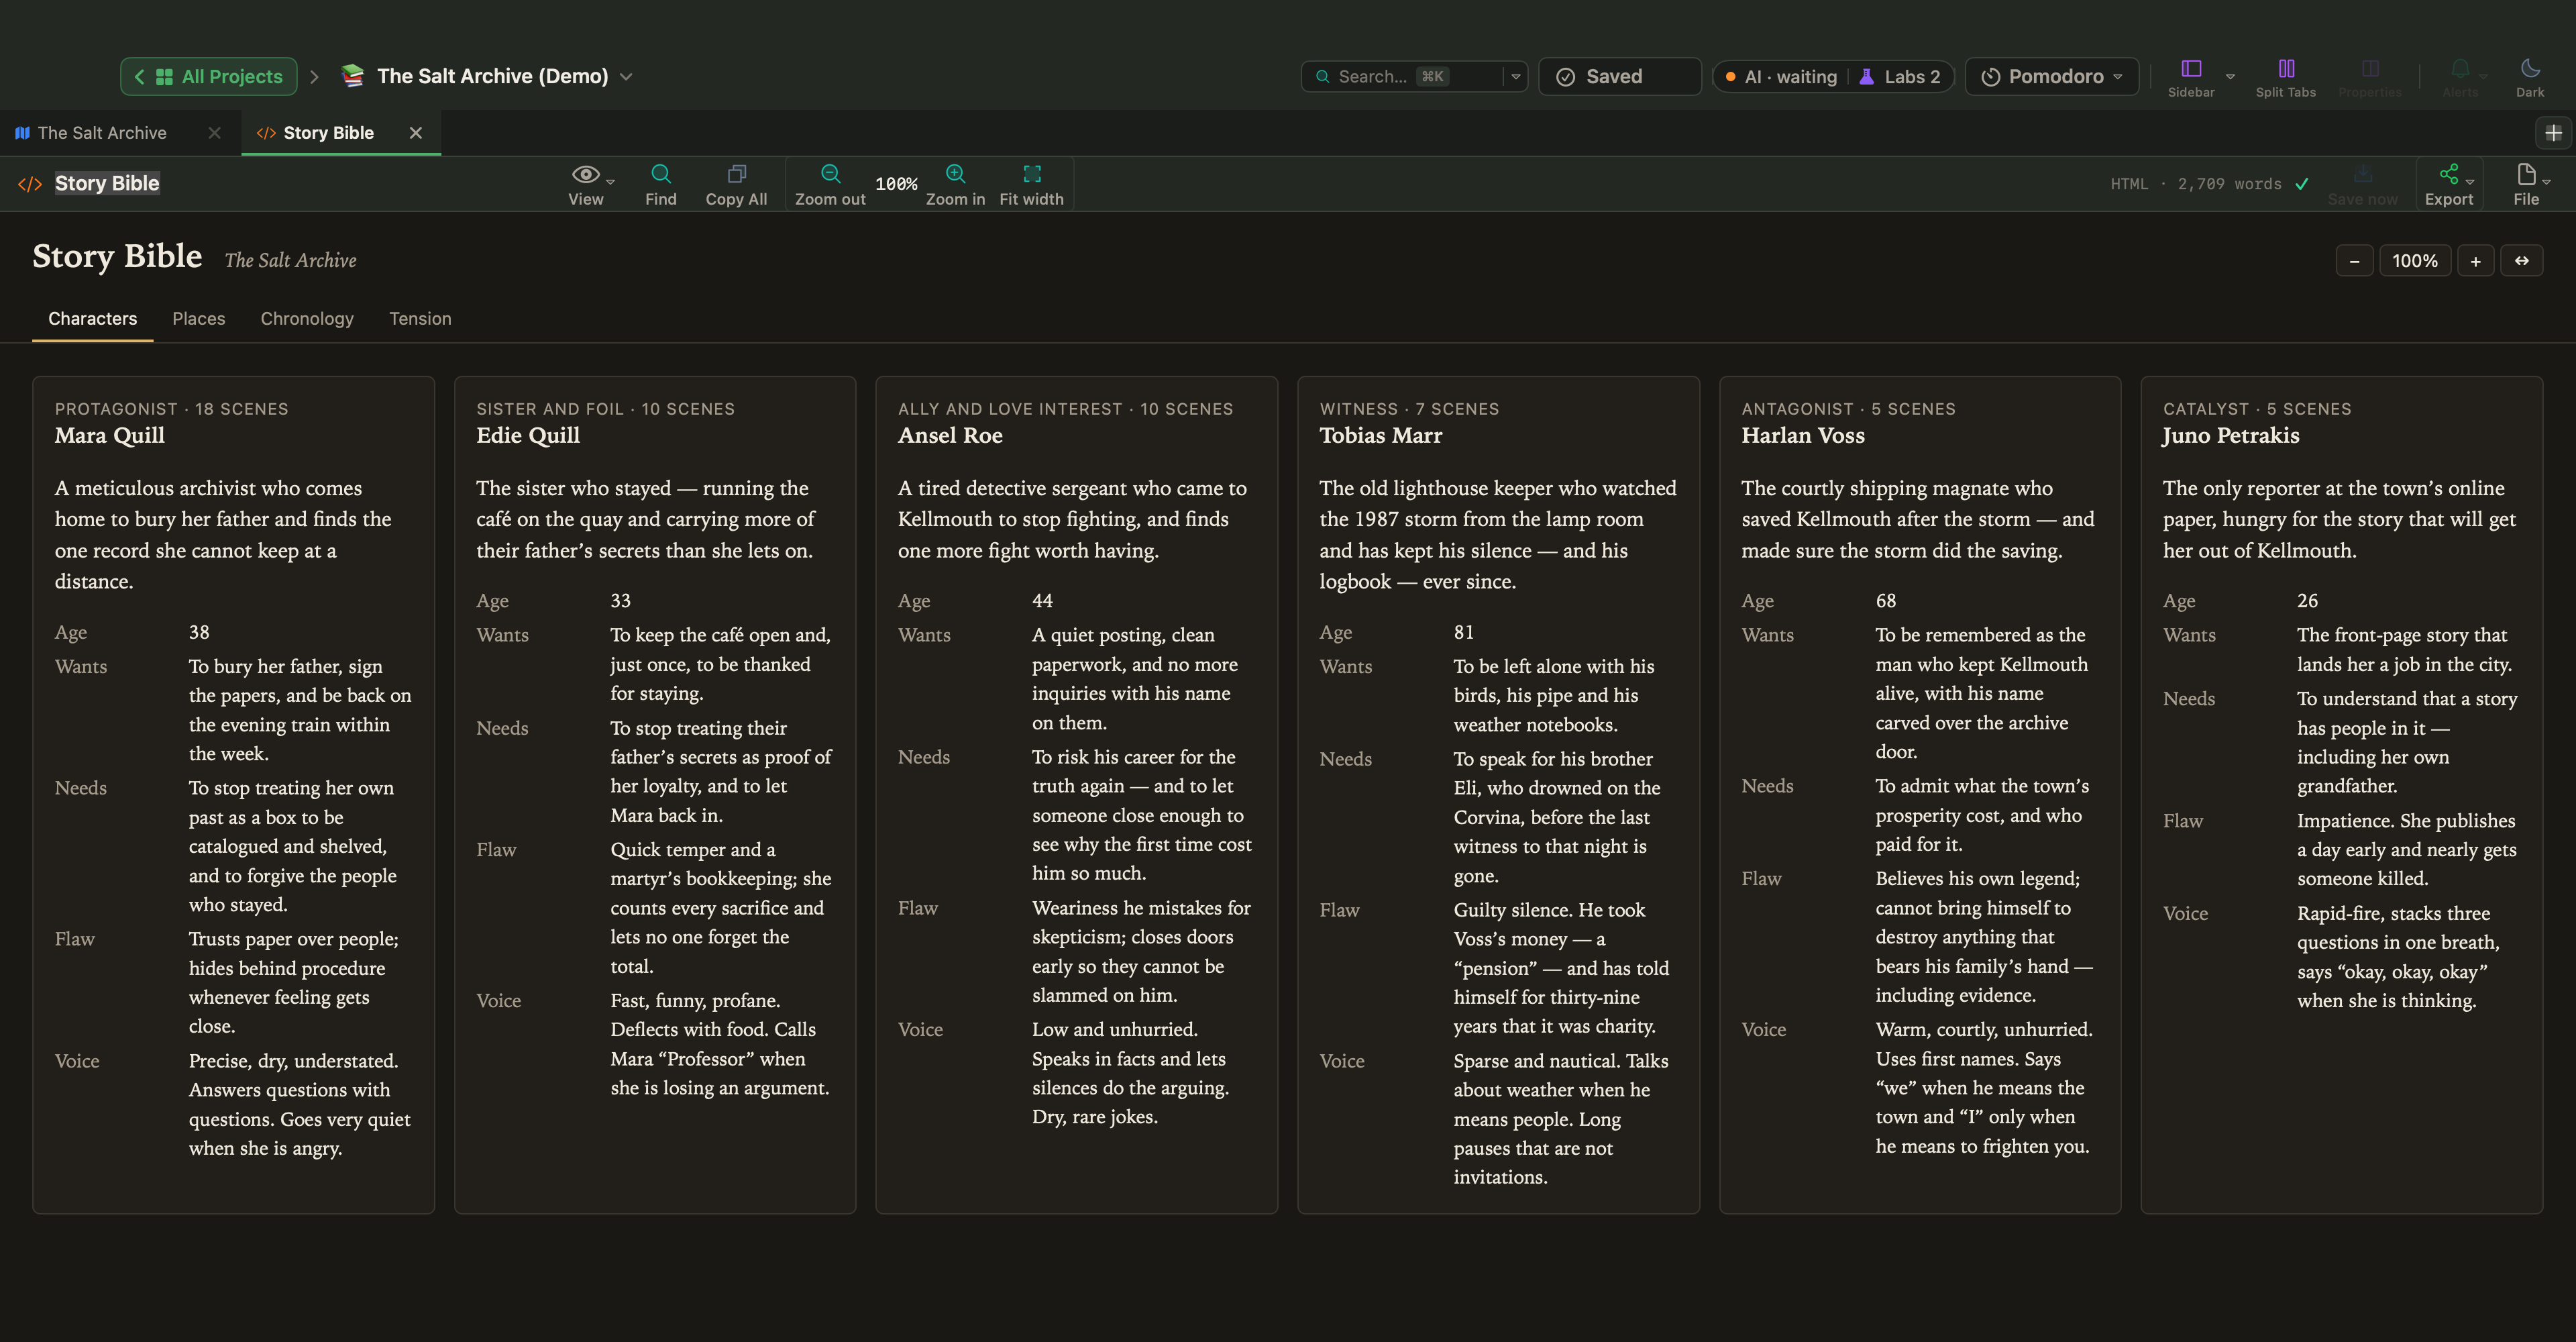
A story bible is the reference book for your story: who everyone is, where things happen, what happened when, and the rules your world runs on. You open it whenever the draft needs a fact you settled long ago.
Television writers' rooms keep one under the name series bible, or show bible, so that a writer who joins in a later season can get a character's history right without asking. Novelists writing a series need one for the same reason, and a single long novel benefits too.
What goes in a story bible
Keep one entry per person, place or thing, and record only what the book has established or what you have decided for certain.
| Section | What to record |
|---|---|
| Characters | Full name and its spelling, age, appearance, what they want, their relationships, how they speak |
| Places | Layout, distances, what can be seen or heard there, who lives or works there |
| Objects | Things the plot depends on, such as a letter, a key or a ship, and who has them when |
| Chronology | Dates of events in story time, ages at each point, travel times, back story |
| World rules | Magic systems, technology, laws, institutions, money, what is common knowledge and what is secret |
| Style sheet | Spellings, invented words, capitalisation, hyphenation, how numbers and titles are written |
For characters, don't leave out voice. In the sample novel The Salt Archive, Mara Quill's entry says she answers questions with questions: a line like that helps more while drafting dialogue than a page of back story.
In fantasy and science fiction, world rules deserve a section of their own, and the part worth writing down is the limit: what the magic or the technology cannot do, and what it costs. Institutions count too: who runs the town, who reports to whom, how long a trial takes.
The style sheet comes from publishing, where copy editors keep one for each book: every name, invented word and capitalisation choice, written down once so it appears the same way on every page.
Keep it small and current
A story bible that grows faster than the book is a way of not writing it. Add an entry when something reaches the page, and update the bible at the end of a writing session while the facts are fresh. When you change a fact in revision, change the bible in the same sitting, and keep what is settled apart from what is still an idea. Short entries are easier to check: a few lines are enough for a minor character.
Use it to catch continuity errors
Typical continuity errors: a name spelled two ways, an eye color that changes, a character in two places at once, a journey that takes a day in one chapter and a week in another, someone who knows a secret before they could have learned it. On a revision pass, read with the bible open and check each fact against its entry. Where the draft and the bible disagree, decide which one is right and fix the other.
Building a story bible in WriterMorph
In WriterMorph the bible lives in the same project as the book, made of cards. In the binder, character profiles, places and research notes sit outside the manuscript, so they are never compiled.
Characters and places as cards
The Visual Planner has built-in Character and Location card types. Press ⌘N on the canvas and type to filter the card type picker, or use Documents › New Card of Type. In fiction planners, character cards come with Role, Gender and Appears in fields. Write the description as the card's text; keep the facts in properties.
Fields of your own
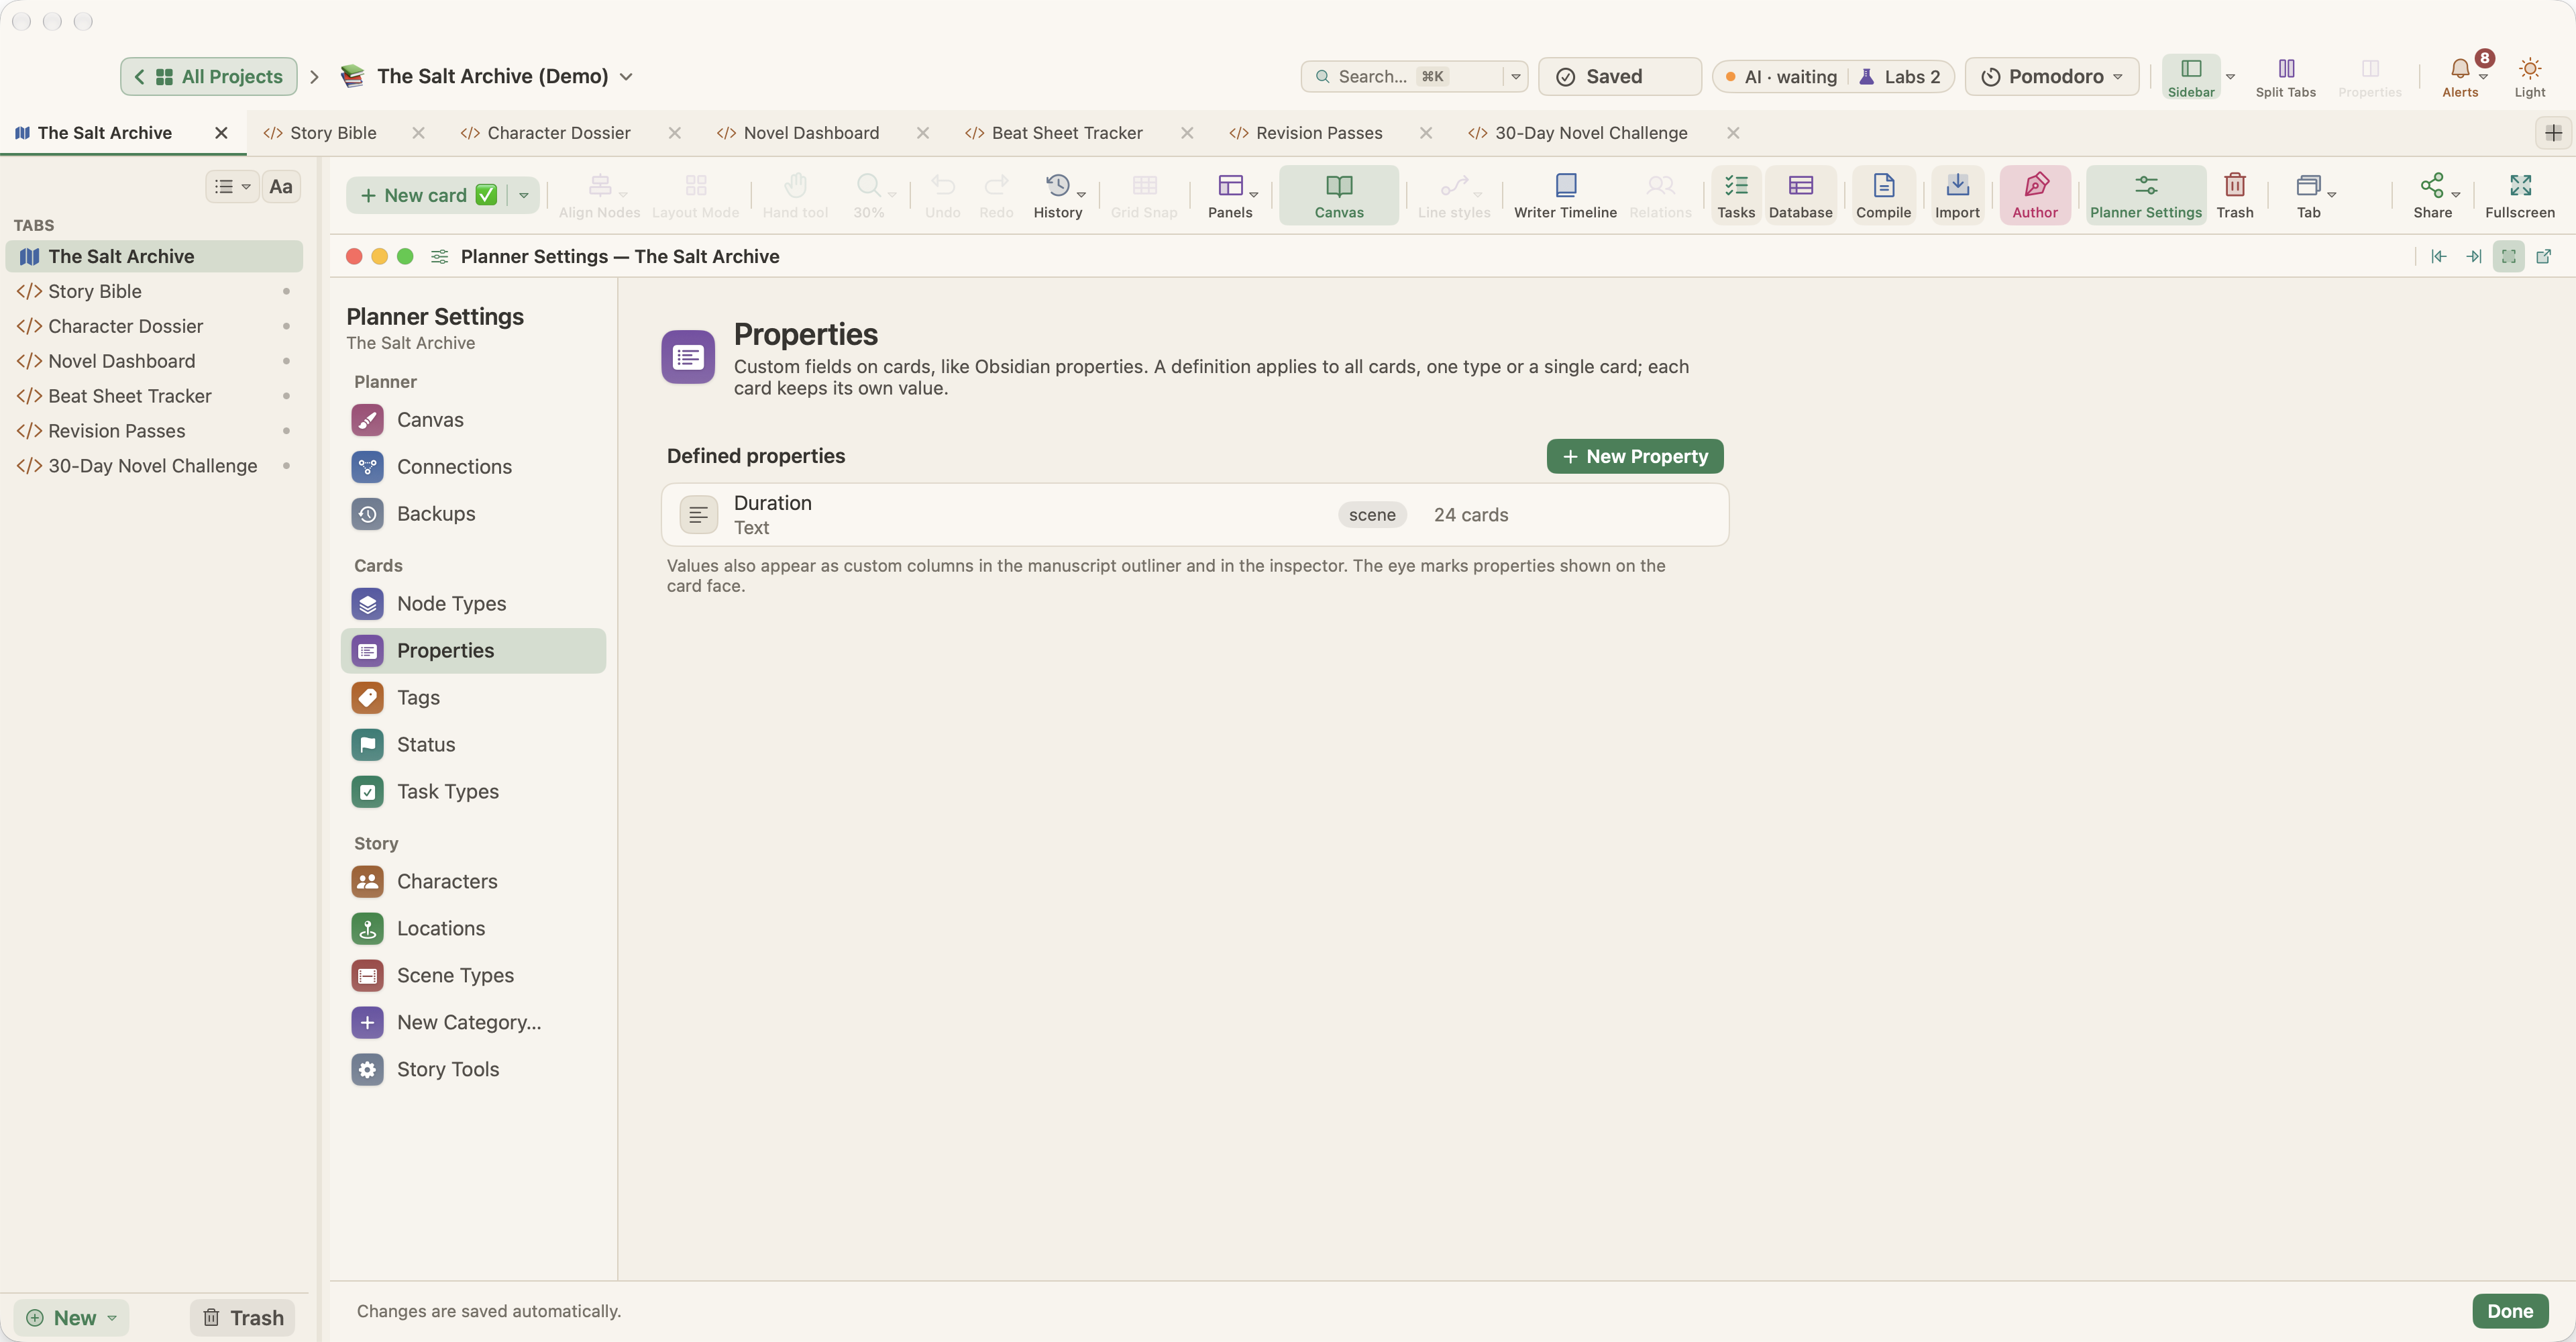
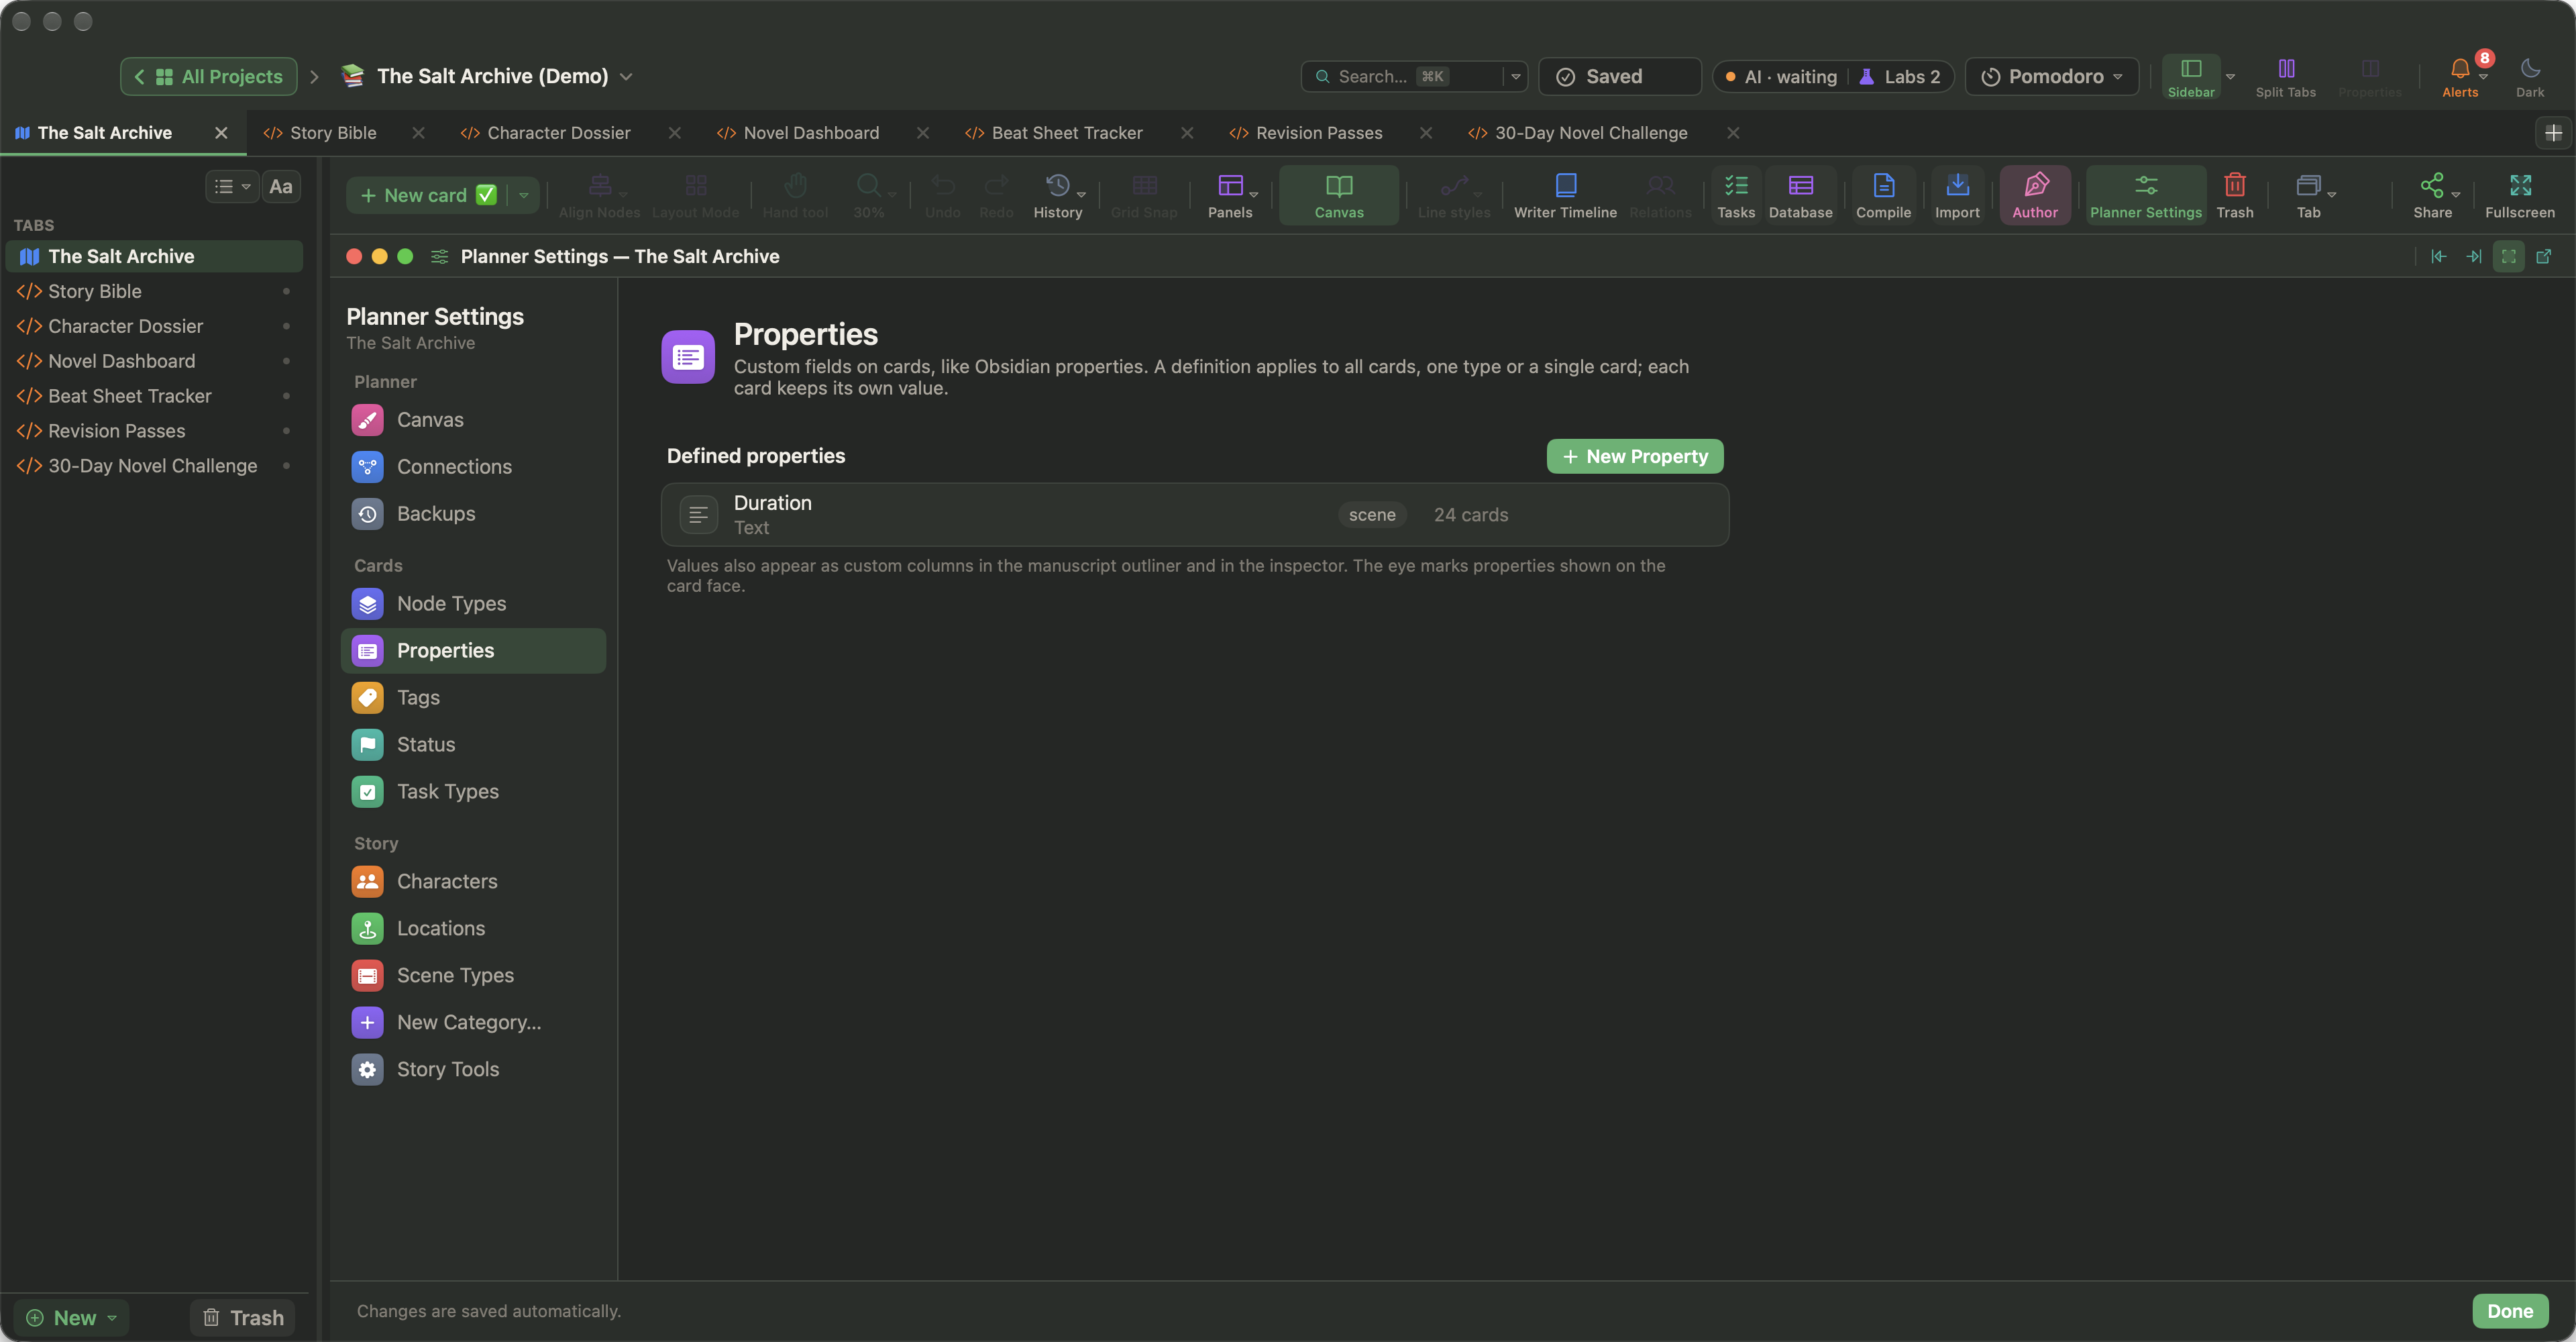
Properties are typed fields on cards. Choose Documents › Add Property (⌥⌘;) or click + Add property under the property block, type a name and pick a type: Number for an age, Long text for wants or voice, Select for eye color, Link to cards for a character's family or the places they use. A property can apply to all cards, to cards of one type or to one card only.
To give every new character card the same fields, open Project › Project Settings… (⌥⌘,), choose Cards › Node Types and click Design…: its Property template sets the properties each new card of that type starts with. For objects, factions, eras or anything else your world has, add a story category in Project Settings. It becomes a property on your cards, shows up in search, and can have its own profile card for each item. Among the starter sets there is one for Worldbuilding; see Card Properties and Custom Fields.
Relationships, spellings and quick look-ups
Drag from a card's connection port to another card to connect them, or right-click a card and choose Connect. Right-click the line and choose Edit Label…, so the arrow between two characters can say what binds them.
For the style sheet, Project › Project Notes opens one note for the whole project. While you type a name, the completion list puts the names of your character and place cards first, which keeps spellings consistent; press Esc in the editor to show it. Navigate › Open Quick Reference (⌥⌘Y) keeps a character card open in its own window while you write elsewhere. To search the bible, press ⌘K for Search Project, set Look in to Properties and type name: value.
If you would rather keep the bible as one document, make a Note, Document (rich text) or Markdown tab from the sidebar's New ▾ menu, and use View › Split View (⌘\) to show it beside your manuscript.
Checking continuity
The Writer Timeline (View › Writer Timeline, ⌥⌘T) reads your scene cards; fiction templates turn on the story tools it needs. Cast Map shows which characters appear in which chapter, and Place Map where each chapter happens. Give scenes a story time and the Timeline view can sort them by when they happen. Book Stats lists scenes with no character, no place or no story time under Needs attention. There is more on story time in the novel timeline article.
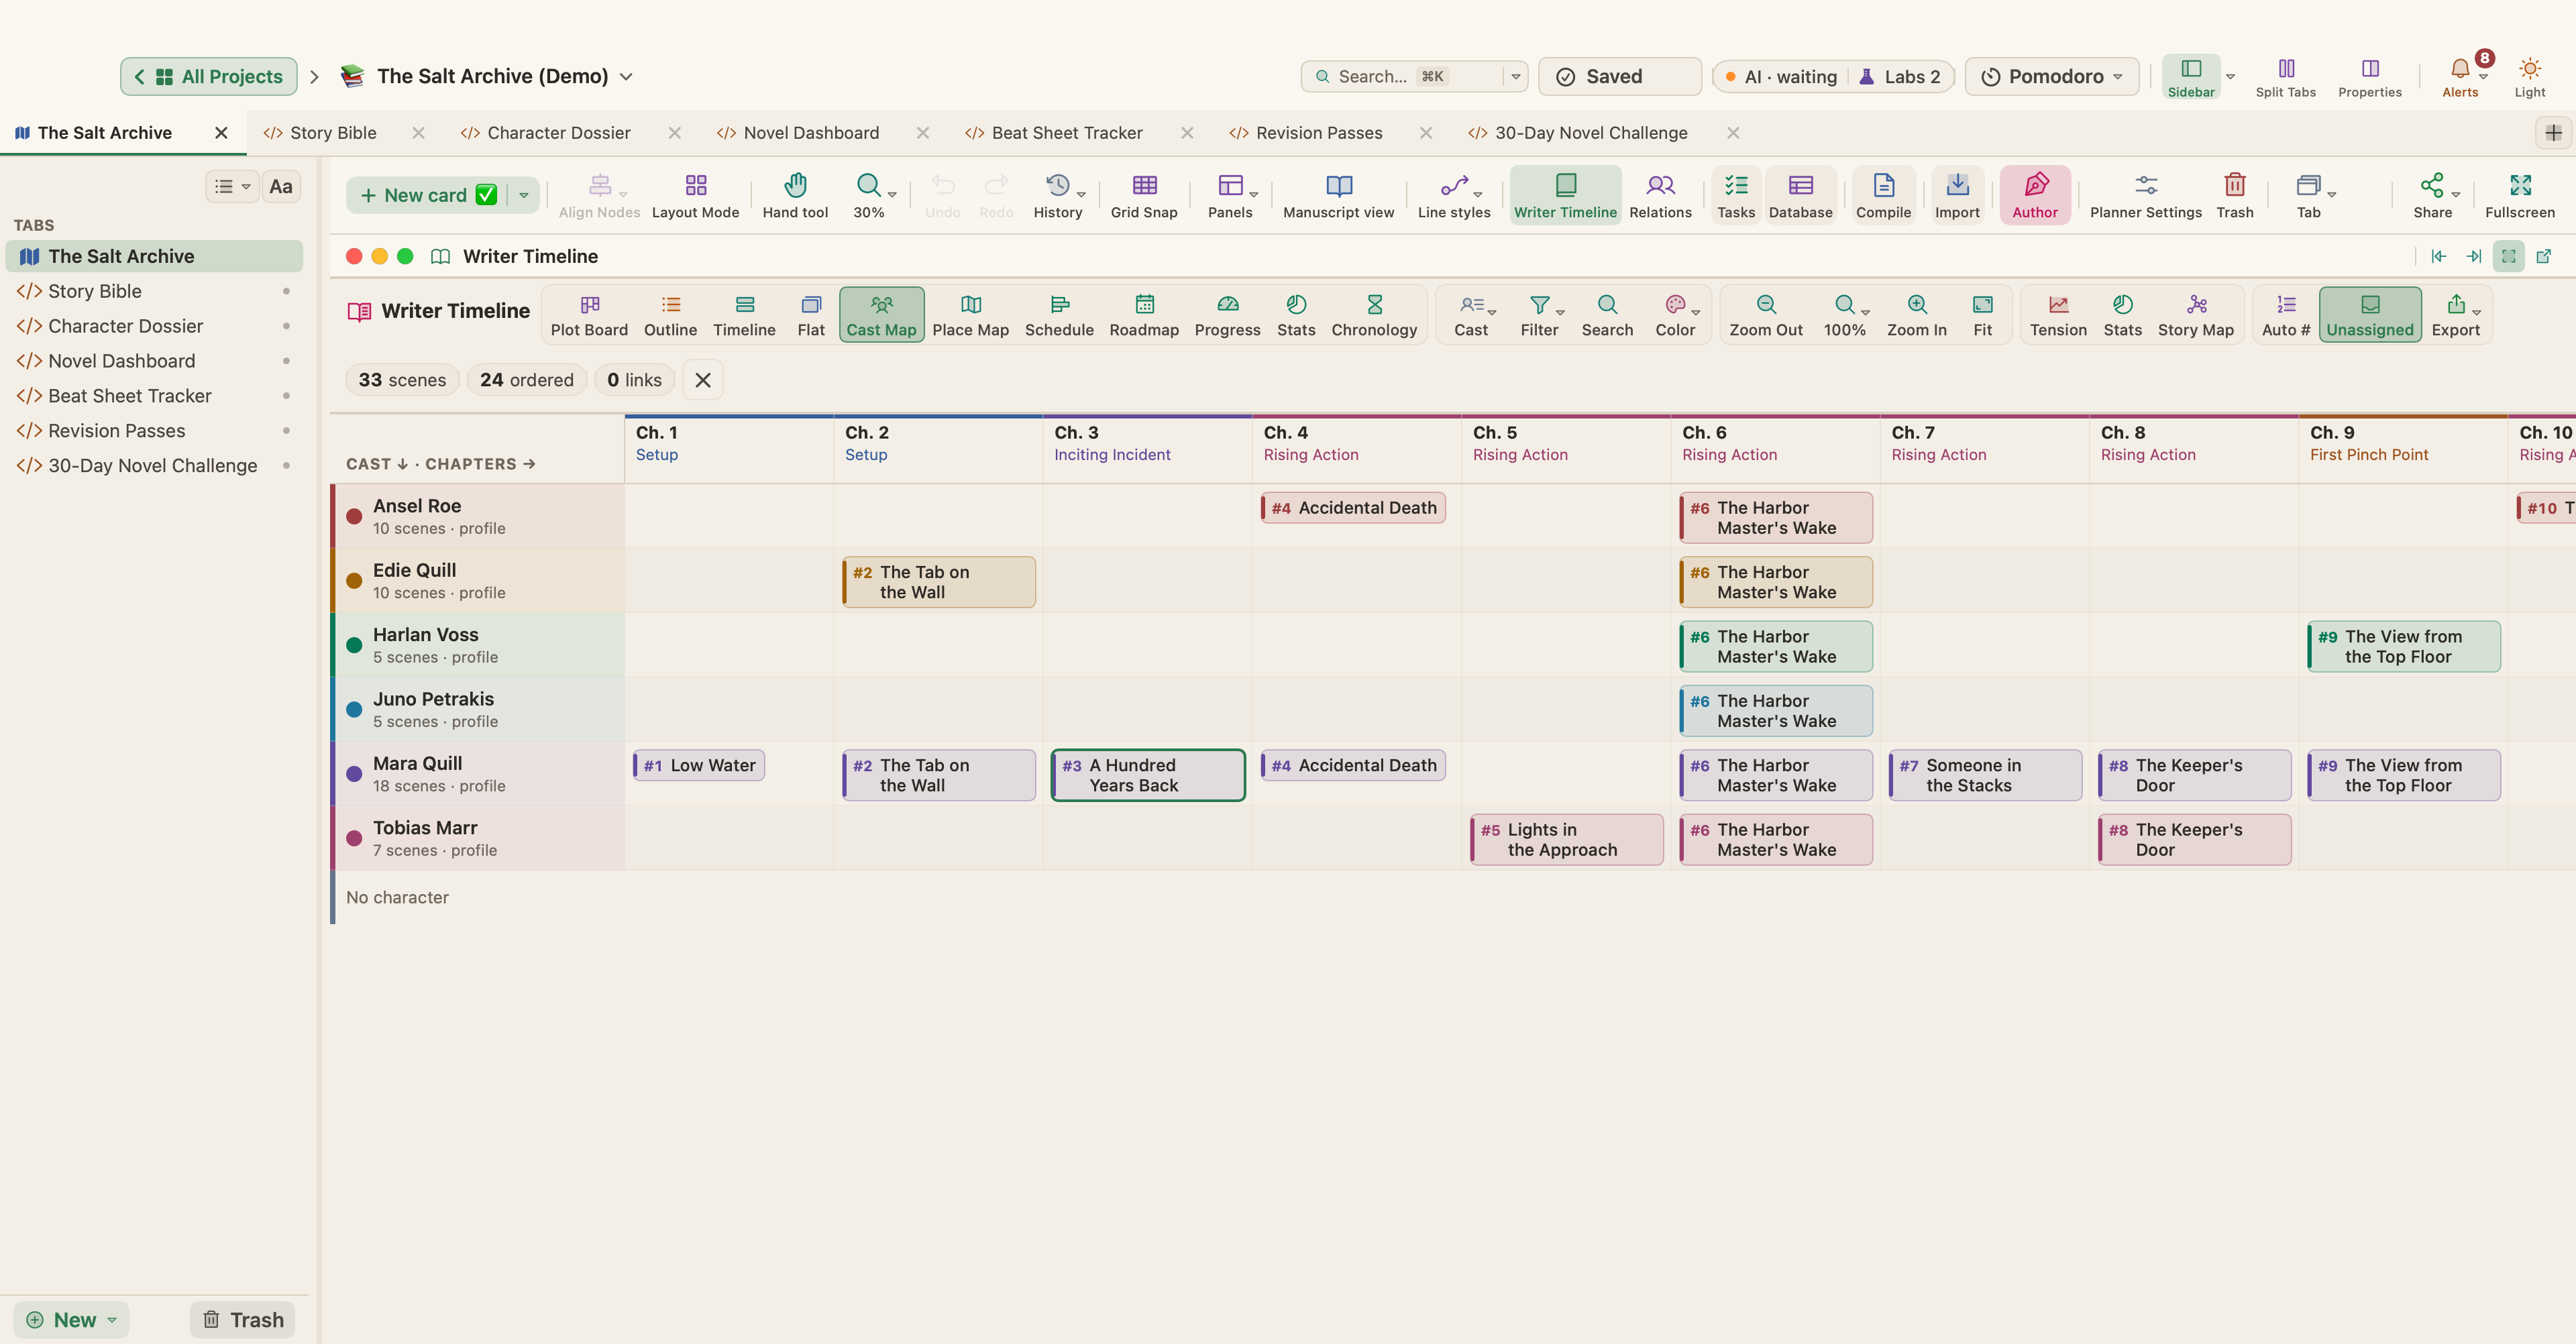
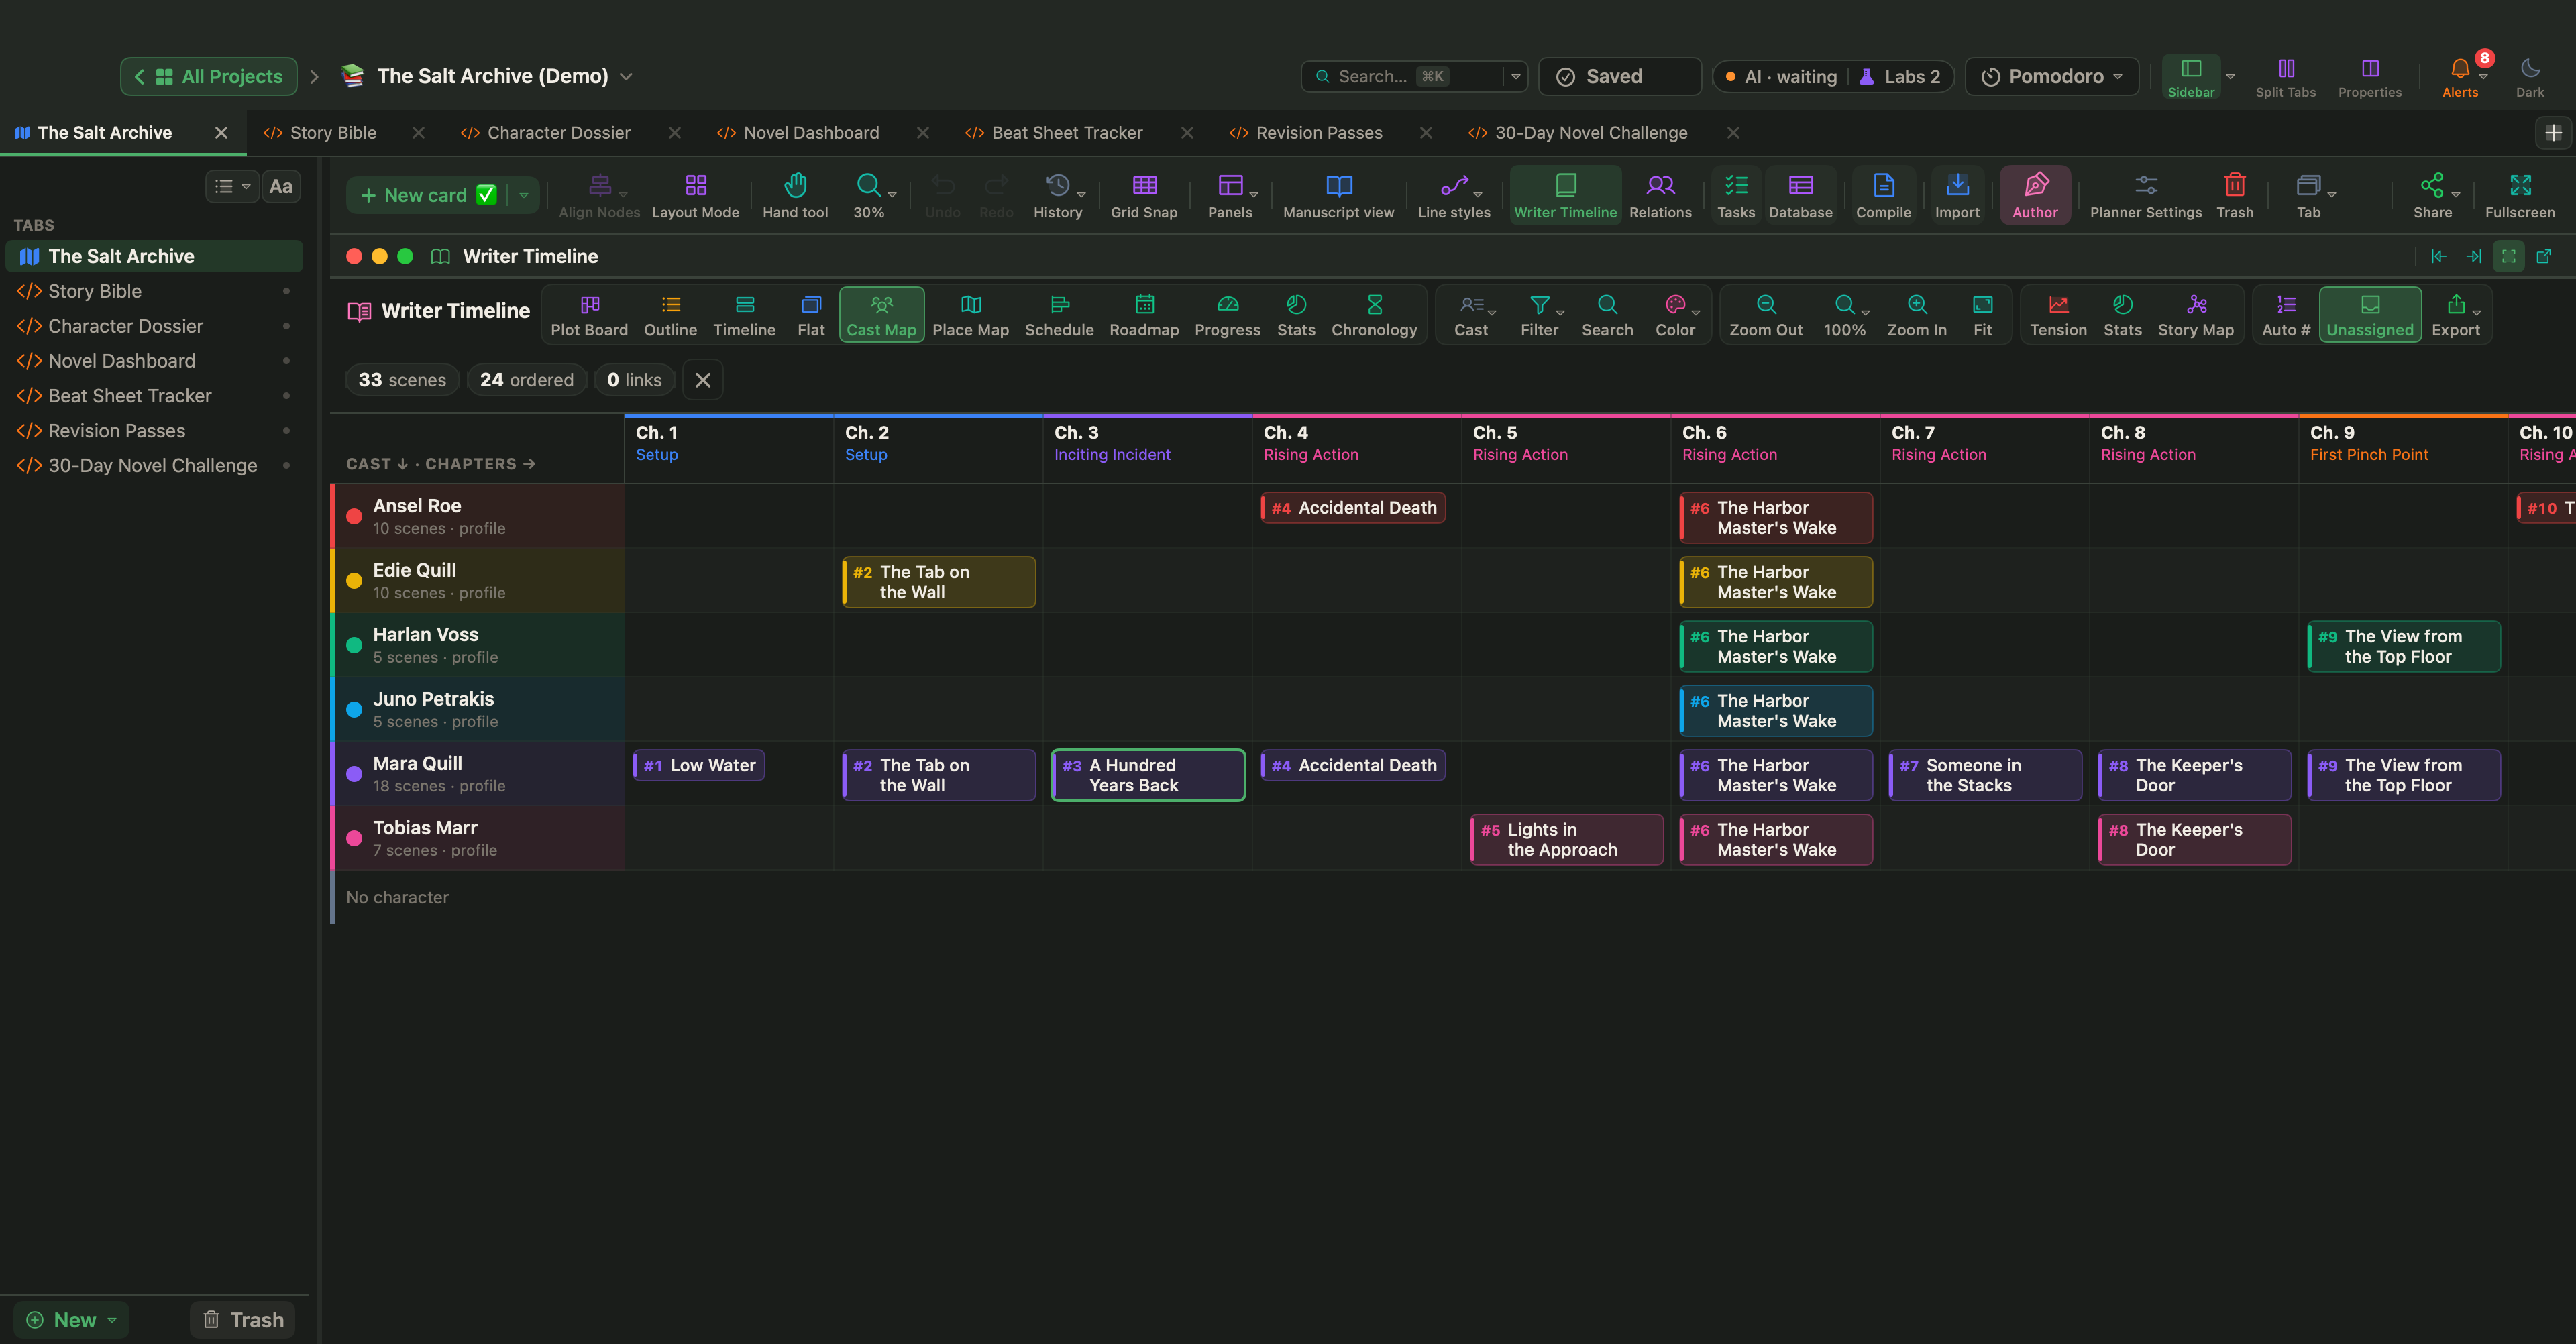
Two Labs features: databases and a story bible page
Databases and Live Pages are Labs features: they stay off until you turn them on in Settings › Labs.
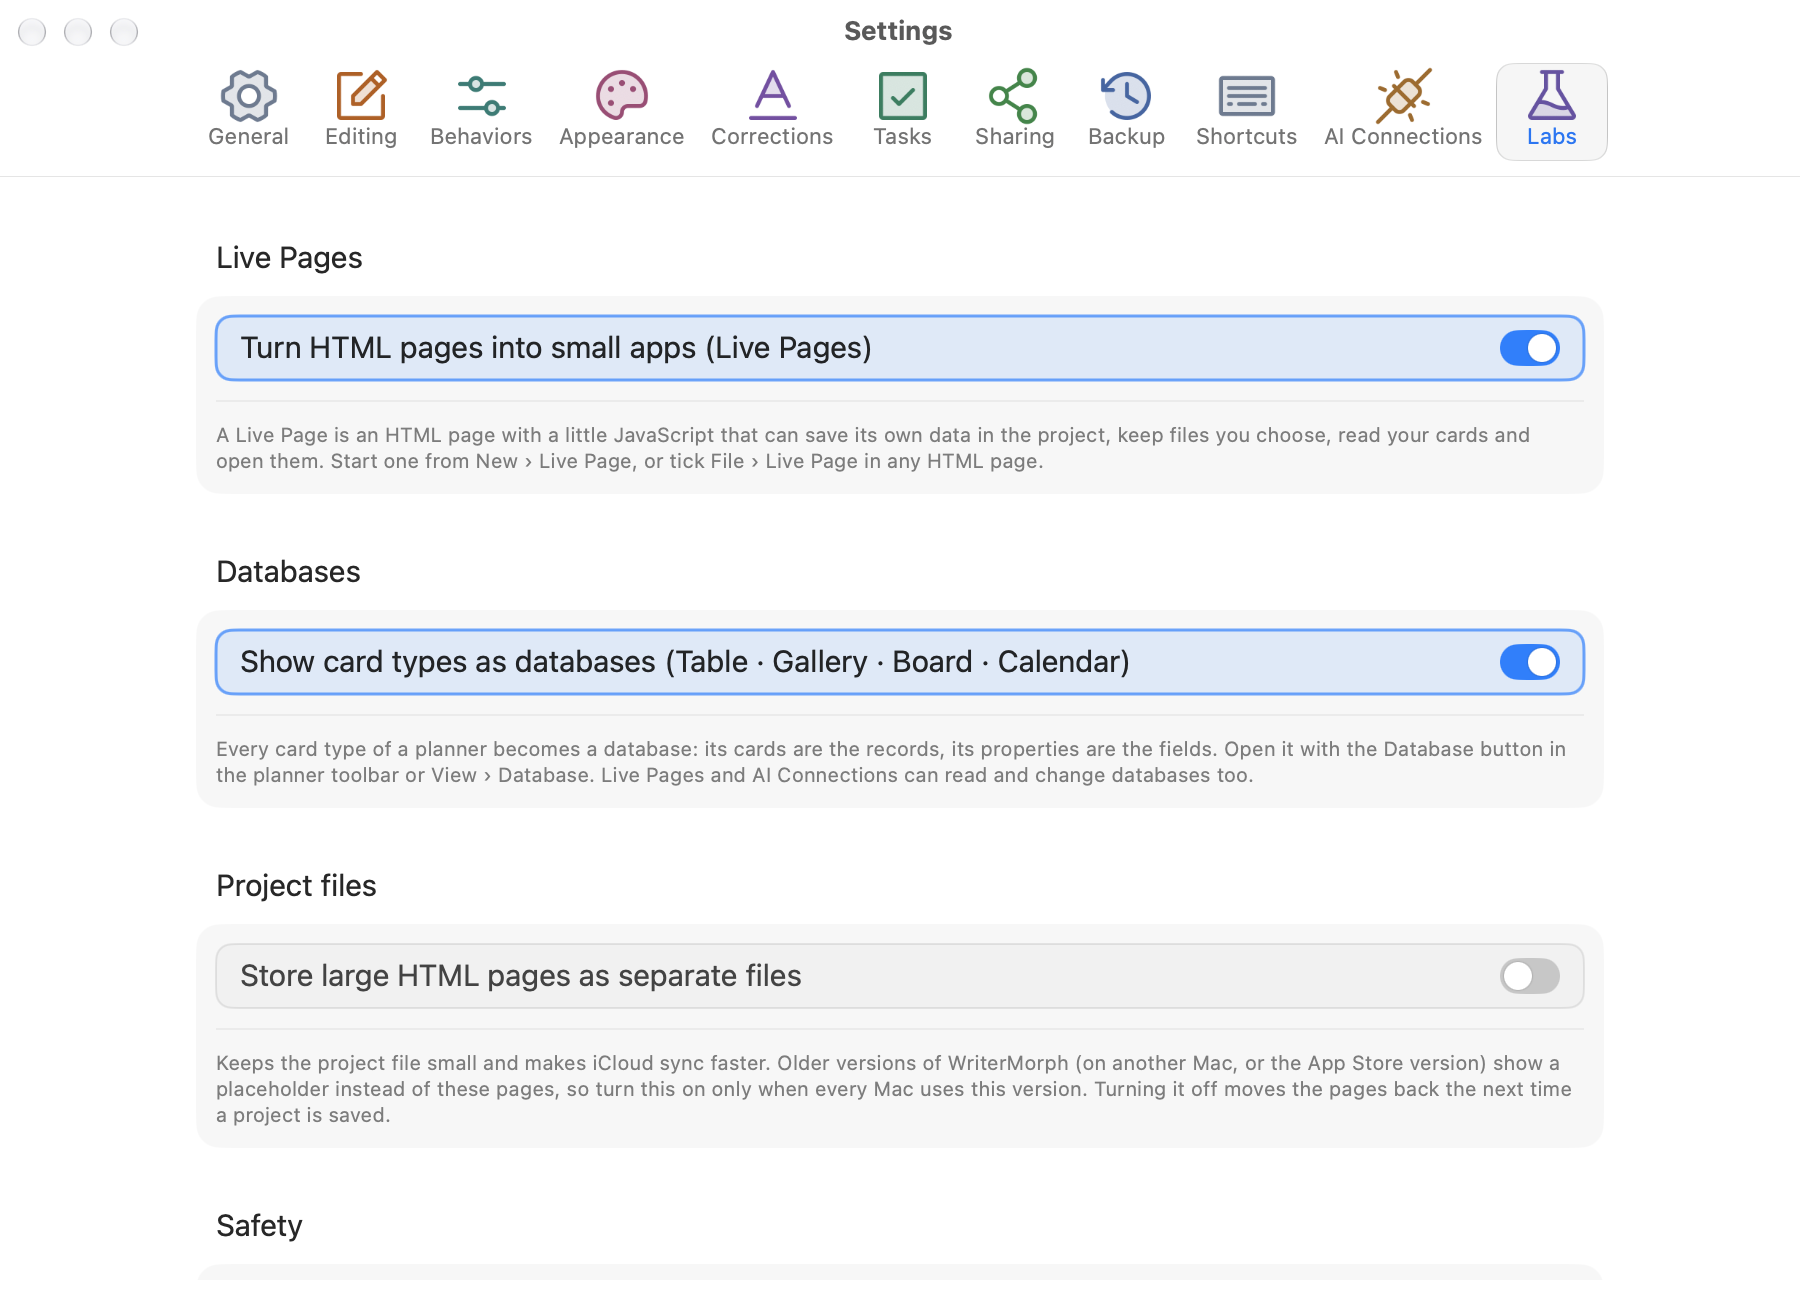
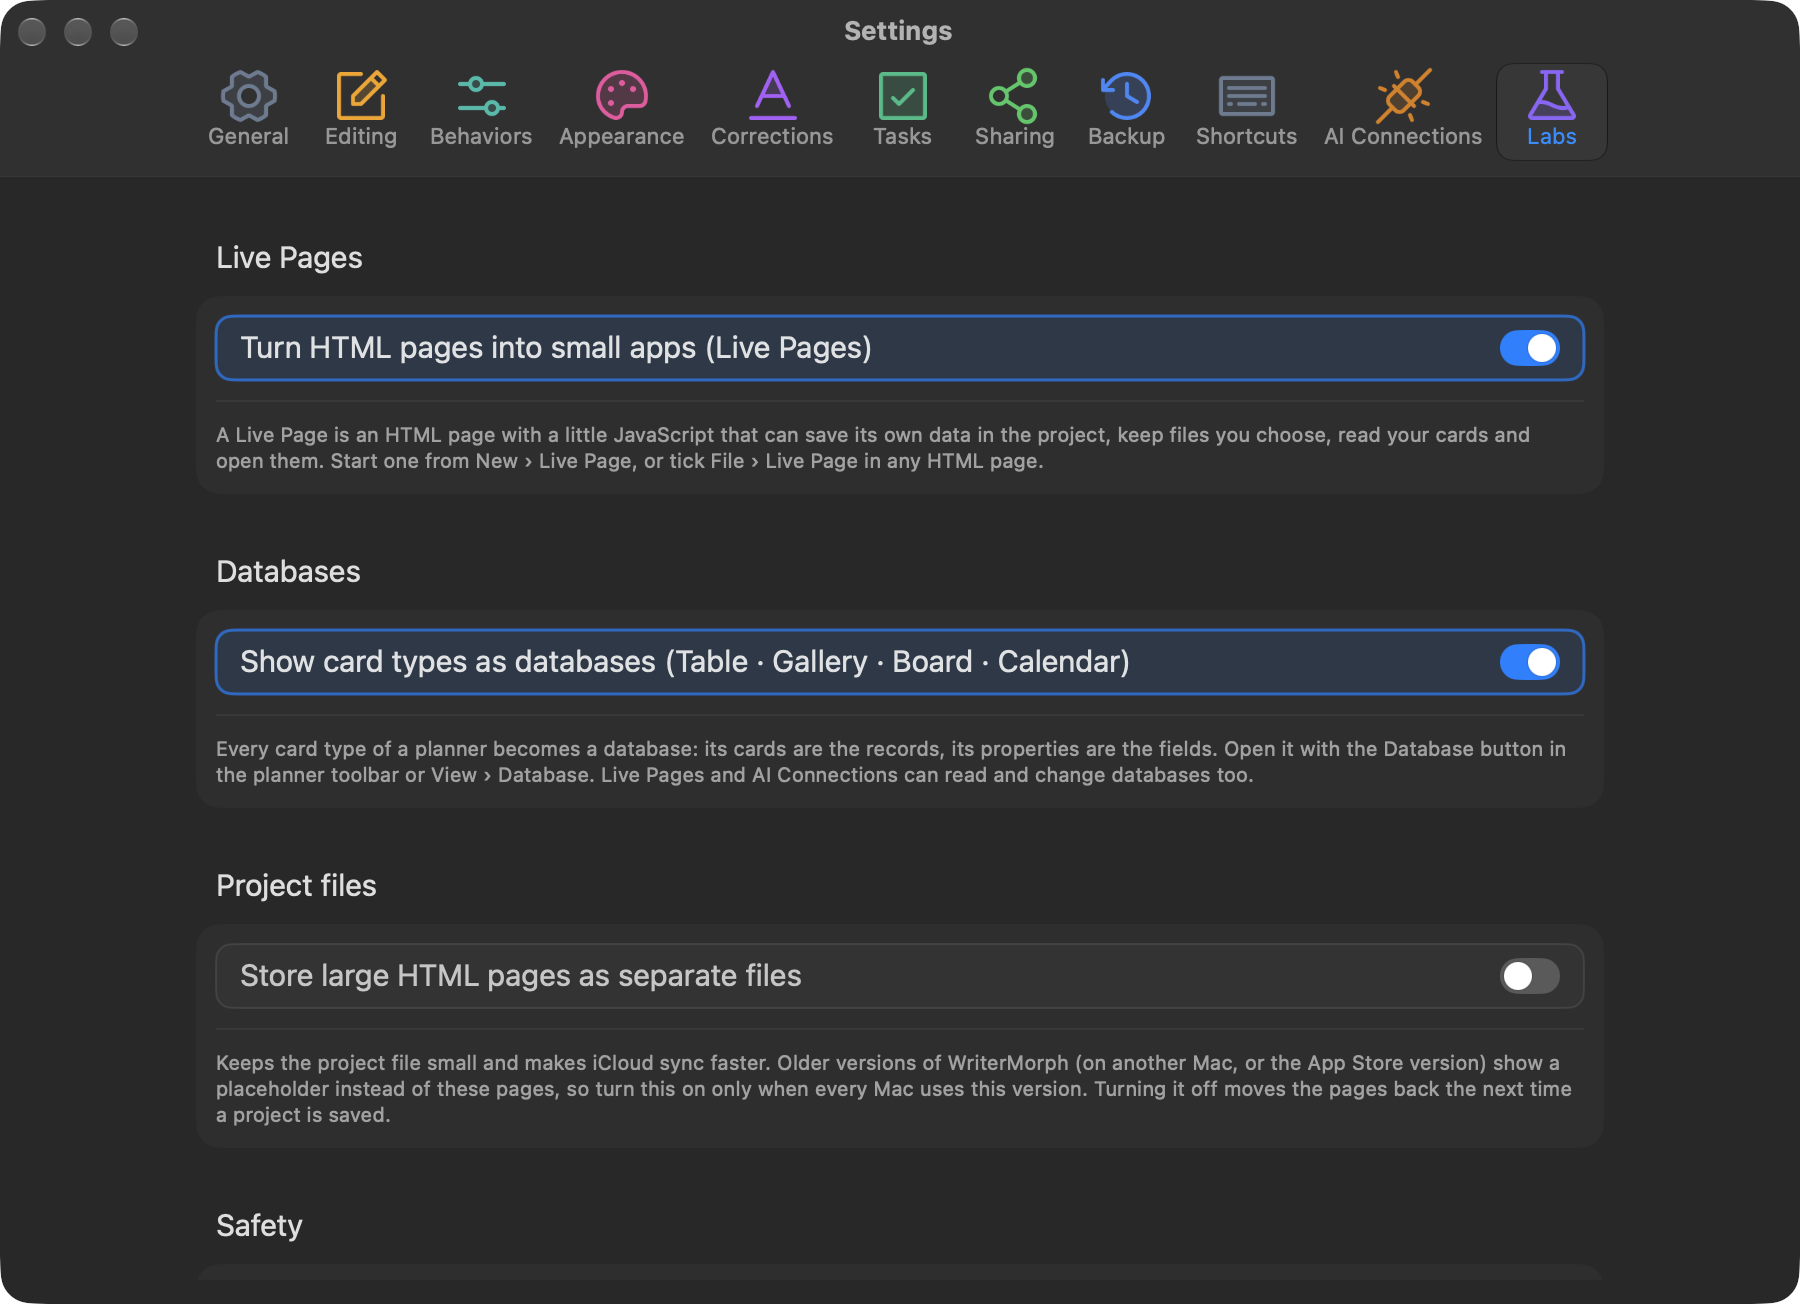
Turn on Show card types as databases (Table · Gallery · Board · Calendar) and every card type becomes a database: your Character cards are its records and their properties its fields. Open the Database panel with View › Database. A Relation field links records across databases: make a Factions database, give your characters a Faction relation, and each faction lists its members. A data card holds tables instead of text, for example a character's inventory. For a series, File › Export › Database Kit (.wmkit)… saves the card types, fields and views, and the project's Live Pages, without any cards, so the next book can start with the same setup. See Databases and Data Cards.
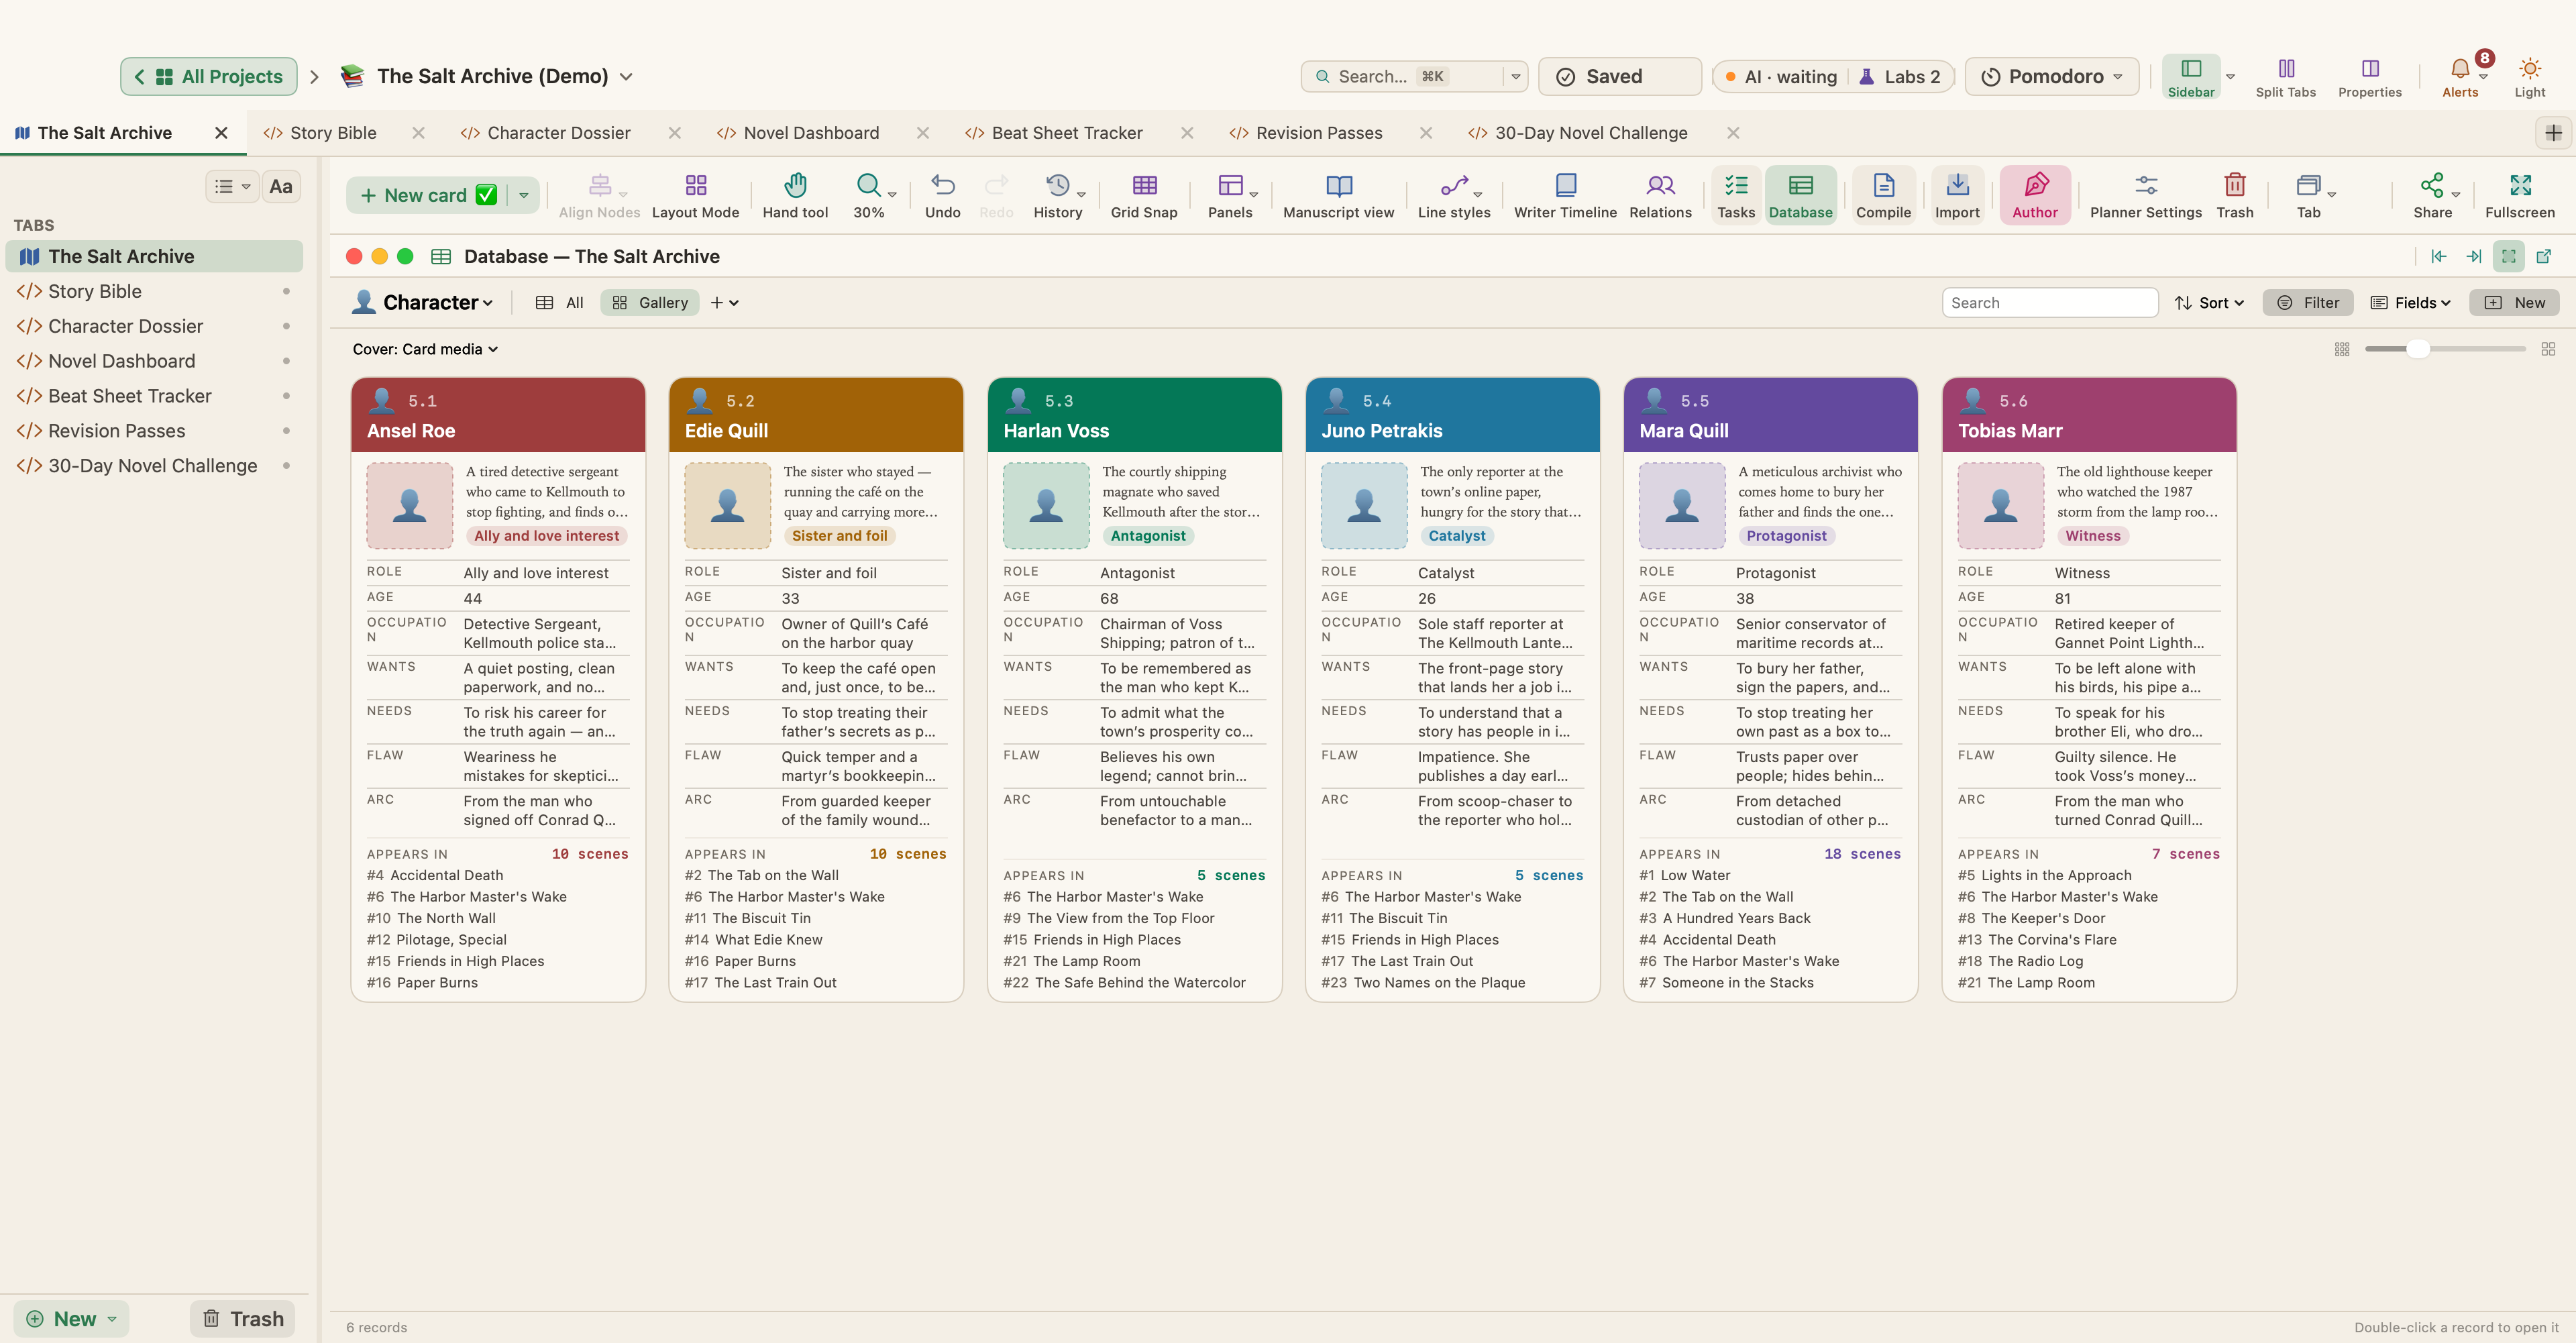
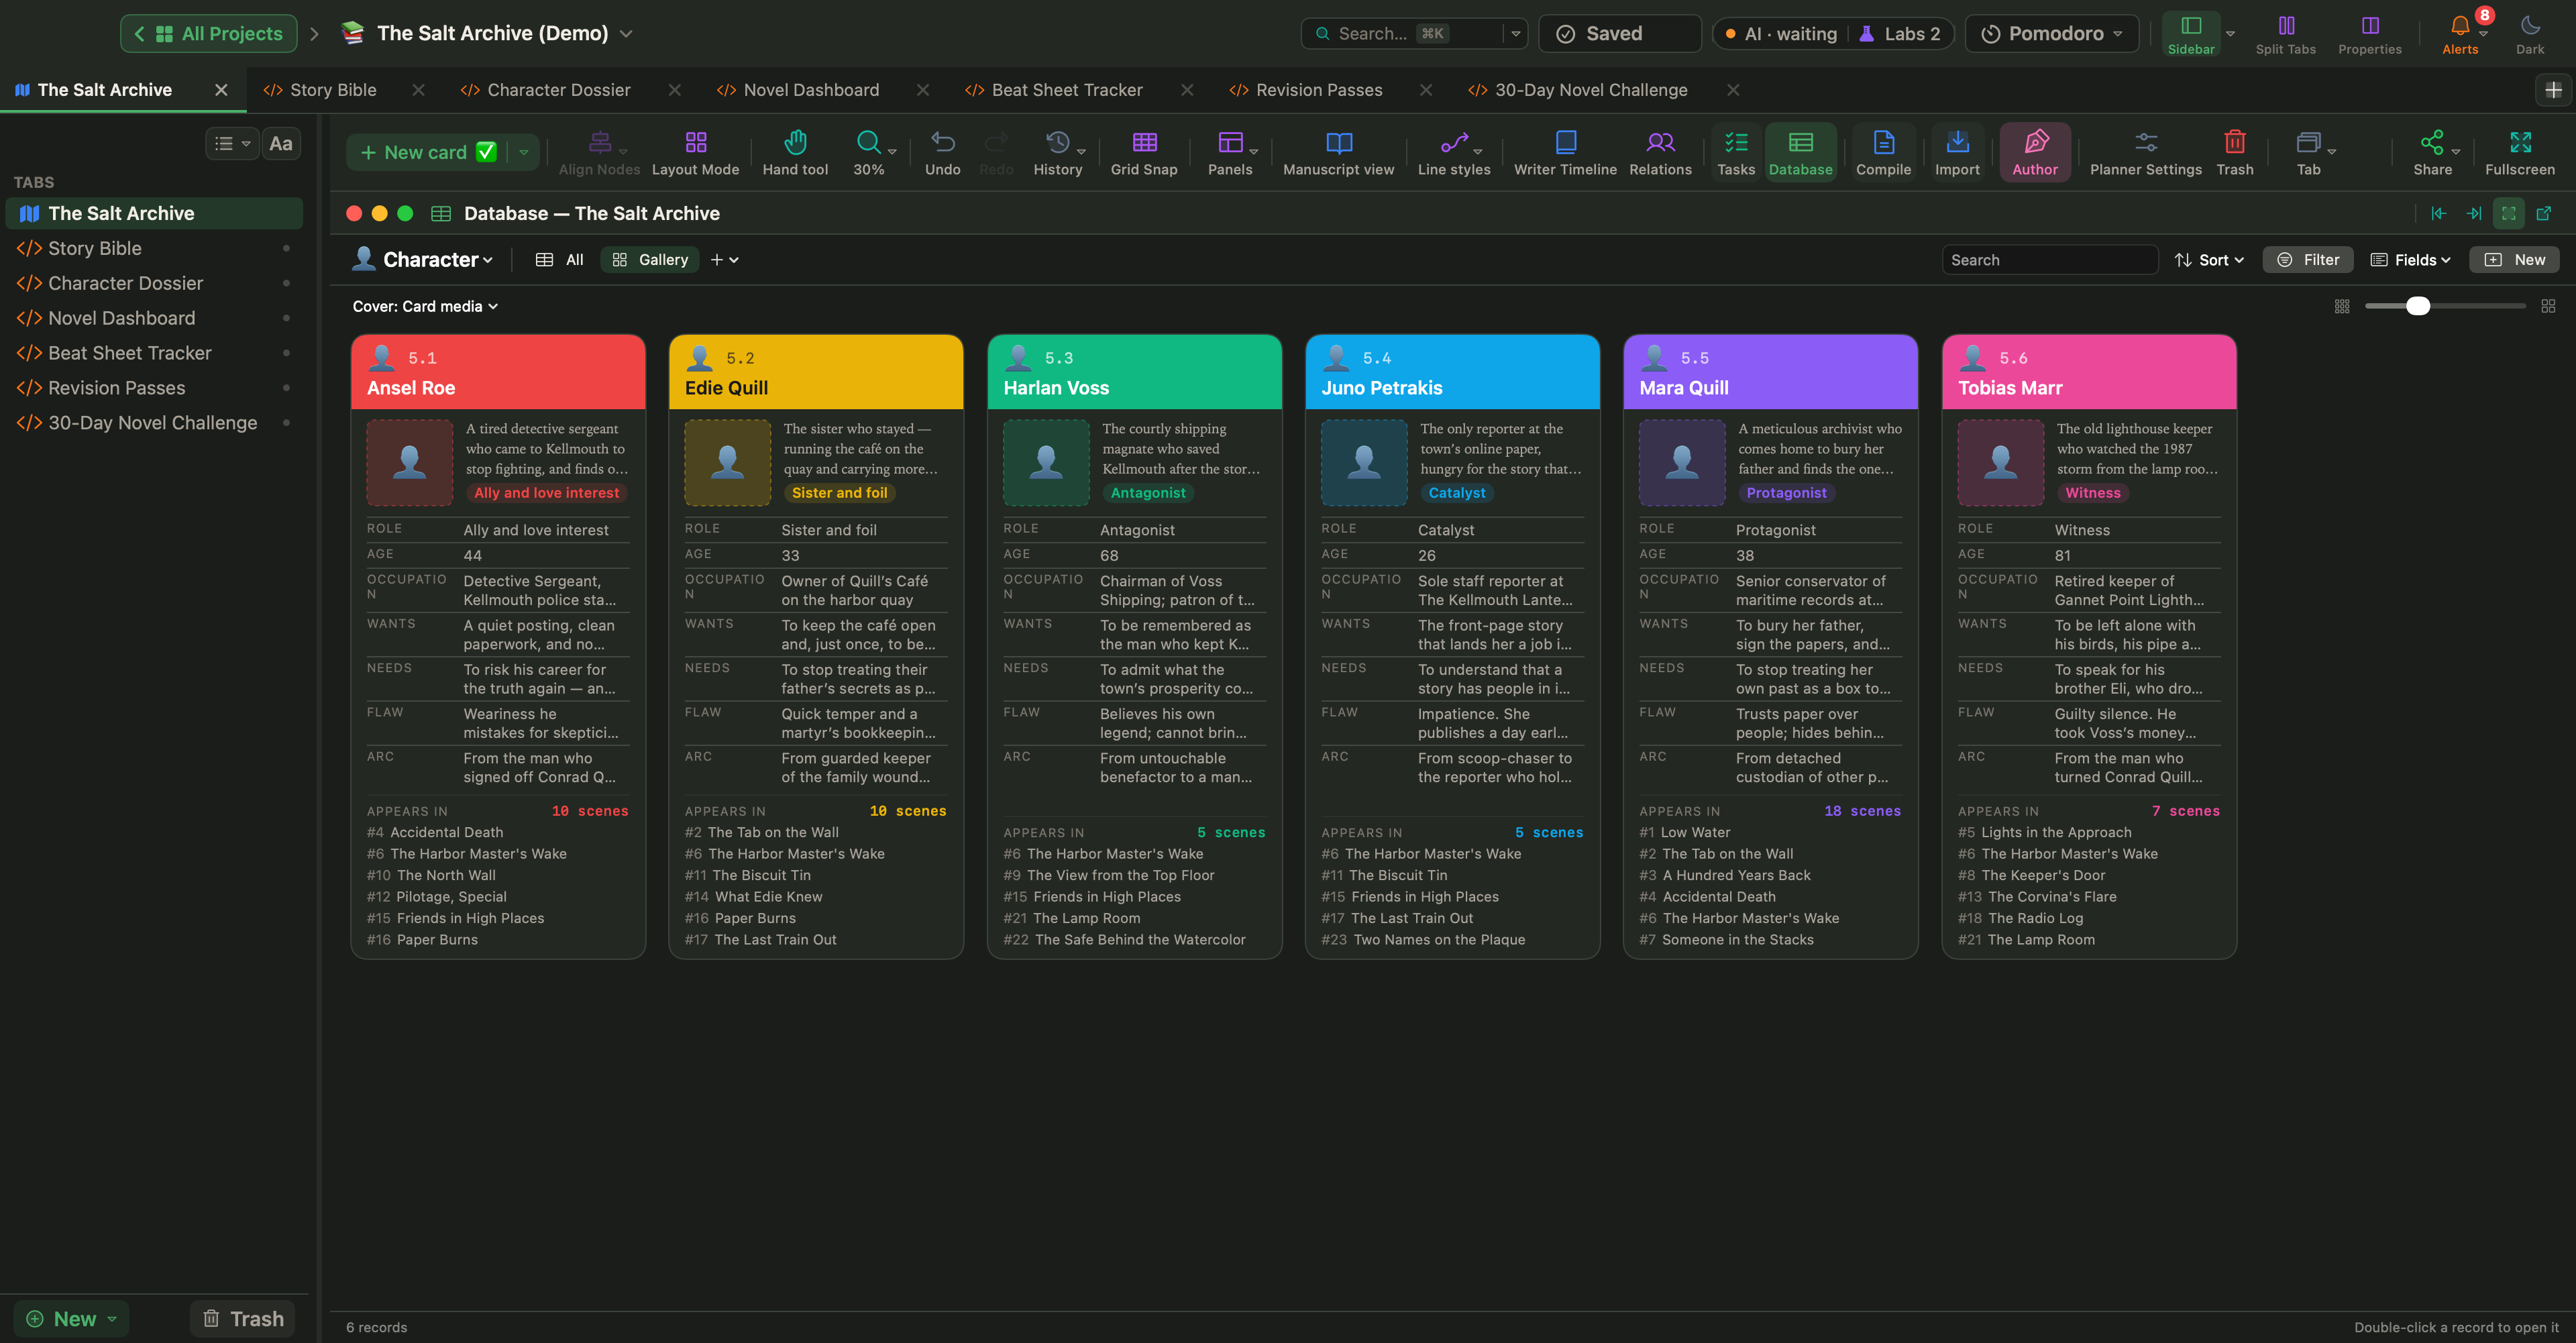
Switch on Turn HTML pages into small apps (Live Pages), then choose New ▾ › Live Page ▸ › Examples ▸ in the sidebar. The Fiction submenu has a Story Bible template: a searchable wiki of your characters, places and notes, with their properties, the scenes each one appears in, and canon notes of your own. It reads your cards as they change, and it changes cards only after you allow it. Next to it are Continuity Checker, which flags a character in two places at once or scenes out of timeline order; Worldbuilding Atlas, for magic or technology rules, factions and invented words; and Series Planner, for threads and casts across books. See Live Pages.
Optional: an AI app
WriterMorph has no AI of its own. If you use an AI app on your Mac and connect it through Settings › AI Connections with Allow changes on, you can ask it, in plain words, to build a story bible with tabs for characters, places and chronology, and it makes the page as an HTML tab in your project. See Connect any AI app and AI connections.
Start small
Begin with a card for each character who speaks, one for each place where a scene happens, and a project note for spellings. Add to it at the end of each session, check against it on each revision pass, and it will be ready when the next book begins.